It’s no secret that I don’t like paying a lot of money for fly reels. At its core, a fly reel basically exists to store your fly line. Yes, drag helps to stop runs from powerful fish, but I’d hesitate to buy a reel just because the drag is top-tier. Plenty of anglers run click-pawl reels that sound amazing but have no drag beyond the palm of your hand.
A good fly reel should have style and features that resonate with the angler — at the right price point. At the mid-$200 price range, the Danielsson F3W is my favorite reel. In fact, it might be my favorite all-around trout reel.
History of the Danielsson Brand
The Swedish reel manufacturer came on the scene in the 1980s as a collaboration between Tomas Danielsson and Loop Tackle Design. Loop is well recognized for their robust line of spey rods and reels. Throughout the partnership, Danielsson developed and manufactured reels for Loop and is now credited with popularizing the large-arbor design — a standard feature in most fly reels today. Large arbors allow quicker line pickup and reduced line memory.
In the early 2000s, Danielsson and Loop parted ways. Danielsson launched his own company with a focus on direct-to-consumer marketing and performance over branding. He reclaimed his designs and began shipping reels directly from the factory in Sweden — no middlemen.
Overview of the F3W Series

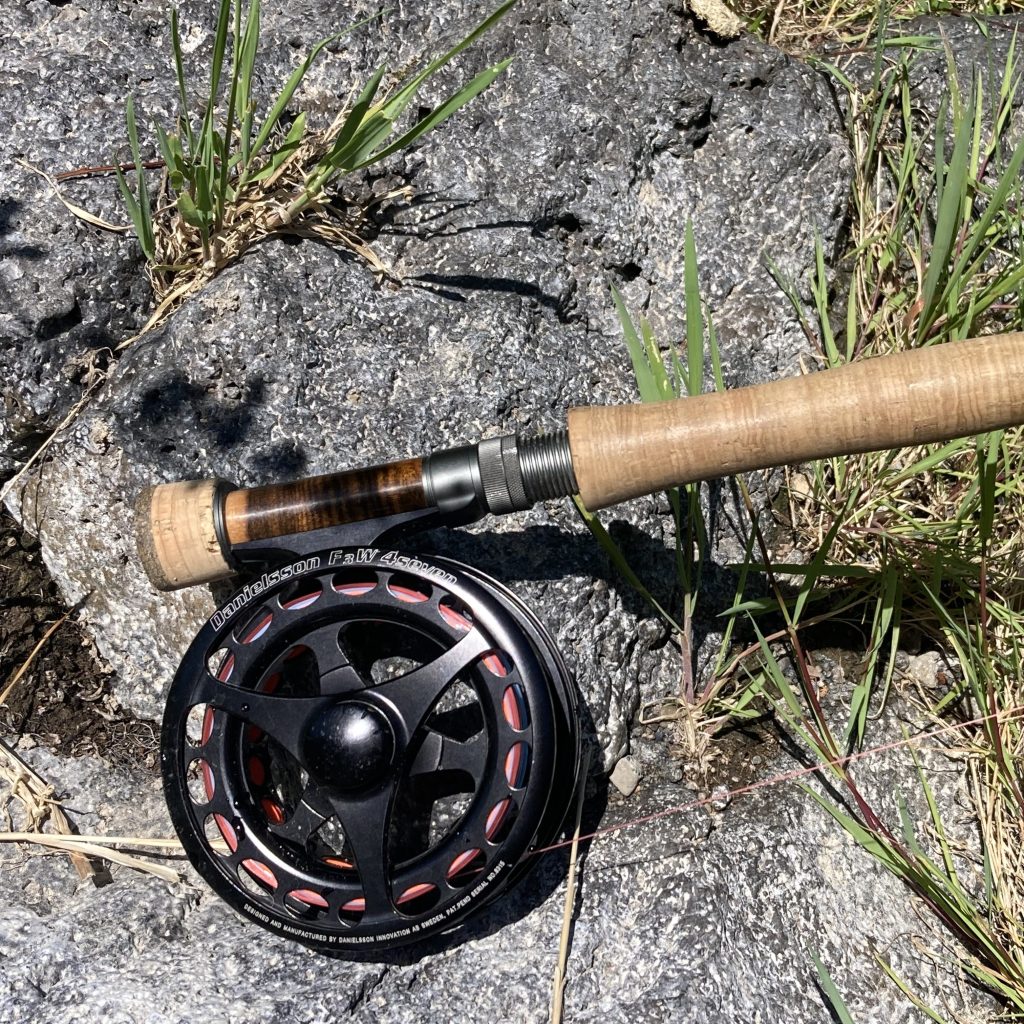
The F3W comes in three sizes: 2six, 4seven, and 7ten. The sizes correspond to the range of fly lines each reel can store. Across the lineup, you’ll find the same key features: lightweight design, large arbor, full-cage construction, and sealed drag.
The braking system uses clutch plates that can be custom-configured to produce various levels of drag — though you’ll probably never need to adjust them. All reels are precision-machined from corrosion-resistant aluminum and pressure-tested to ensure waterproof drag systems up to 100m.
The design is minimalist and bulletproof. Each reel comes in a satin-black finish. Not flashy, not obnoxious — just understated and beautiful in its simplicity. I’ve fished my F3W every single week for over a year, and it still hasn’t shown a hint of sand rash. The drag is just as smooth and subtle as the day I unboxed it. Then again, I’m diligent about taking care of my gear.
On-the-Water Performance
For those who care about drag performance, the F3W delivers. Startup inertia is low, and the drag is silky smooth. The range of settings is impressive: at the low end, you can palm the reel, while at the high end, you’ll struggle to turn it.
I’ve had no problems putting the brakes on hot redbands in pushy Deschutes and Metolius currents with the F3W 4seven. While I don’t own it myself, I don’t doubt that the 7ten — paired with a single-hand rod — could stop a running steelhead. If you want a reel for your two-hander, look to the L5W and H5D series.
The click is subtle but satisfying. It’s not the same classic song of a Hardy Marquis, but it has its own voice.
The Value Proposition
This reel offers high-end features at a mid-level price point. It’s built for anglers who value performance and reliability over bells and whistles.
If you’re looking for a reel with wild cutouts, bright green anodization, or brown-trout spotting patterns, this isn’t the reel for you. If you want fancy wood accents or a status-symbol brand name, again — not for you.
But if you’re a utilitarian angler who just wants a reel that works every time, the F3W is exactly that. I firmly believe it’s a buy-once, fish-forever piece of gear. And unlike a lot of premium reels, you won’t “cry once” when you swipe your card.
Final Thoughts
I love the F3W series so much that I’m slowly converting my entire single-hand lineup to this reel. My Lamson Liquid has served me well, but it lacks the finesse of the Danielsson. The F3W is lighter, has a larger arbor, and pairs better with modern performance fly rods. For me, it beats out any other mid-priced reel — even the American-made ones. There’s just no substitute for Swedish engineering and solid fundamentals.
Would I love for Danielsson to sponsor me? Sure. But it’ll never happen. The company doesn’t employ salespeople, run influencer programs, or invest in flashy marketing. They don’t even have an affiliate program. And that’s exactly what makes them special. They stick to their values: offering the best reel for the fairest price.
If they ever moved into dealer partnerships, I’m confident we’d pay at least 50% more for these reels. But they won’t. And that’s a beautiful thing.
–T