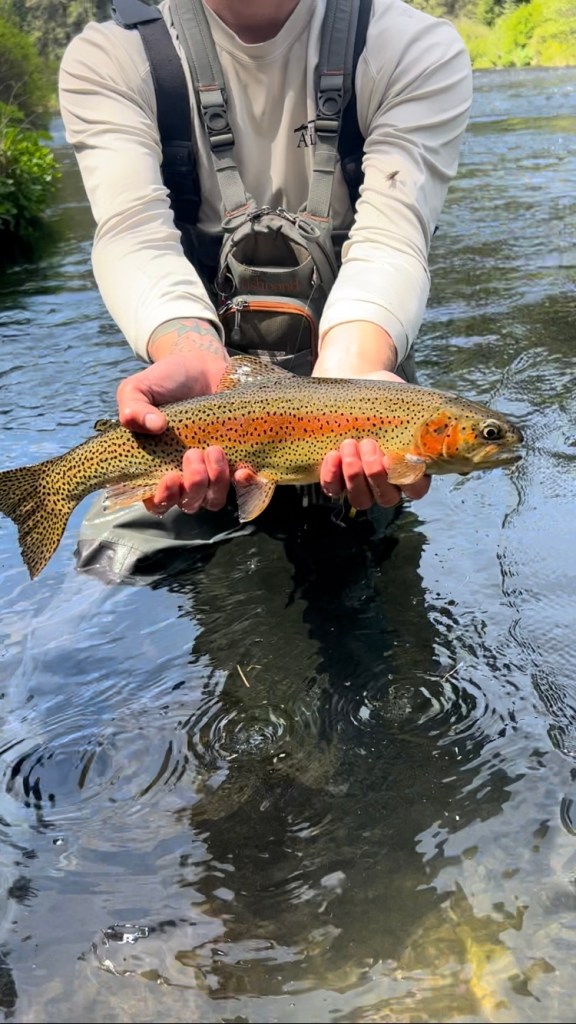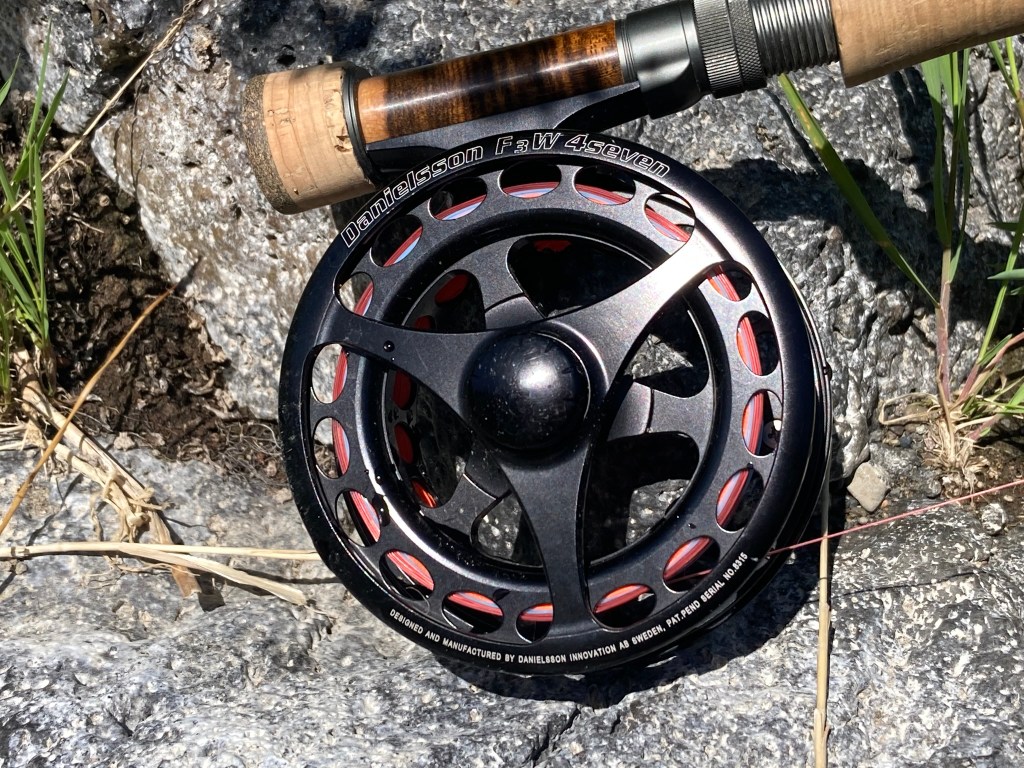
The first trout I ever caught on a fly rod was on the Deschutes River. Not several miles down a trail or in a section only accessible by boat. Instead, it was an elk hair caddis thrown haphazardly by a pulloff on the highway.
The fish came after many patient months of learning to cast, learning how to undo hundreds of tangles, and figuring out how to select flies for the conditions. My first trout on a fly came from the Deschutes, so it will always hold a special place in my heart. Since then, I’ve chased native fish on the fly up and down Oregon. This weekend on the North Umpqua really sticks out.
A Living Landscape
The Lower Deschutes is only about a 45-minute drive from my home in Redmond—longer if you want to get to the good spots. The river originates as runoff from the Cascade Lakes and proceeds to tumble 250 miles toward the Columbia River. Along the way, the river takes on many different personalities.
The Upper Deschutes is cold and alternates between waterfalls and slow-moving glass fit for an inner tube. This section, forested and full of log jams and undercut banks, fosters brook trout, brown trout, and some rainbows.
The Middle Deschutes is also considered the “town section.” The river becomes clogged with paddleboarders, kayakers, and floaters as it courses through Bend and carries on toward Lake Billy Chinook. Along the way, it funnels through tall rimrock and earns a wilder character. The easily accessible sections will give up a couple of browns or rainbows, but the holes at the bottom of cliffsides tend to be the fishiest water. The river enters Lake Billy Chinook and mixes with the cold, clean water of the Metolius and the warm, polluted water of the Crooked.
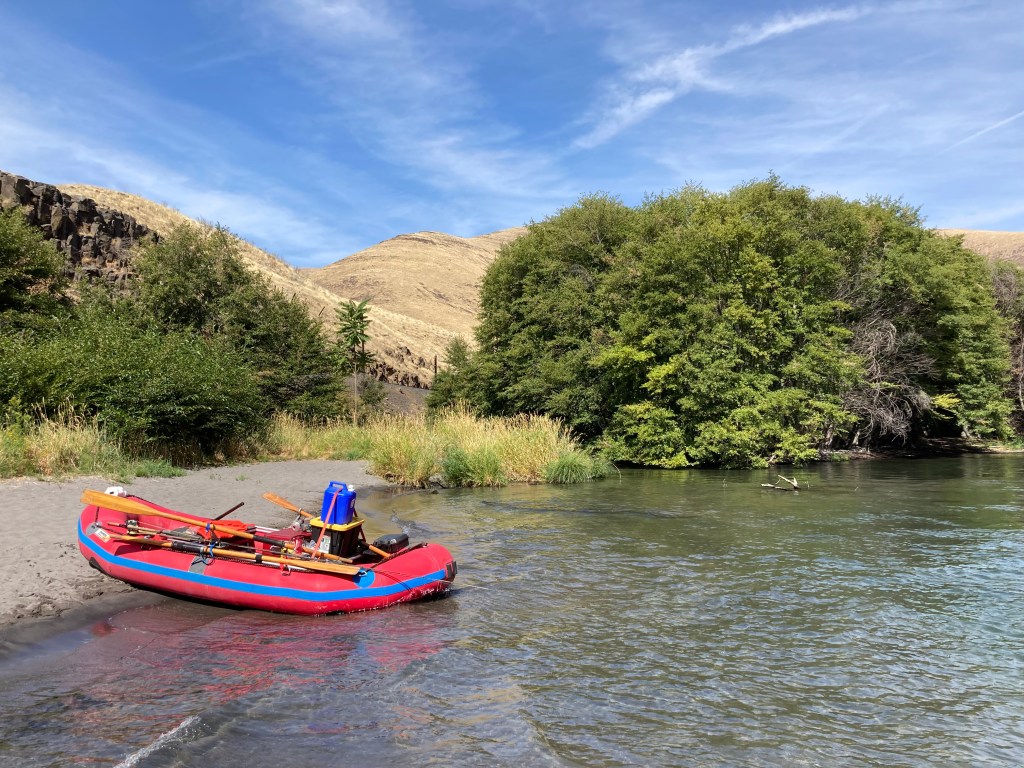
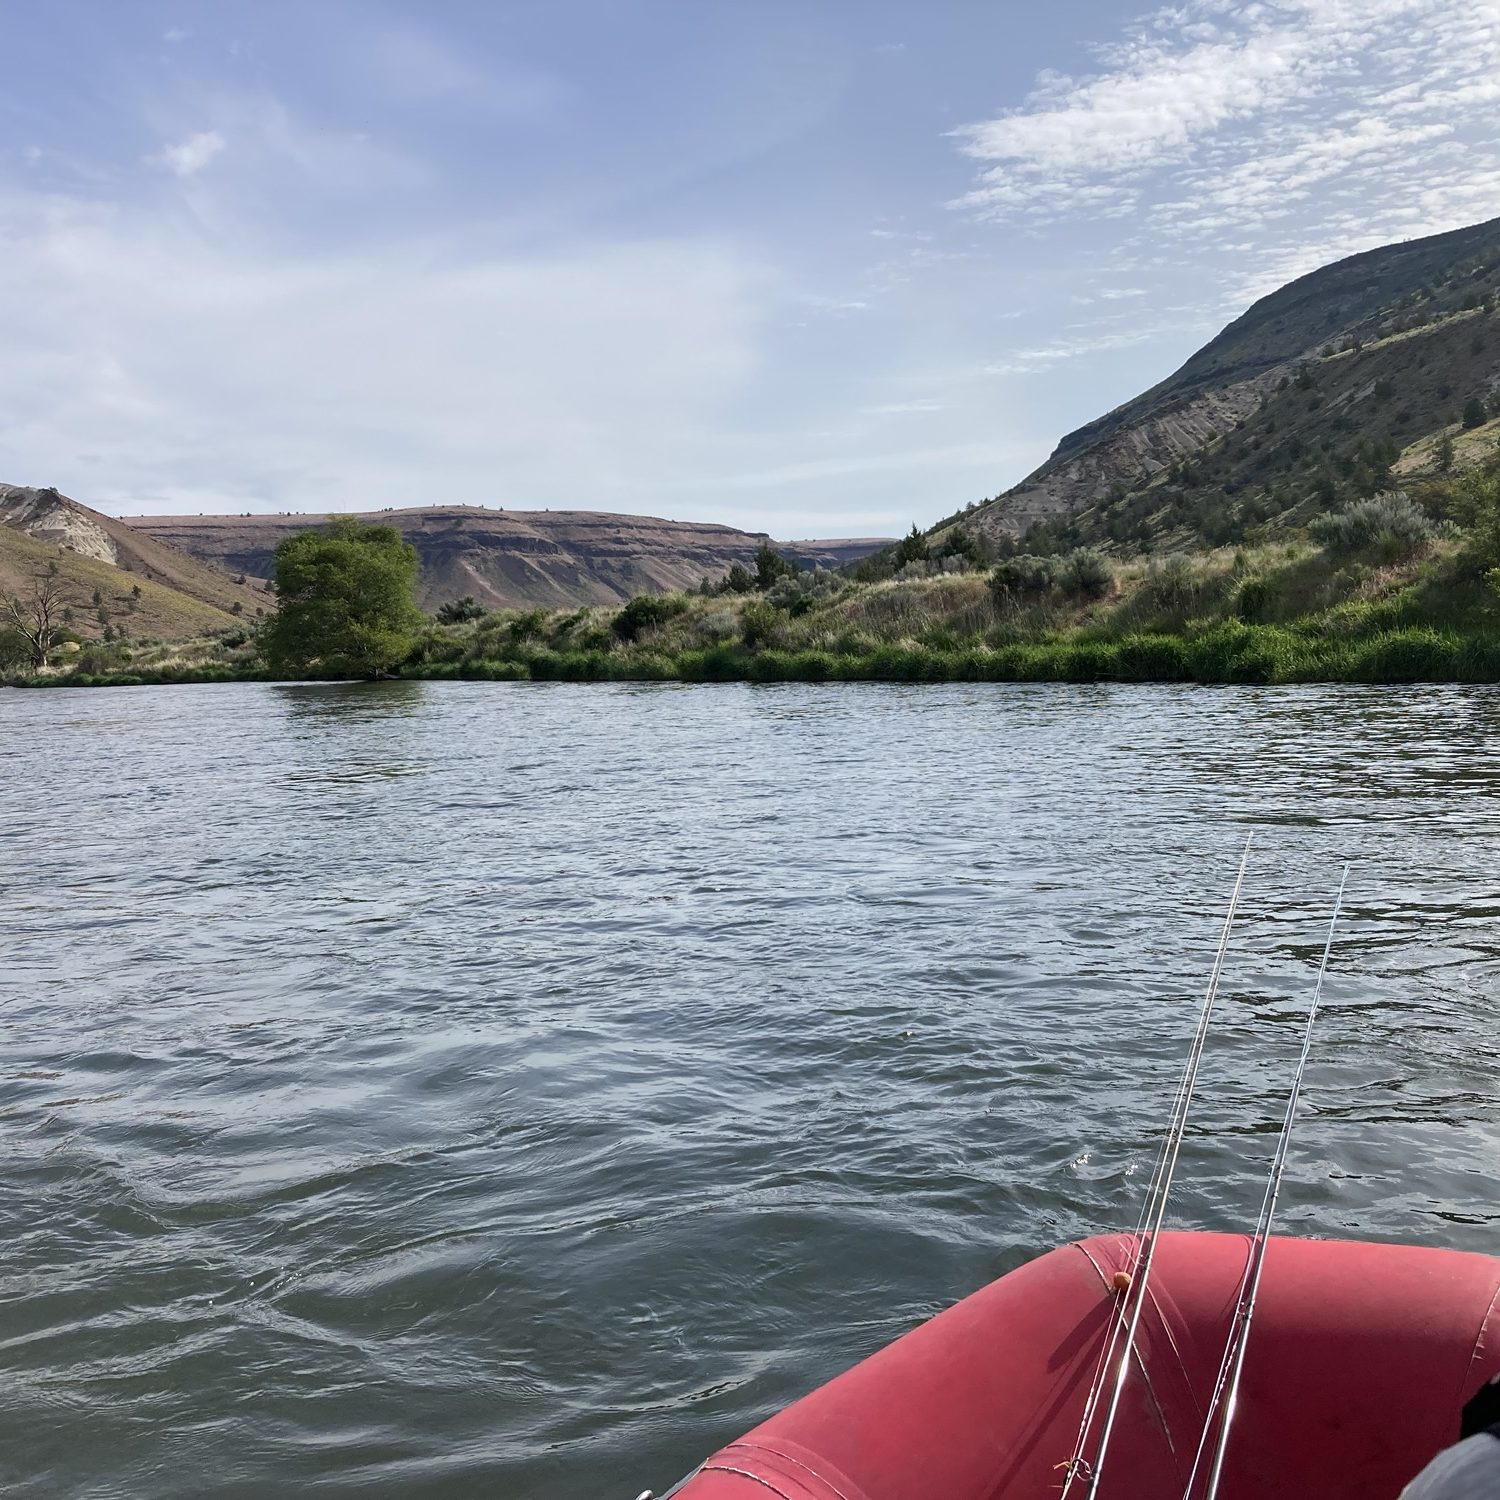
The Lower Deschutes officially begins at the bottom of the Pelton-Round Butte Dam complex. This area north of Madras is where the real magic happens. The river courses through a deep and wild canyon that will make you feel insignificant.
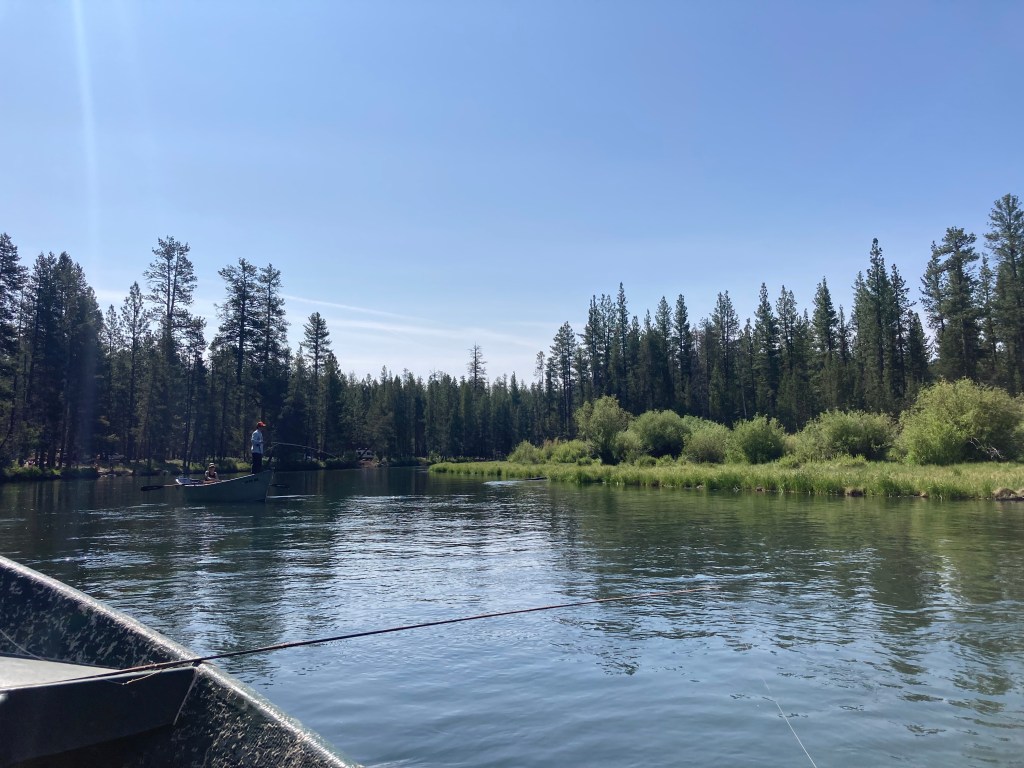
The section between Warm Springs and Trout Creek Campground is called the “day stretch” due to the volume of guide boats taking their clients out for a day trip on the water. It should be noted that it is illegal to fish from a watercraft on the Lower Deschutes—and everyone is damn serious about it.
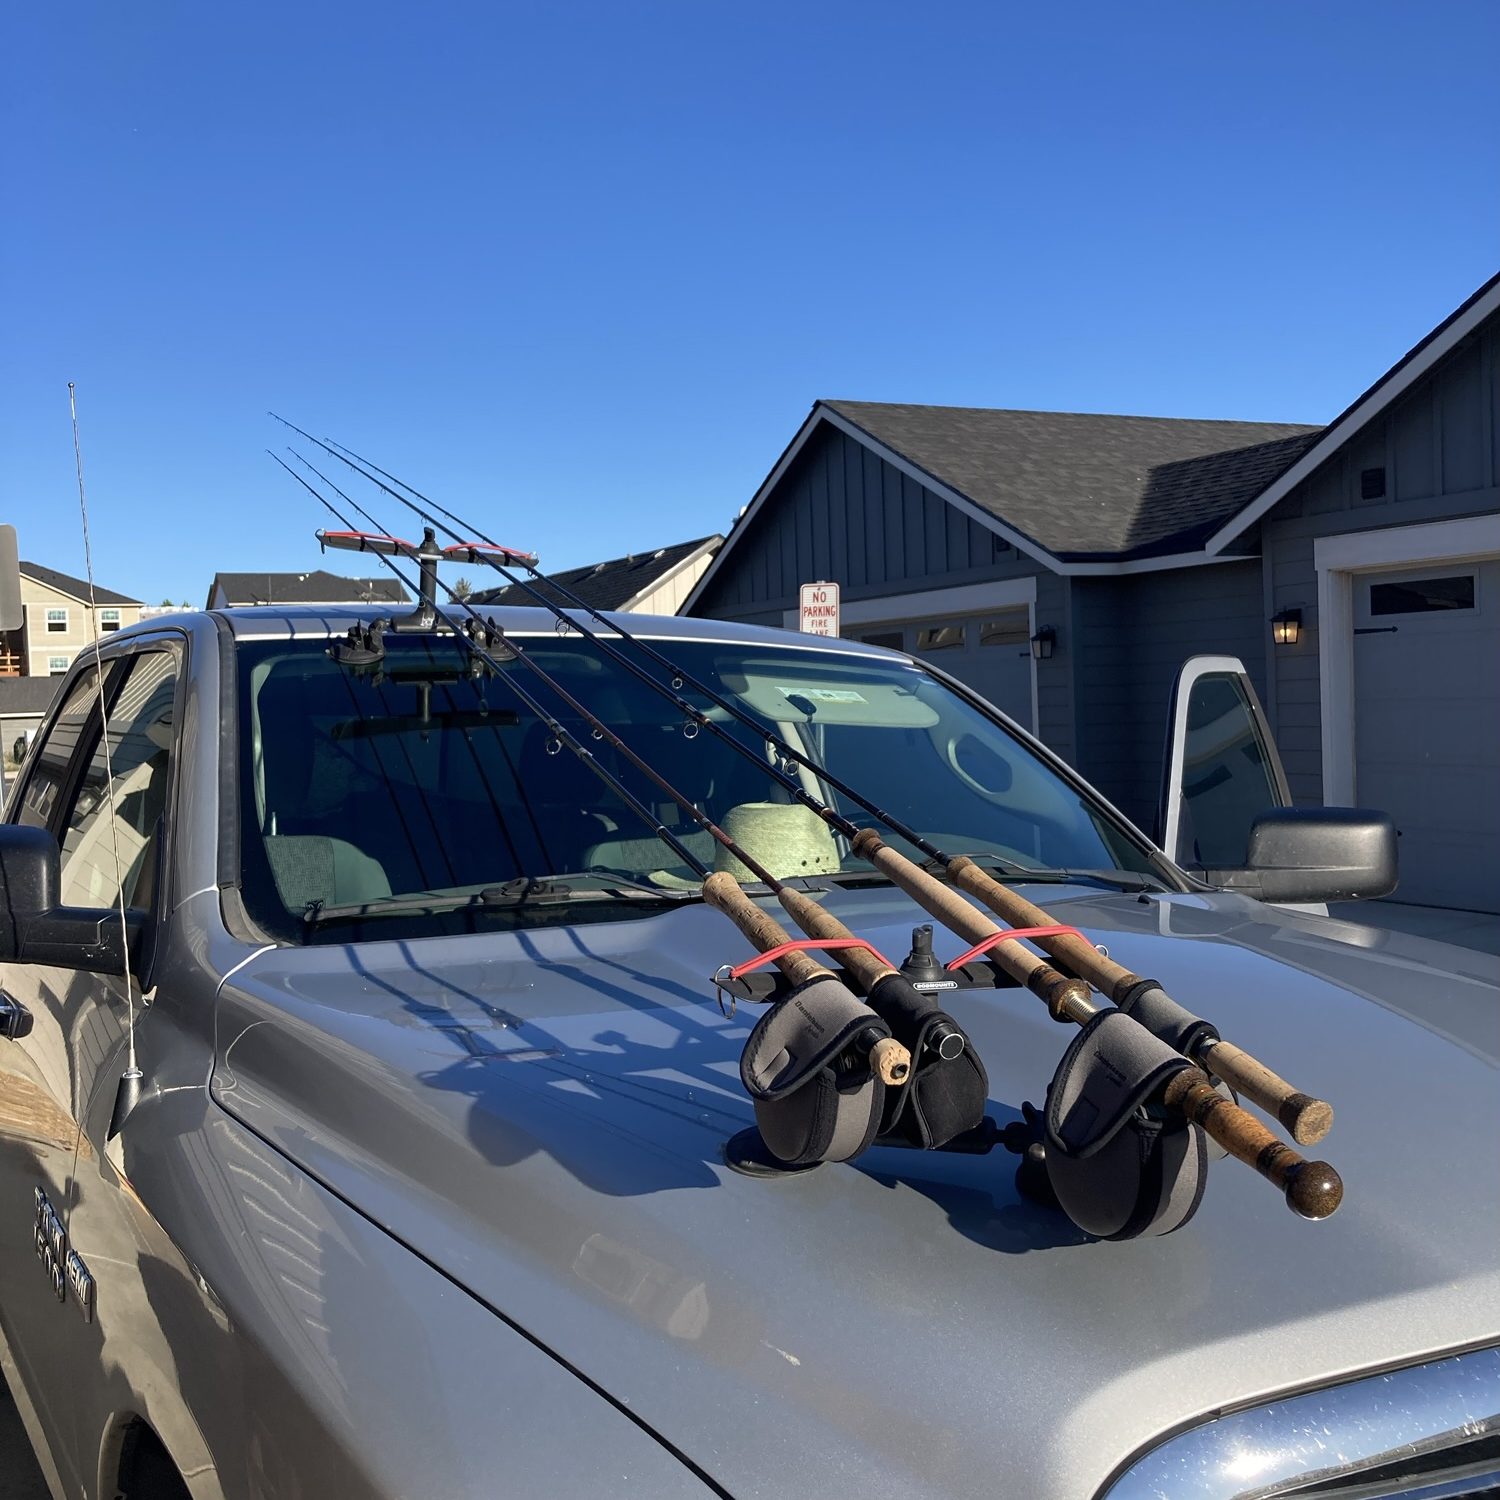
The area around Maupin, a small rafting town, is very fishy and has great road access. While the rest of the river is best accessed by boat, Maupin provides a base camp for anyone wanting to fish off the roadside 10 miles north or south of town.
There’s a stellar fly shop here—The Deschutes Angler. The shop is run by Amy and John Hazel, pioneers in modern steelheading. They can be credited with popularizing the spey rod in the PNW. They’re a wealth of knowledge and passionate about conserving this precious waterway.
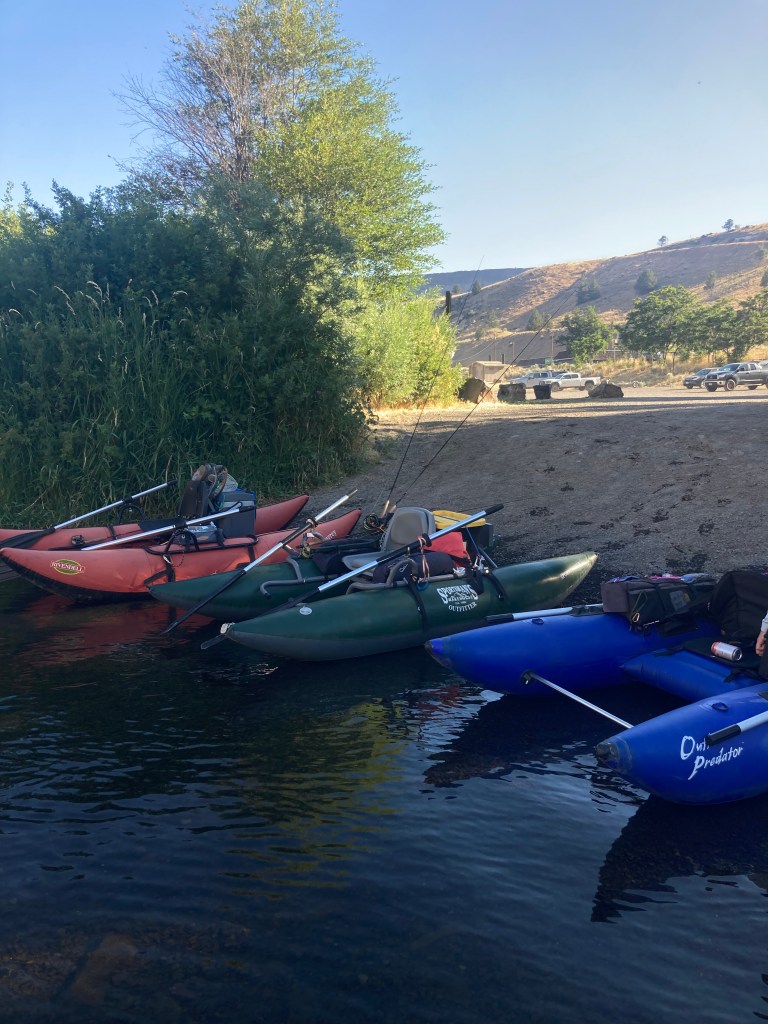
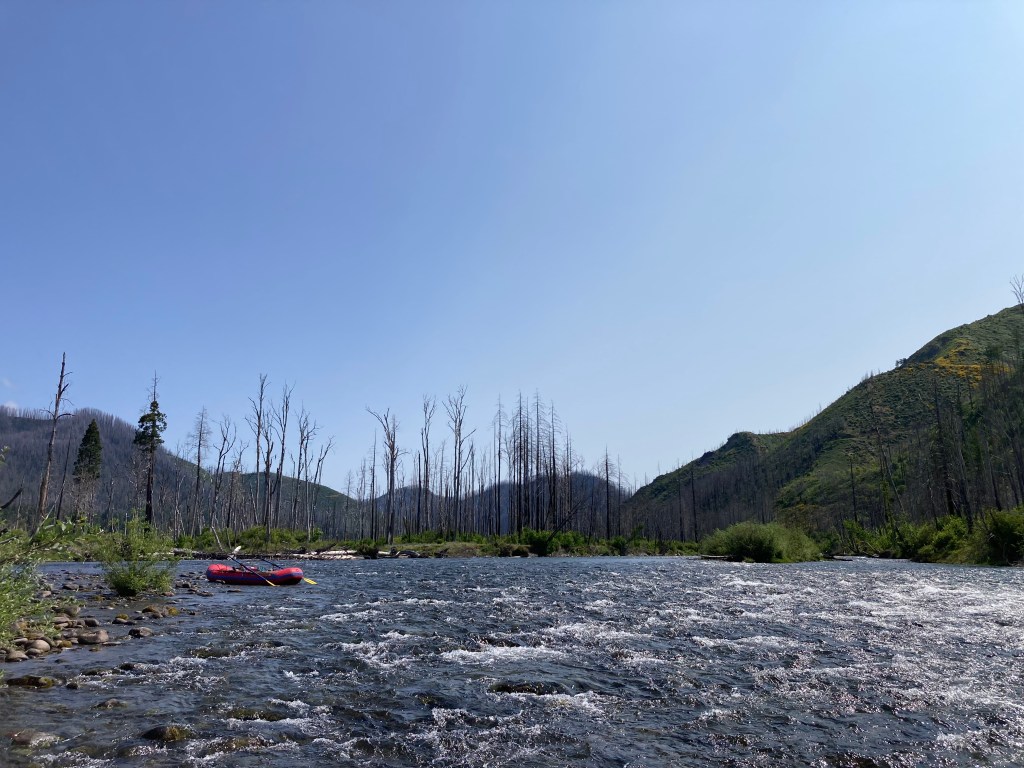
The area below Mack’s Canyon is truly wild. Here, the road ends and the only access is by boat or a long hike down some abandoned railroad tracks. Most boats down here will spend three days floating and fishing their way down to the river mouth at the Columbia River. The area is a brief glimpse of what the river looked like without the interventions of man—before the dams were put in. Wild, scenic, and unforgiving are words that encapsulate the lower reaches of the Deschutes canyon.
Trout and Steelhead: A Four-Season Fishery
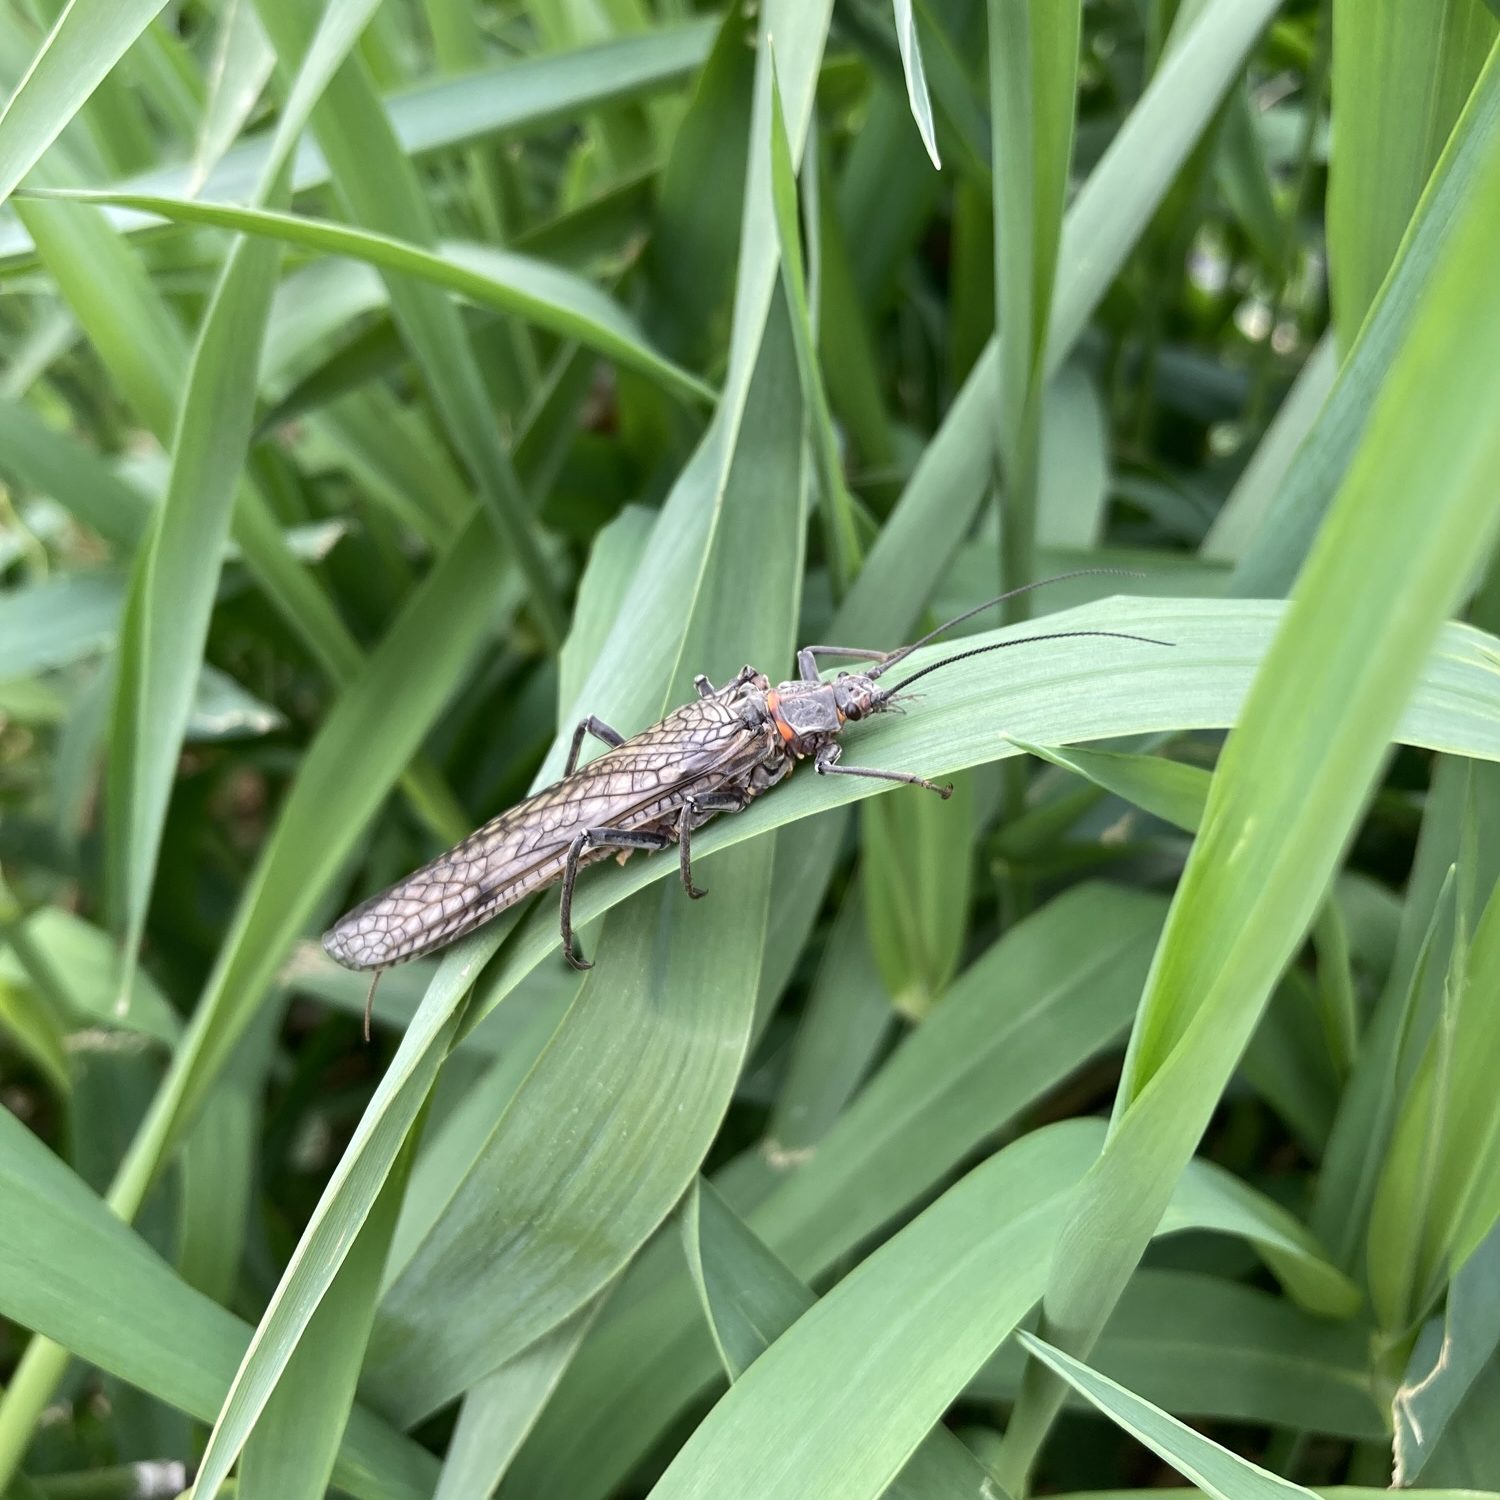
Most of the year, we fish for native redbands on the Lower Deschutes. The fishing really kicks off in May when the salmonfly hatch begins. Bring big bugs: Chubbies, Clark’s Stones, big Stimulators, and the like. I like to fish a dropper under these big bugs—usually a Pheasant Tail or Nick’s Fatass Caddis nymph.
In June, we switch to caddis patterns for the next month or two. Any of your classic caddis patterns will work here, but a dark X-Caddis is probably my favorite. Bring plenty of your standard nymphs, as always.
Fall is when the fishing gets really special. The trout fishing is spectacular—streamer fishing, killer nymphing, mayfly hatches.
Personally, I get fixated on the steelhead. Deschutes steelhead are notoriously willing to rise to a fly presented on a greased line. Think bombers, Steelhead Bees, and skaters when the sun is off the water. In the middle of the day, use a sparsely tied wet fly or an egg-sucking leech to get the job done. No need to go insanely deep since the fish will move for your fly. As the weather cools down, however, we start to throw smaller intruders and Hoh Boh Speys on T-11.
A Couple Notes on Deschutes Etiquette
1. Don’t high- or low-hole anyone.
Especially if you’re floating. The section below the dam complex is 100 miles long. Give everyone some elbow room.
2. Never fish under someone swinging a fly.
This is considered a cardinal sin on the Deschutes—even if it’s a 200-yard run. If you come across your favorite run and see someone swinging flies, politely ask if you can fish behind them. Almost every single time, they’ll say yes and appreciate that you had the consideration to ask. But fish in front of someone, and there might be some fightin’ words—and you’re definitely the one in the wrong.
Your Home Waters
Each of us has a piece of home water that we hold near and dear. For whatever reason, it excites us and recurs in our daydreams. Whether it was a special memory or simply the beauty, we keep coming back to the same stretches of river.
You owe it to yourself to become an expert on your home water and advocate for its conservation. As fly anglers, we develop an intimate understanding of the holistic ecosystem that surrounds the fish: the bugs, the birds, the changing seasons.
It wasn’t until I started fly fishing that I began to notice the disastrous effect humanity has had on the Deschutes River: warm water flowing out of the dam, pH and temperature swings that encourage algae growth, inconsistent insect hatches, and the decreasing sound of songbirds chanting in the background.
You’ll only understand if you devote patience to learning your own home waters.
Learn More
To learn more about conservation efforts on the Deschutes, check out the Deschutes River Alliance.
-T