Blog

  • Hook Selection for Steelhead Dry, Wet, and Traditional Flies: A Deep Dive

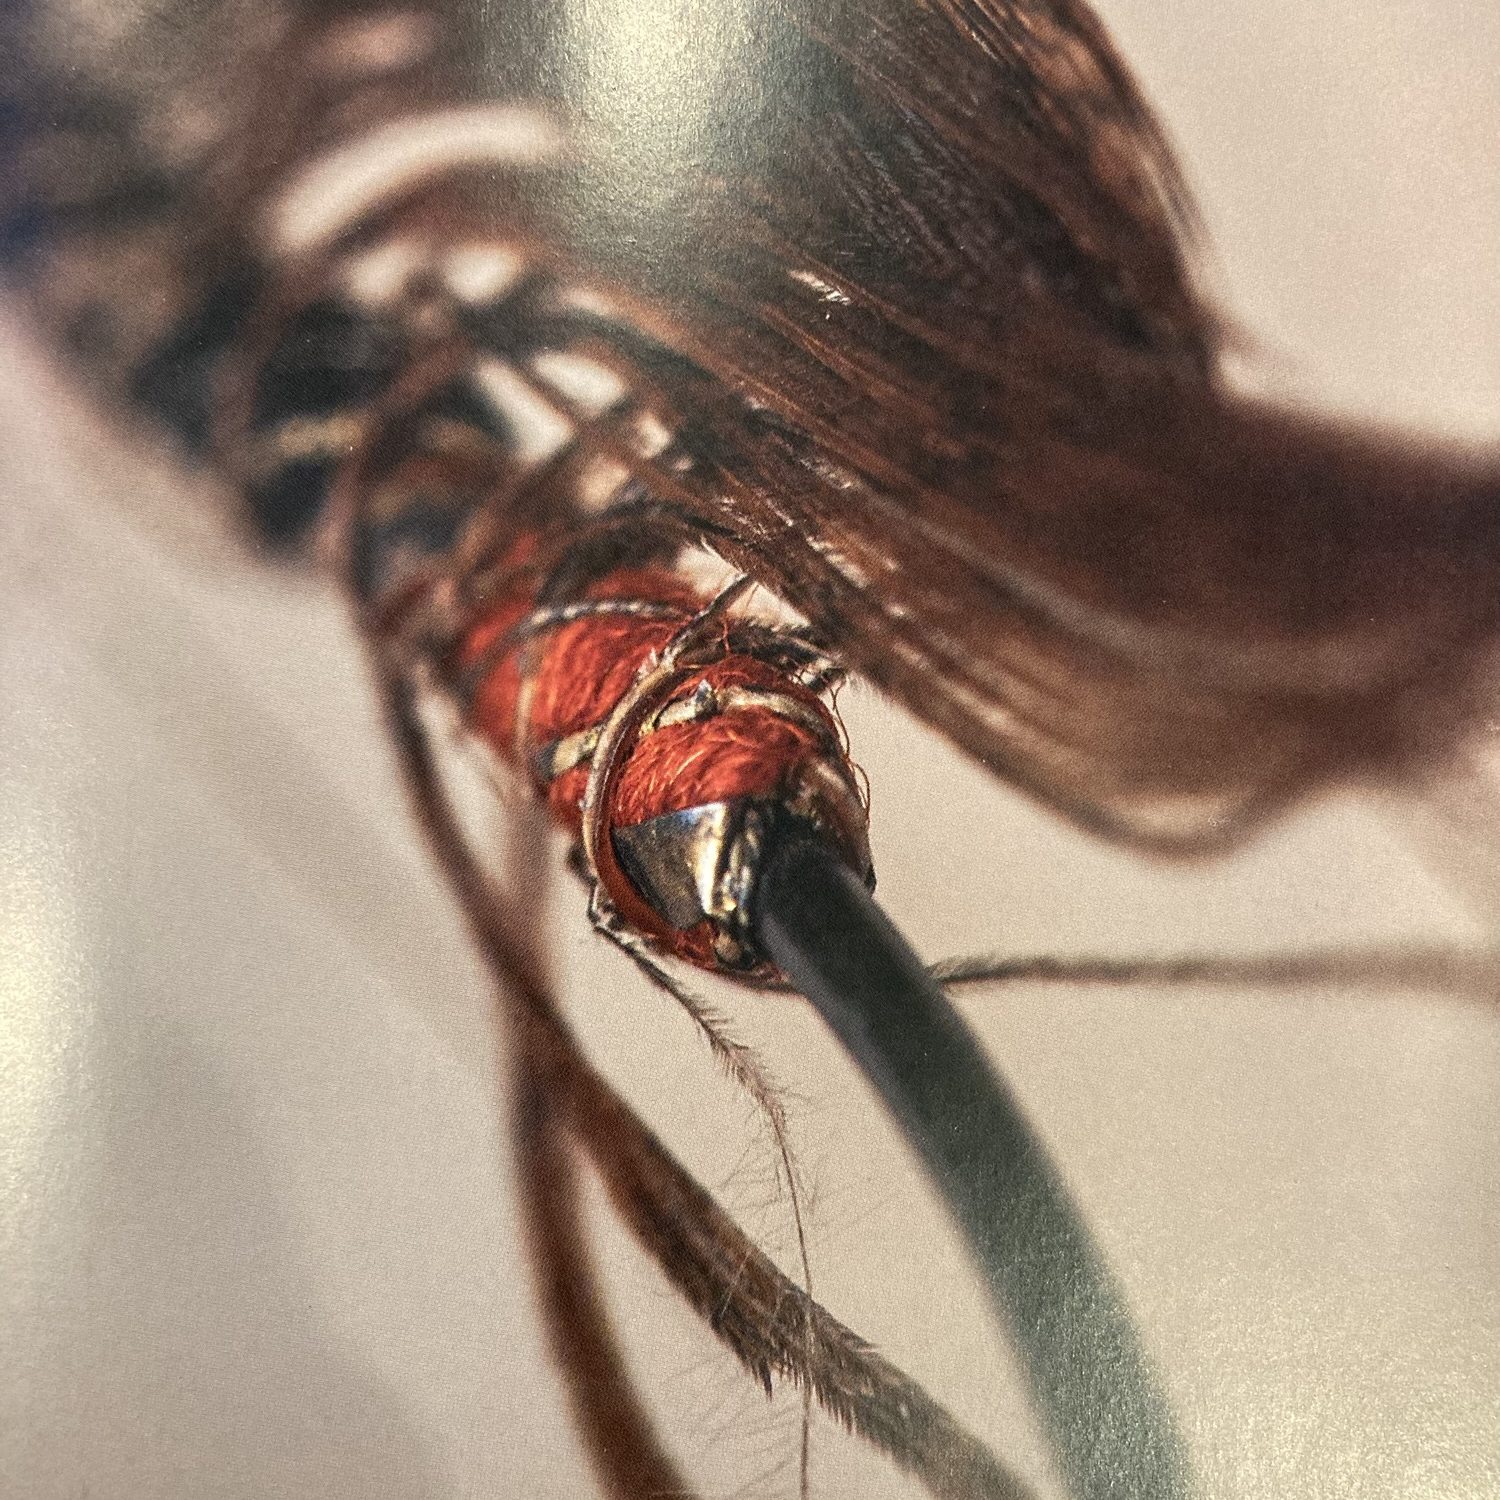
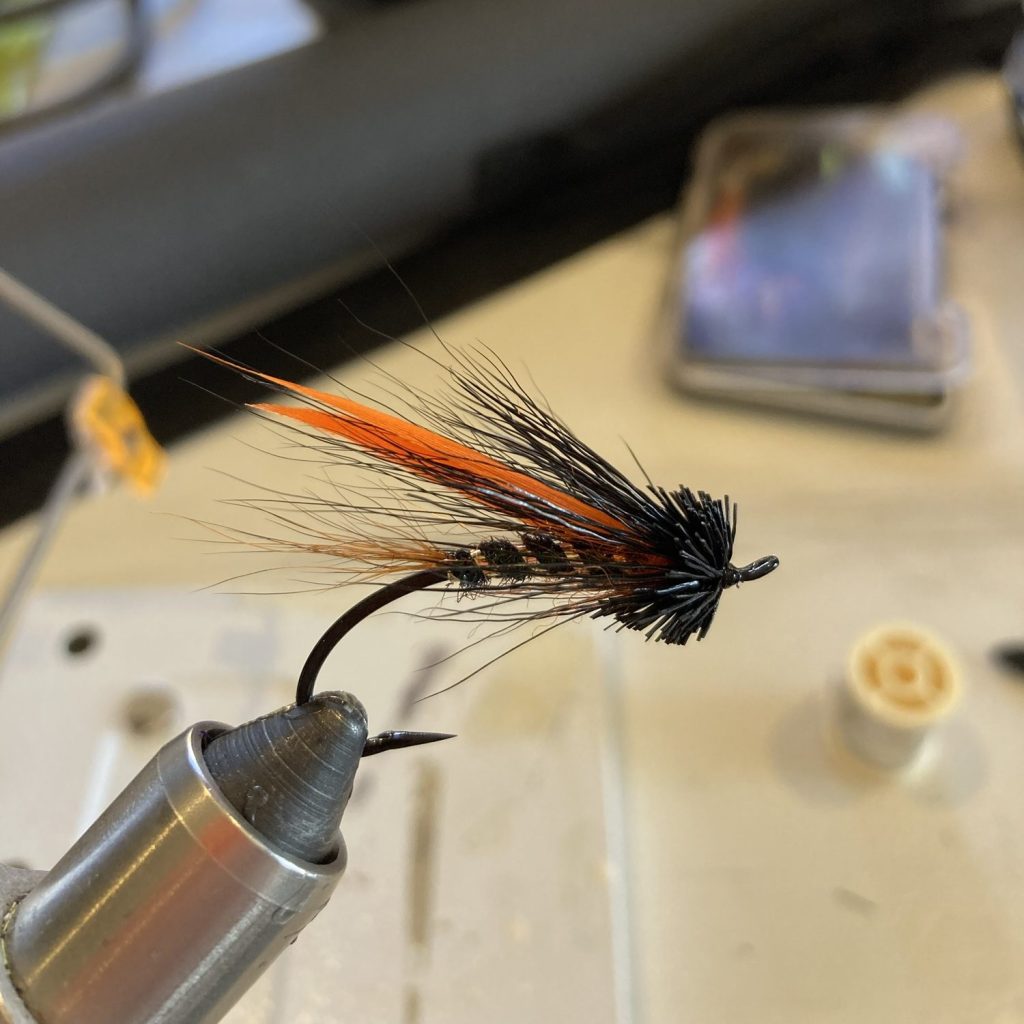
    I tied this Charlie Muddler on an Alec Jackson 2051. It’s a great low water pattern that rides in the surface film when tied sparsely on a thinner gauge hook.

    There are way too many hooks on the market for tying steelhead and salmon bugs, and I’m personally overwhelmed. If you’re like me, you’ve probably gravitated toward one hook brand that seems stout and sharp, then tied on those hooks in a variety of sizes. While there’s nothing wrong with that approach, we can do better as expert anglers. I’m writing to tell you there’s a world of hooks out there that we can explore together. Let’s break it down simply.

    The Format

    I’m not going to discuss hook choice for tube flies or intruders—that’s an entirely different topic. But if you want to know my favorite stinger hook for intruders, let’s just get it out of the way: the Owner SSW with the cutting point.

    This type of post can get overly complicated and confusing, so we’ll break it up into sections: best for dries, best for wets, best for low-water wets, and best for artistry. I’ll give a couple of options for each and then end with a table that makes the information easily digestible. So, without further ado, let’s get into it!

    Best Hooks for Steelhead Dries

    The best hooks for steelhead dry flies—or most greased-line presentations—are going to be light-wire hooks. The challenge is finding a light-wire hook that doesn’t bend out when you lay into a 15-pound buck.

    I personally prefer the Daiichi 2421 for the bulk of my surface presentations. These hooks are strong, sharp out of the box, and don’t have an overly heavy wire gauge. They are also produced in sizes 02 through 12, giving the tyer a lot of flexibility when dialing in profile or sizing down for spooky fish.

    For bombers and flies fished waking, I recommend the Partridge CS42. The down-eye assists in keeping the fly afloat, and the wire is a bit thinner while still maintaining strength. The smooth shank and lack of a return eye make spinning deer and elk hair much simpler. On that note, elk hair is John Hazel’s preferred material for steelhead dries and bombers.

    Best Hooks for Steelhead Wets

    I like beefier hooks for most of my wet flies, which means 1X heavy is the name of the game. In this instance, “1X heavy” simply means the hook is crafted using wire of a gauge typical of one size heavier. For example, a size 6 hook will maintain the regular proportions of a size 6 hook but be forged from wire more typical of a size 4 hook.

    For this purpose, the Tiemco 7999 and Daiichi 2441 are my hooks of choice. They are largely interchangeable, though the Daiichi hooks tend to be more economical.

    The heavier wire helps in a few situations. First, it keeps the fly submerged when fished on a greased line. Second, it helps keep the fly below the sink tip when fished subsurface. Third, it keeps the fly down in faster water. Finally, it helps counteract the natural buoyancy of hairwing flies, since natural materials tend to trap air bubbles.

    Best Hooks for Low-Water Steelhead Flies

    Wet flies for low water need to be tied sparsely and in smaller sizes. Low water often means clear water, which in turn makes fish inherently spookier.

    Low-water flies especially need to be tied sparsely because the hook itself doesn’t do much of the heavy lifting when it comes to keeping the fly submerged. For this purpose, nothing beats the Alec Jackson 2051 hooks. They are commonly found in sizes 1.5 through 07, and don’t be intimidated by the odd sizing.

    Simply put, the Alec Jackson hooks are the sexiest hooks out there. Their proportions lend themselves to tying beautiful wet flies, but the hooks themselves are fairly light despite their gauge. For this reason, I like to relegate them to low water and slower runs. Again, my offerings on these hooks are tied sparsely and typically without a buoyant natural hairwing.

    Best for Artistry

    This section is heavily subjective, but I’ll try my best. For artistry, I believe a hook should be large in size and exhibit beautiful proportions. However, some classic fly styles break the mold. For example, Dee-style flies are often tied on hooks 4X long and beyond.

    My three favorites are the Alec Jackson 2051, Partridge CS16/2Y, and Partridge PHCS6-3/0.

    I’ve already established that the Alec Jackson is the sexiest hook out there. The Partridge CS16/2Y is a close second, featuring a sweeping modified Bartleet bend and dual hooks. It’s a beautiful platform for tying classic dual-hook Atlantic salmon flies.

    The Partridge PHCS6-3/0, however, is specifically marketed toward the artist. The 3/0 platform is ideal for showcasing large patterns intended for framing. The modified Limerick bend is classic and stylish, while the blind eye suits the traditionalist. Indeed, the lack of an eye allows the traditional tyer to lash on gut loops just as the pioneers of fly tying did in Great Britain. It’s a hook truly suited for those enchanted by the history of Spey and Dee flies.
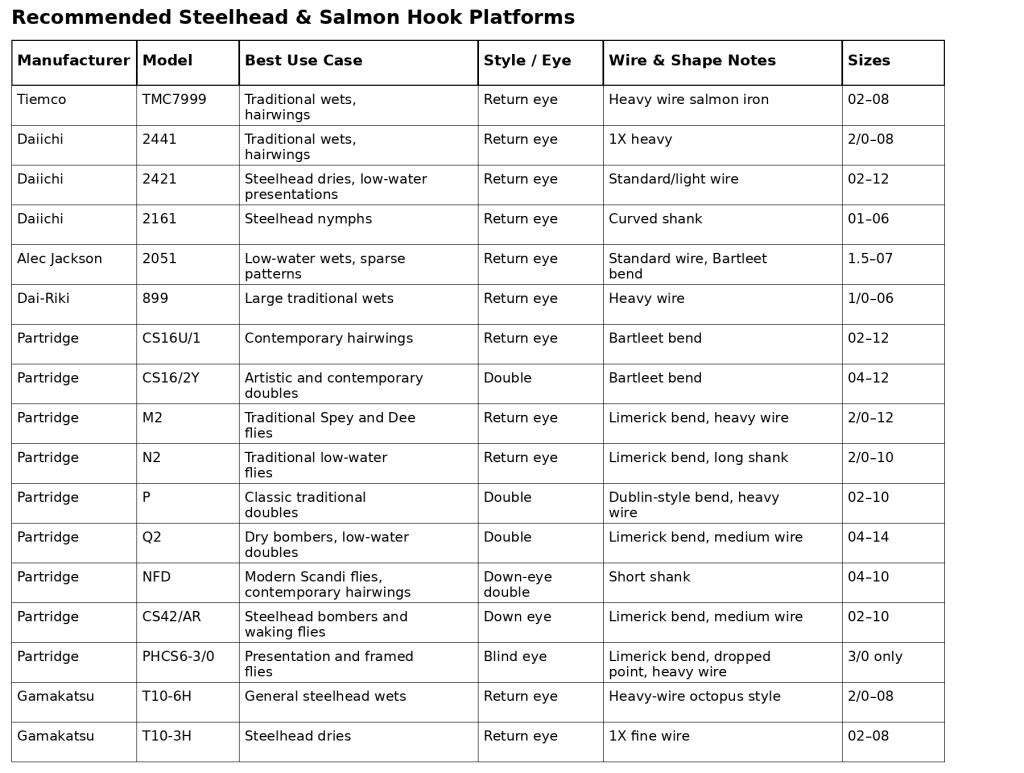
    The following table summarizes some of my favorite hook platforms for steelhead and salmon flies. These are not the only good options on the market, but they each excel in specific applications and fly styles.

    Wrapping It Up

    Don’t settle into a “one-size-fits-all” hook. Each hook is designed with an intended purpose, and it’s up to us as tyers and anglers to adapt to the situation at hand.

    In practical terms, that means tying on larger and heavier hooks for more buoyant patterns, quicker water, or deeper runs. It means purchasing hooks that increase the likelihood that our dries will wake properly. And it means tying sparsely to accommodate the natural sink rates of standard and lighter-gauge hooks.

    The effective steelhead angler ties a variety of patterns in a variety of sizes on a variety of hooks, then switches flies frequently to most effectively fish each run and individual lie that may hold a fish. It’s a concept I’m still working to fully understand myself, and it will probably take a lifetime on the water.

    —T
  • The Sheep Creek Special is the Weirdest Fly You NEED in Your Stillwater Box

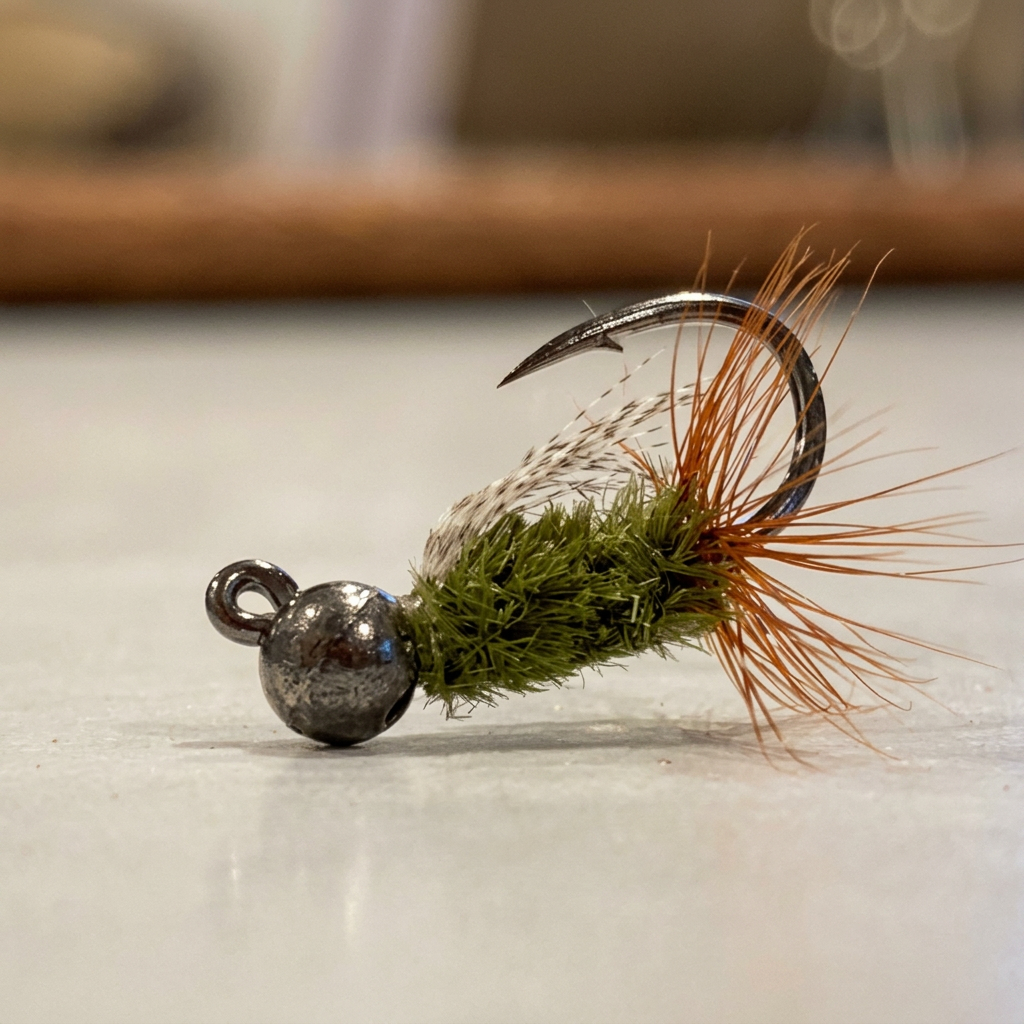
    This Sheep Creek Special is tied in jig style with olive chenille — a testament to the versatility of this fly. I’ve used this version on the deep dangle in 20-30′ of water.

    The Cascade Lakes Highway is open! The road to Paulina is finally open! Indeed, it’s that special time of year when the local roads department does their annual duty of gifting fly fishermen access to some of the most productive and scenic waters in Central Oregon. Even better, there’s a solid month before the rubber hatch when paddleboarders swarm the high lakes. That gives fly fishermen the chance to fish ice-off conditions and some seriously epic callibaetis hatches before the kayakers remember how fun the lakes are too.

    Lakes can be intimidating to fish, and I’m no stranger to the feeling. I’ve spent the past two seasons going a bit harder on the lakes to figure out the secret sauce. Lakes tend to appear daunting and featureless, but you can drum up some seriously high-quality fish if you know where to look. Combine that with a couple of staple fly patterns and Bob’s your uncle! Besides damselfly nymphs, nothing has unlocked the secret of the lakes for me quite like the Sheep Creek Special.

    It’s a Strange-Looking Fly

    Legend has it that the Sheep Creek Special was the brainchild of George Biggs of Jerome, Idaho, who designed it to fish Sheep Creek Reservoir (hence the name). George was fishing one of his standard patterns when the hackle came unraveled and performed better than the intact fly. A little R&D later, and the superstar fly of the 1960s was born!

    It’s an incredibly versatile fly, tied weighted or unweighted in sizes #6–16. It’s a top-notch attractor pattern, and I primarily use it as a searching fly to figure out what depth the fish are cruising at. It’s very impressionistic, loosely mimicking a damselfly in larger sizes and scuds or baetis nymphs in smaller sizes. The fly can be fished on a deep dangle when weighted or slowly retrieved on a floating or intermediate line in skinny water when lightly weighted or unweighted.

    Tying the thing is very unconventional and largely left up to the angler’s interpretation. However, there are two things that give the Sheep Creek Special its signature look: a mallard flank wing and hackle wrapped at the bend of the hook. That’s right — you hackle the back of the hook only. It feels very wrong to do it that way, but it works. The body is typically ribbed and covered in the tier’s choice of dubbing. I’ve personally used Simi Seal, cactus chenille, peacock herl, and the like. I typically raid my olive tones, but you can tie it in black/red, black/tan, bright green — whatever you want, really. For the rear hackle, I generally feel that brown or furnace hen hackles sell the fly to whatever fish is willing to buy.

    A Note on Hook Choice

    Your hook seriously dictates the intended impression and performance of this pattern. I like to tie these on heavier-wire hooks for a couple of reasons. First, healthy lakes tend to rear larger specimens of fish, and I don’t want to give the hook an excuse to bend out. Second, I like the weight of the hook to counteract the buoyancy of my materials and provide at least a little bit of sink. That’s because I like to slowly retrieve a lot of my lake offerings on a floating line with an unweighted fly when I can get away with it.

    The Tiemco 3761

    Specifically, the TMC 3761 is a solid hook that gets the job done for most of the Sheep Creek Specials that I tie. This wet fly hook gives a decent callibaetis profile in smaller sizes and does a fine job with a damselfly profile in the larger sizes. I also like to tie them on a TMC 2457 when going for more of a scud vibe with the fly. The Daiichi 1560 is a good substitute for the TMC 3761, and the Daiichi 1120 is a good substitute for the TMC 2457.

    The Tiemco 2457

    It’s Up to You to Tie Your Favorite Rendition of the Sheep Creek Special

    It’s a versatile attractor wet fly that can be tailored to your favorite lakes. Remember that the larger sizes do well on a straight-shank, heavy-wire hook for damselfly nymph imitations, while the smaller sizes accurately represent the scuds and resident nymphs in your nearby lake. It’s a weird-looking fly, I know, but it’s an easy tie that is sure to pay dividends. Build out a row in your stillwater box and see what I mean.

    — T

  • Welcome to Paradise! Camping and Fly Fishing the McKenzie River

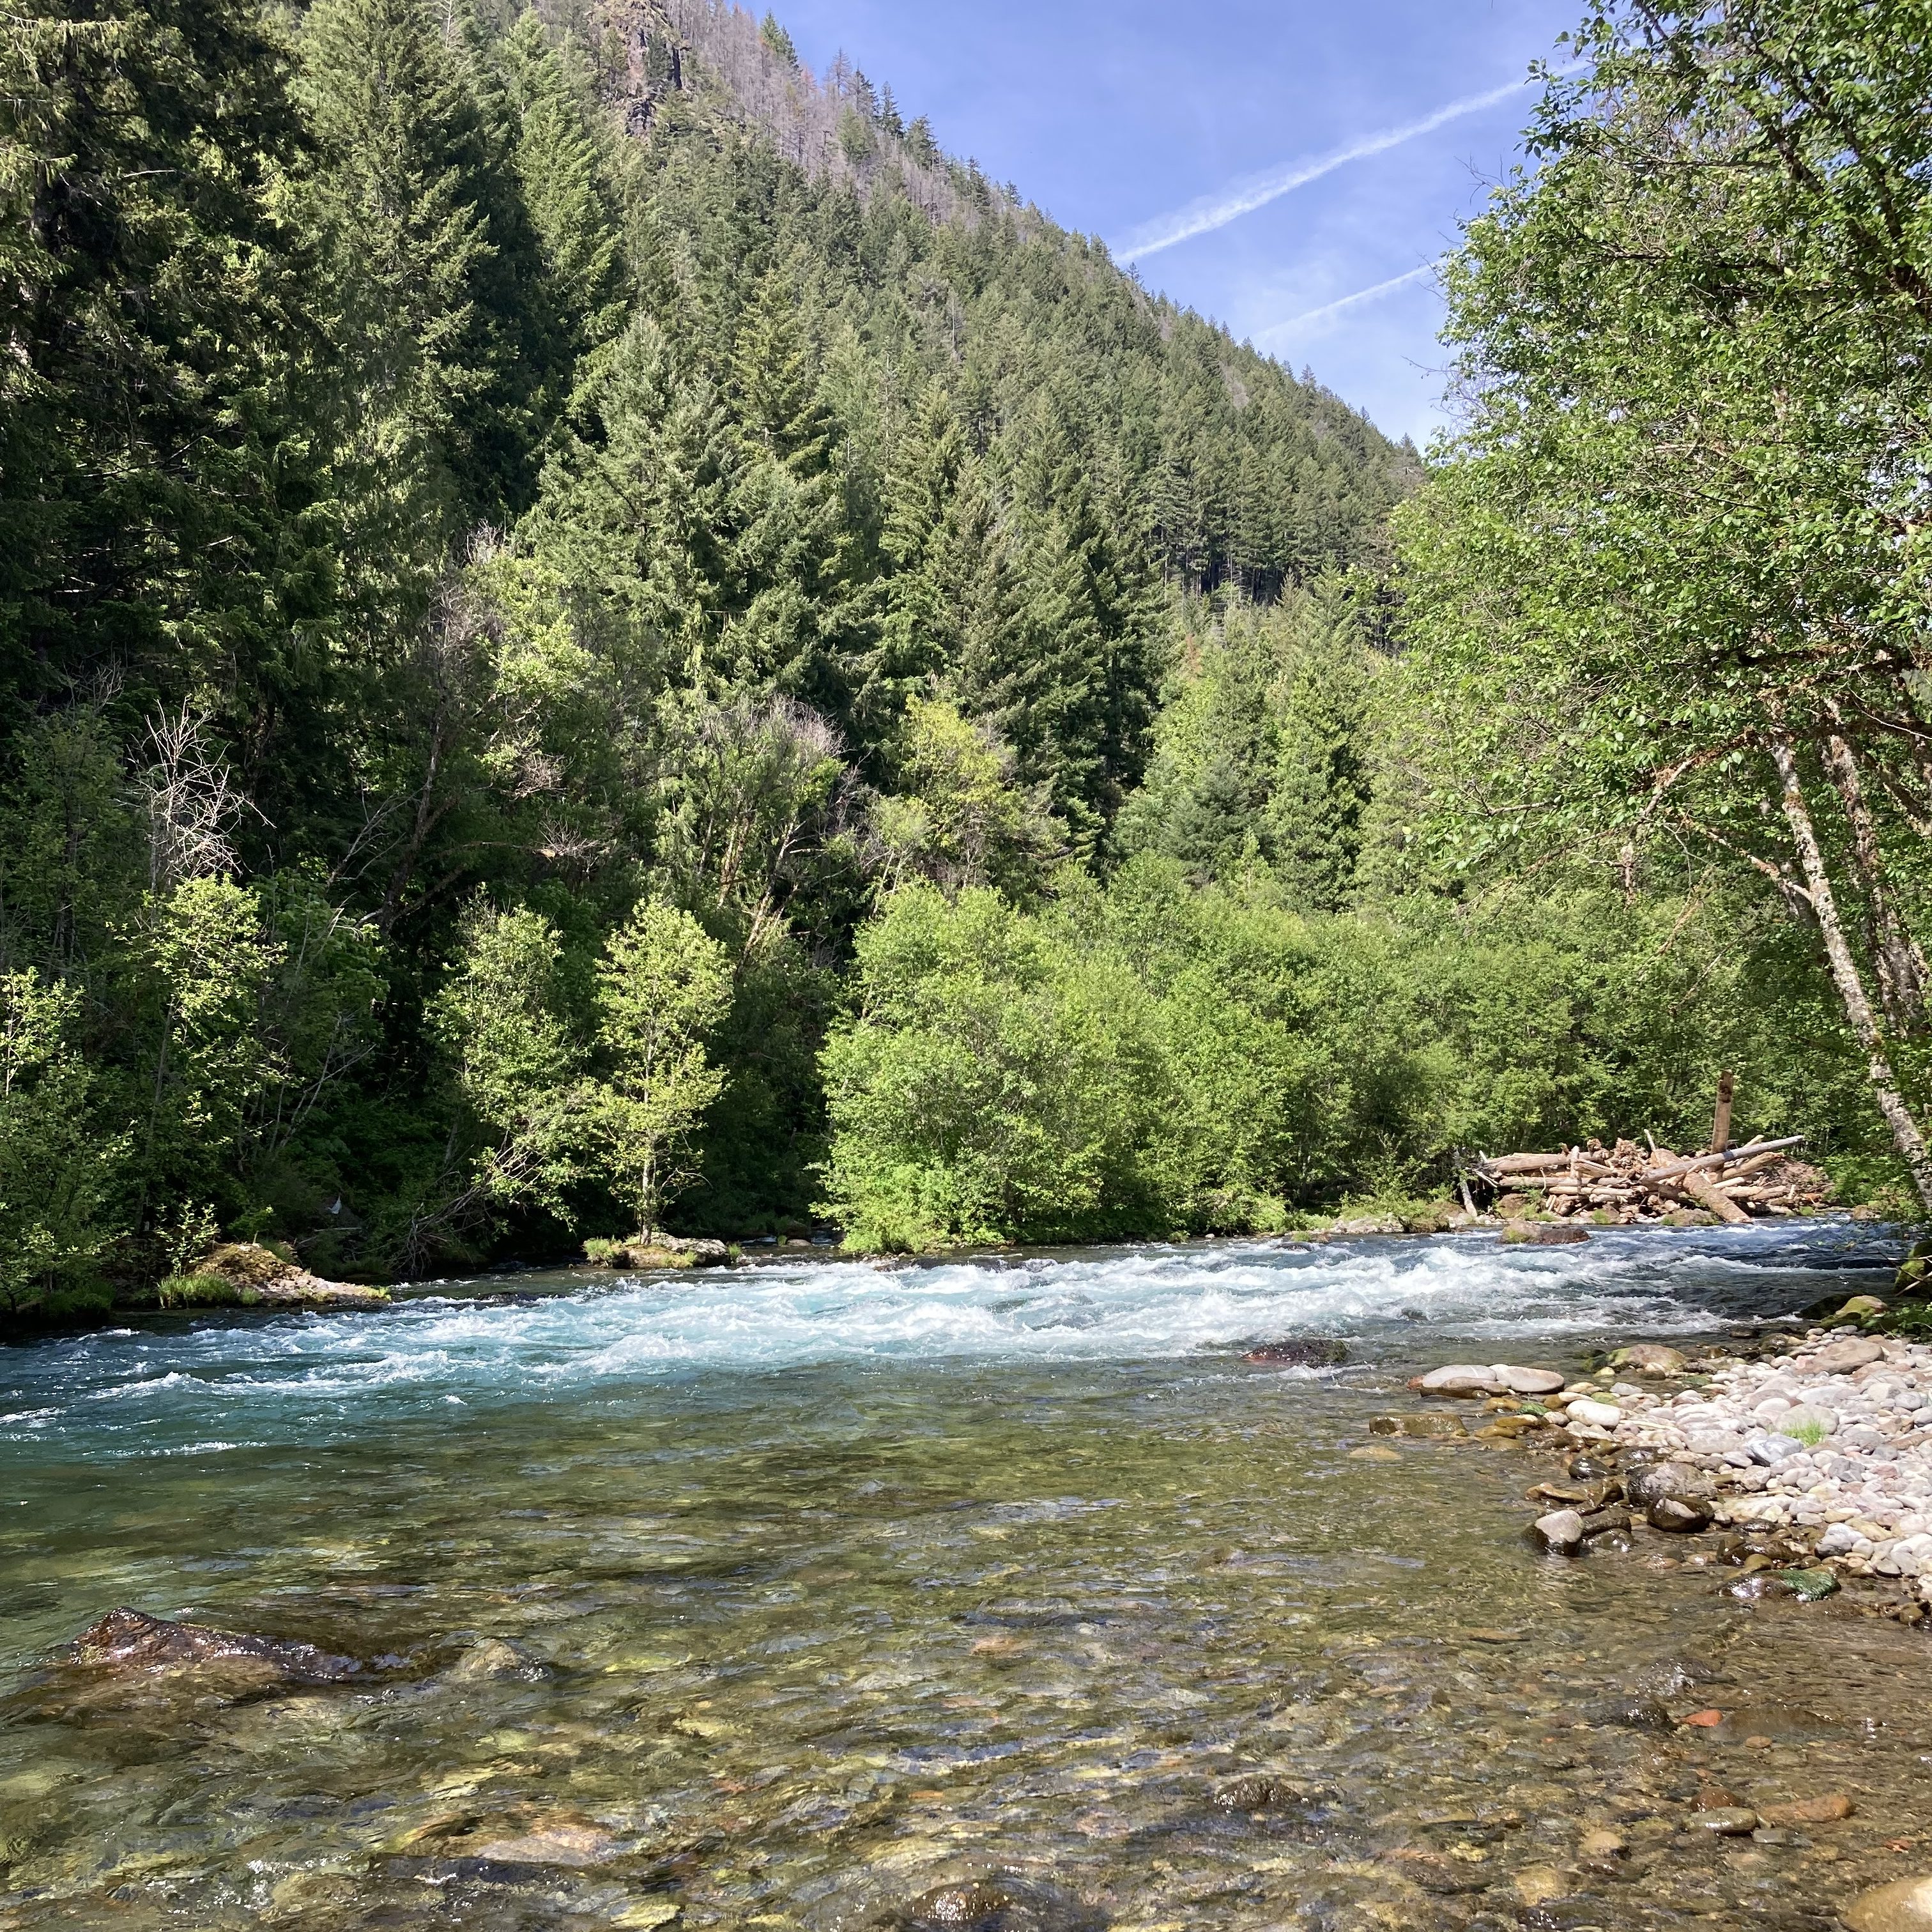
    A churning rapid drops in to a fishy run under a formidable log jam.

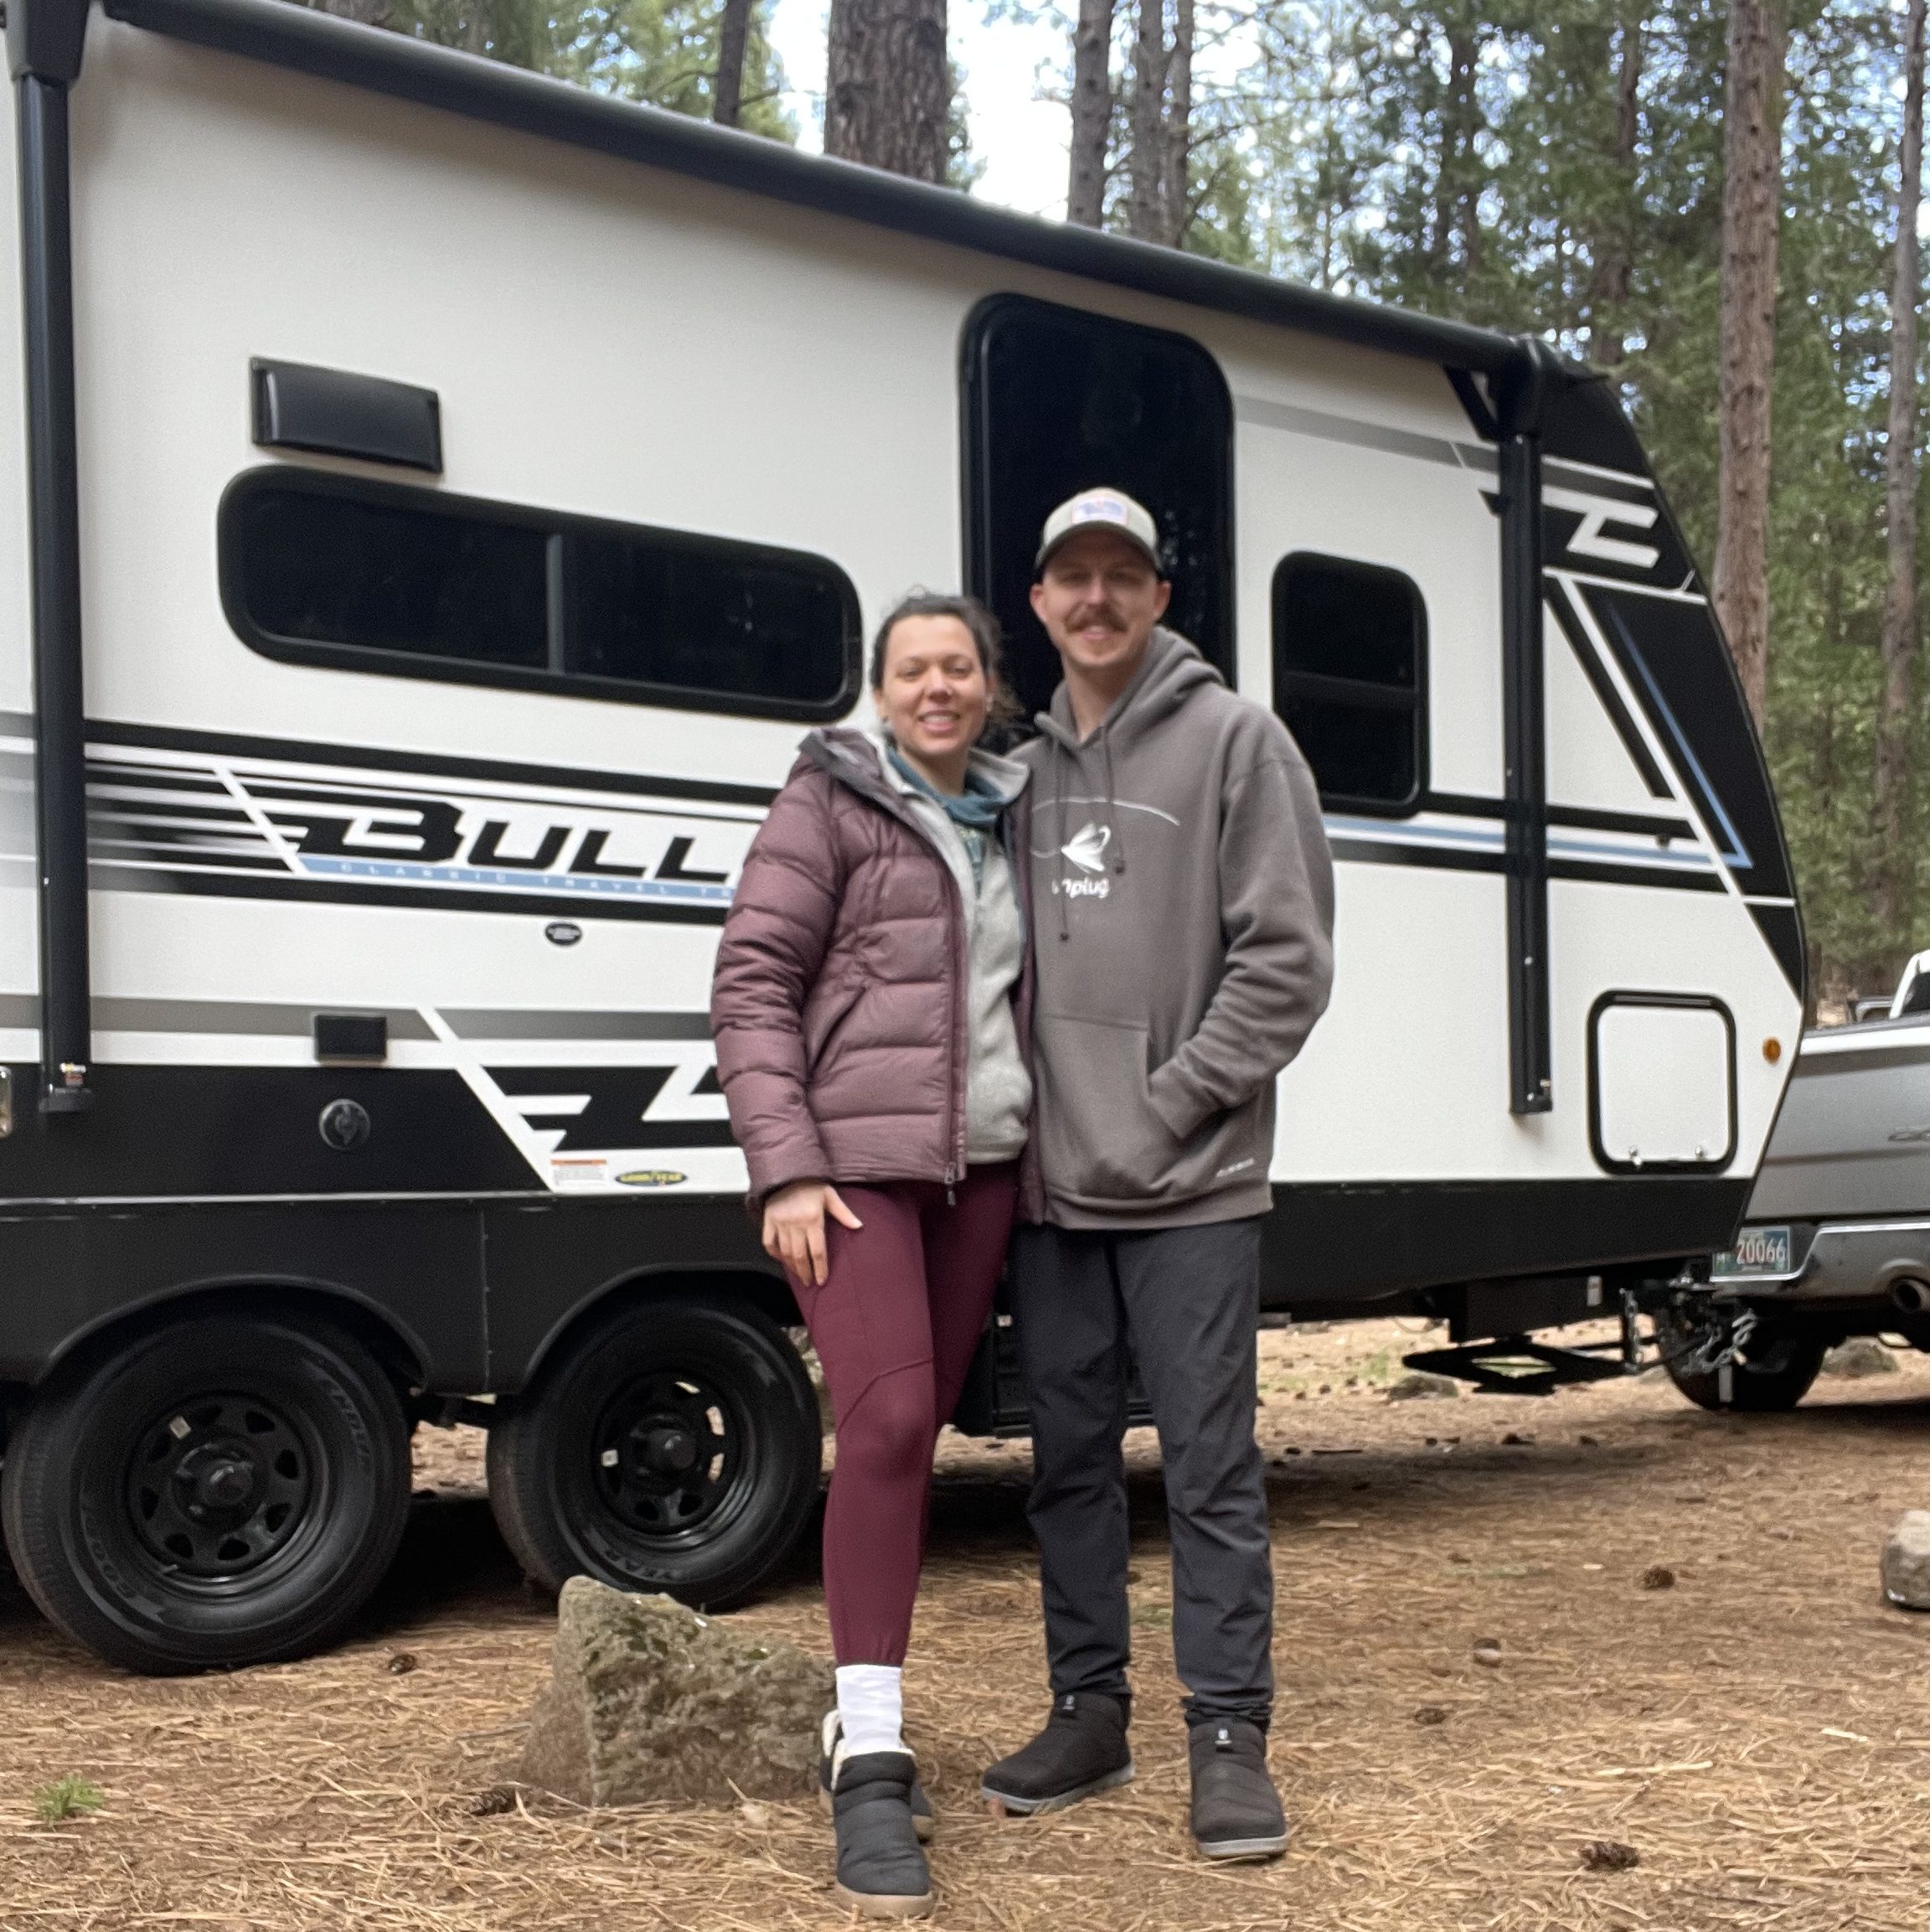
    Kate and I booked a site at Paradise Campground the day after we purchased our 2025 Keystone Bullet, so we’ve been looking forward to this trip for a few months. We’ve already taken our rig to the Metolius — twice — but this was our first time RVing out on the McKenzie. The next time we camp here will be for a full week in July when I take my wooden drift boat-building class. Did I mention I signed up to learn how to build boats? I digress.

    Paradise Campground Sits on the Banks of the McKenzie River

    Many of the sites are situated right along the river, but all of them are graced by the roaring rapids that make the Mac a household name. As far as fishing goes, there is plenty to go around if you know where to look.

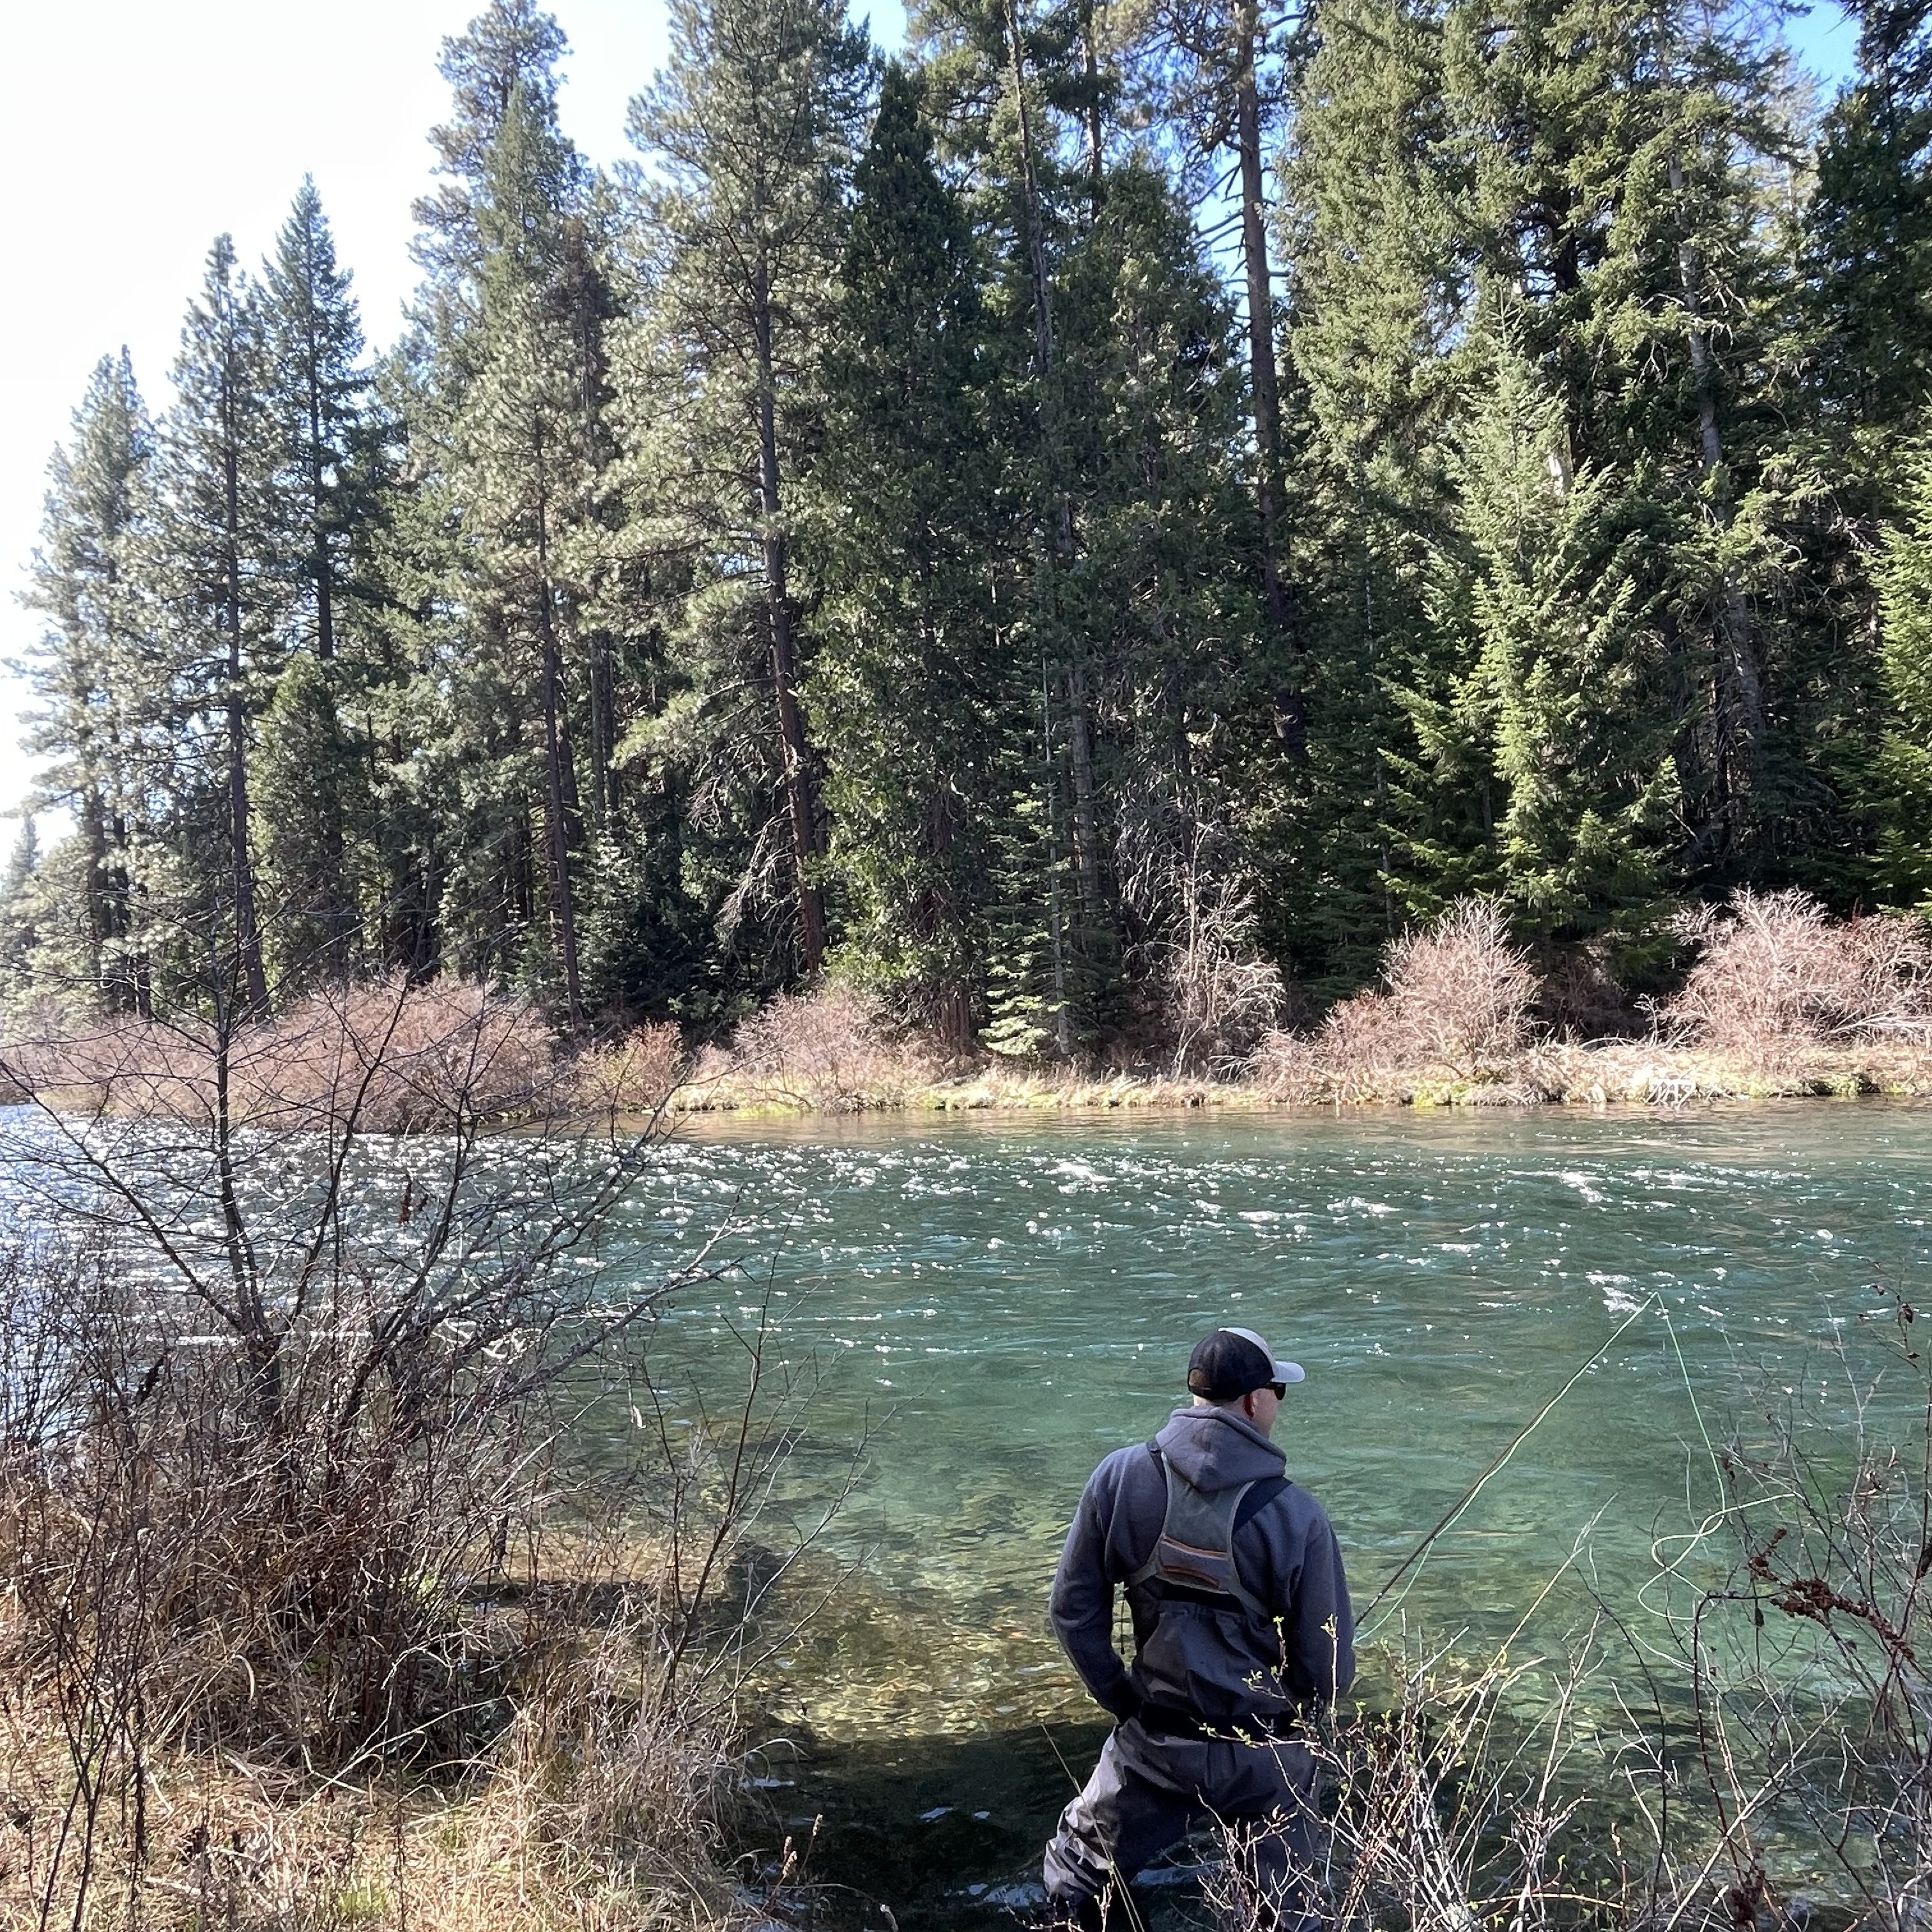
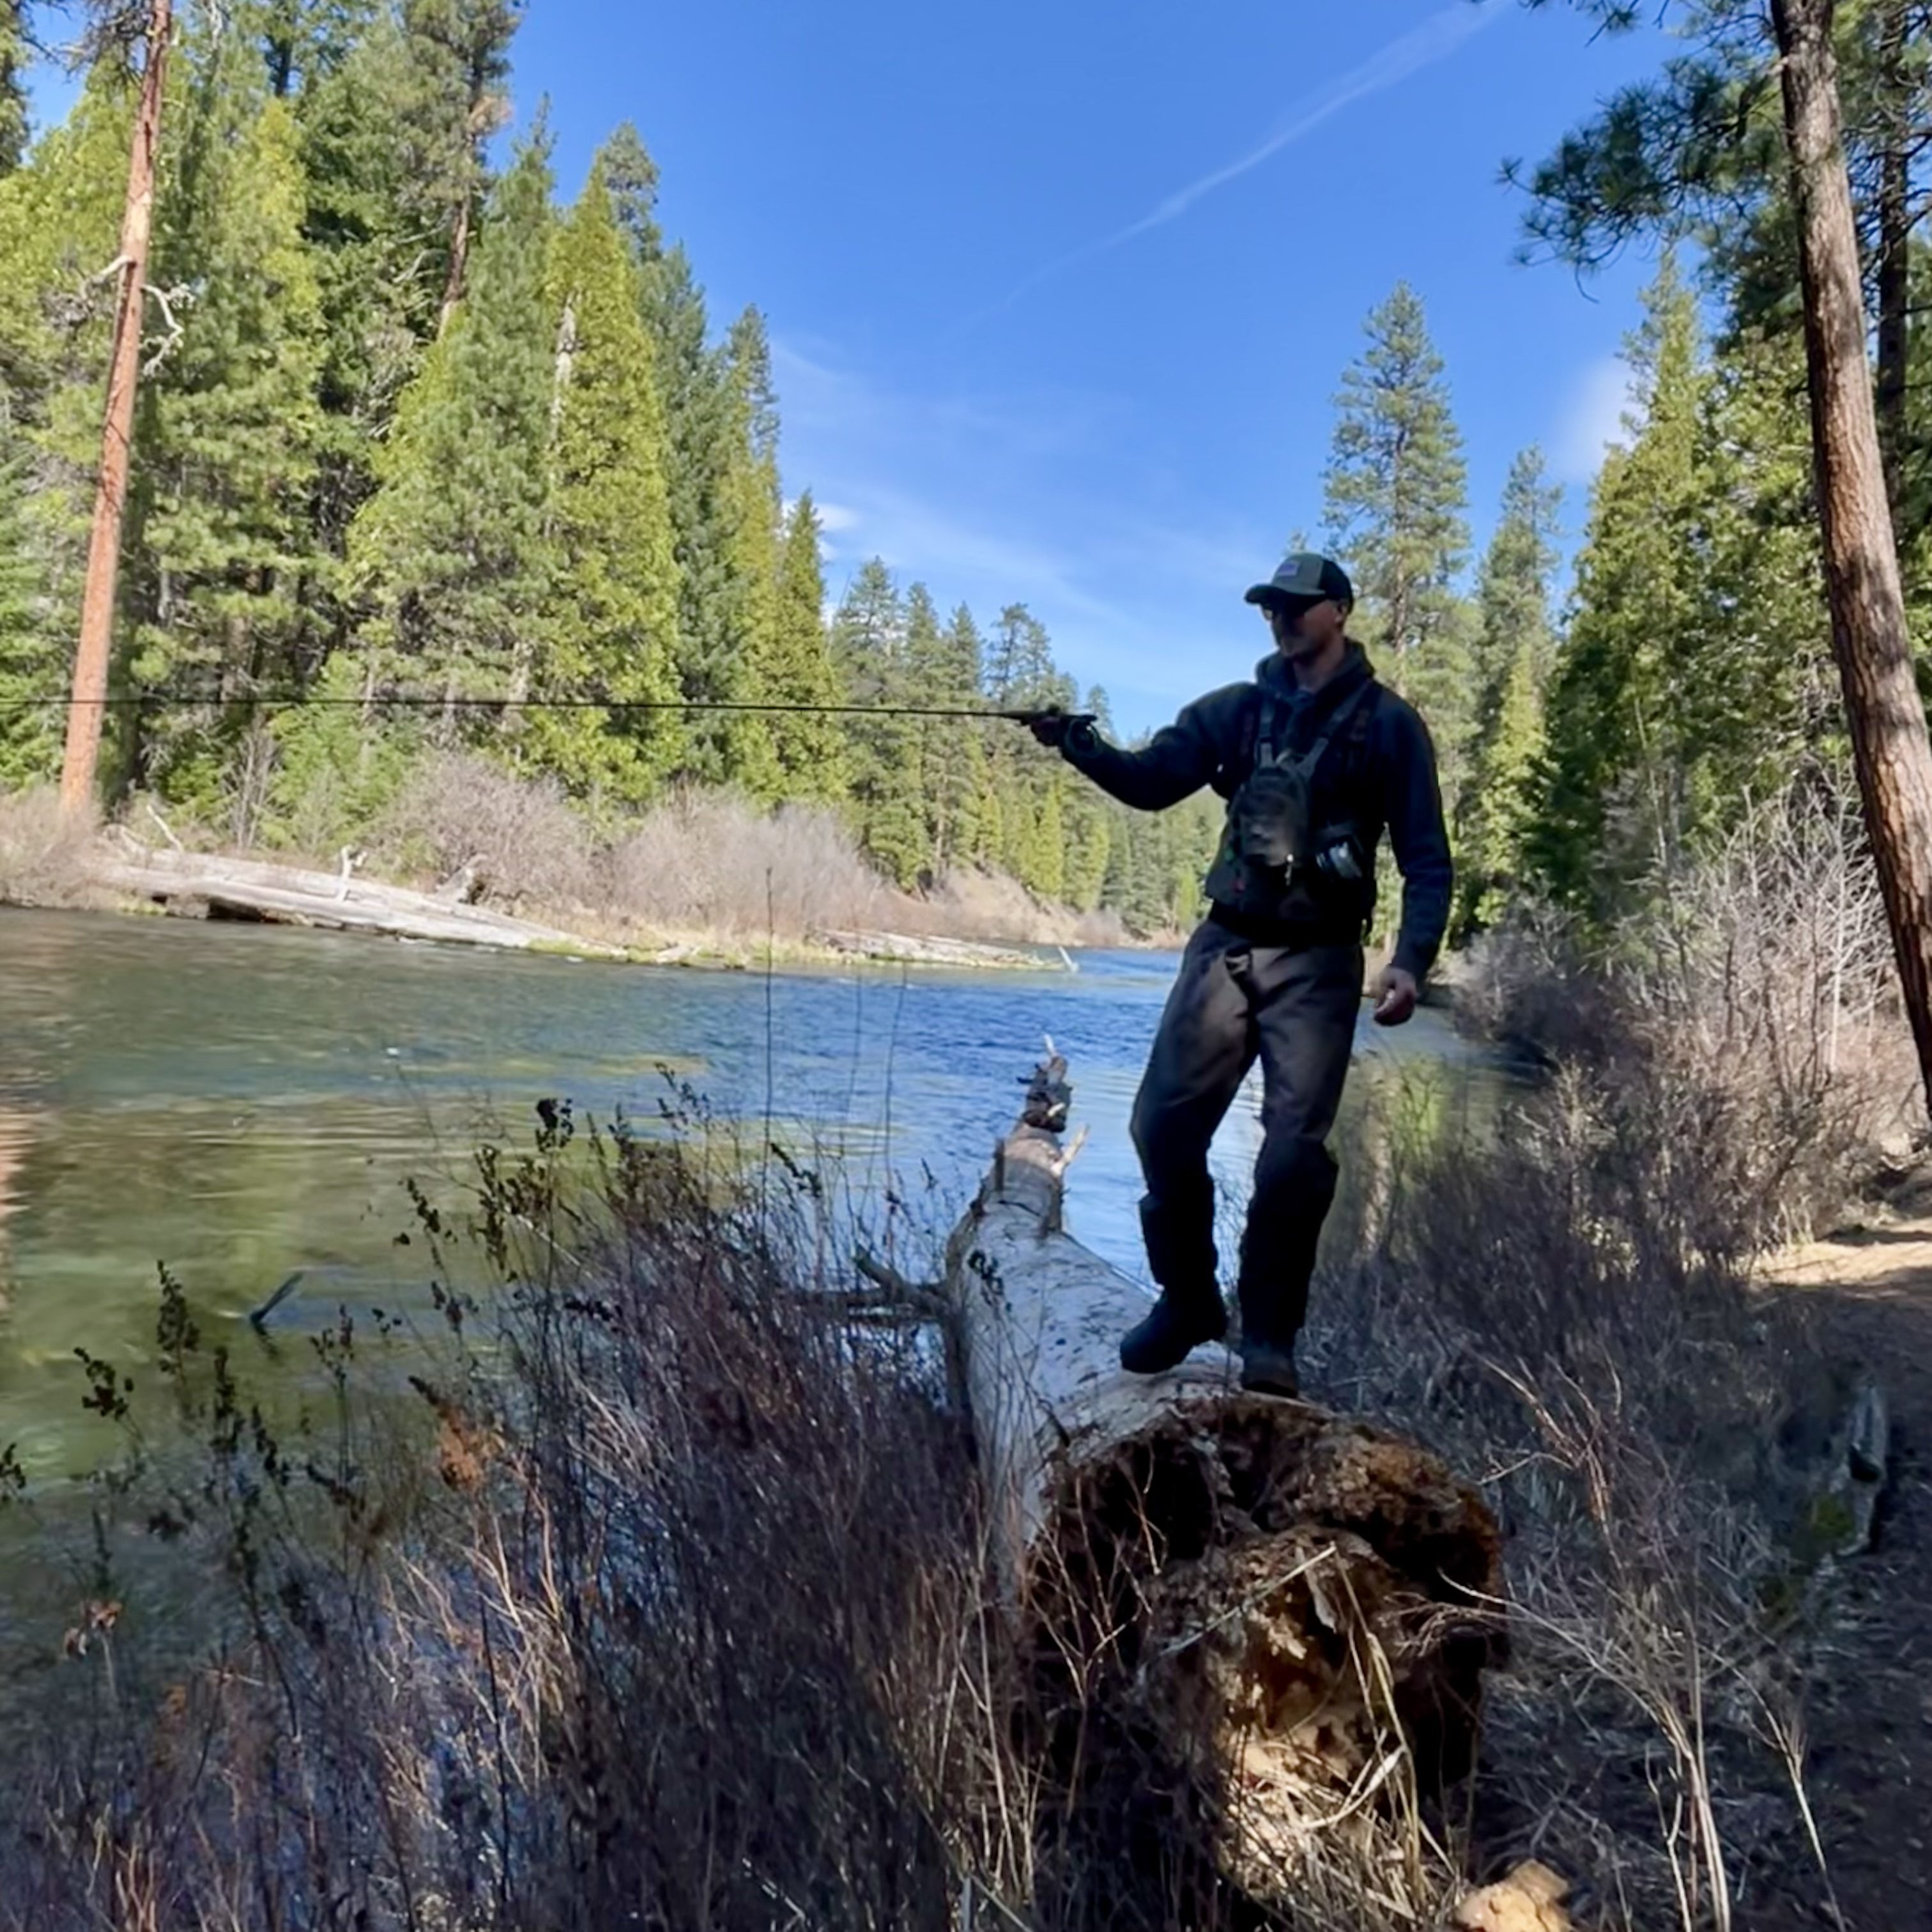
    I spent my time fishing the camp water and the two miles above and below camp. Access is challenging and best found off the McKenzie River Trail, which runs directly through the campground, though some choice glides can be found at the downstream end of camp. Some of the best water I found was closer to the ranger station. Again, a quick detour off the trail led me to terrific pocket water full of eager native rainbows and cutthroats.

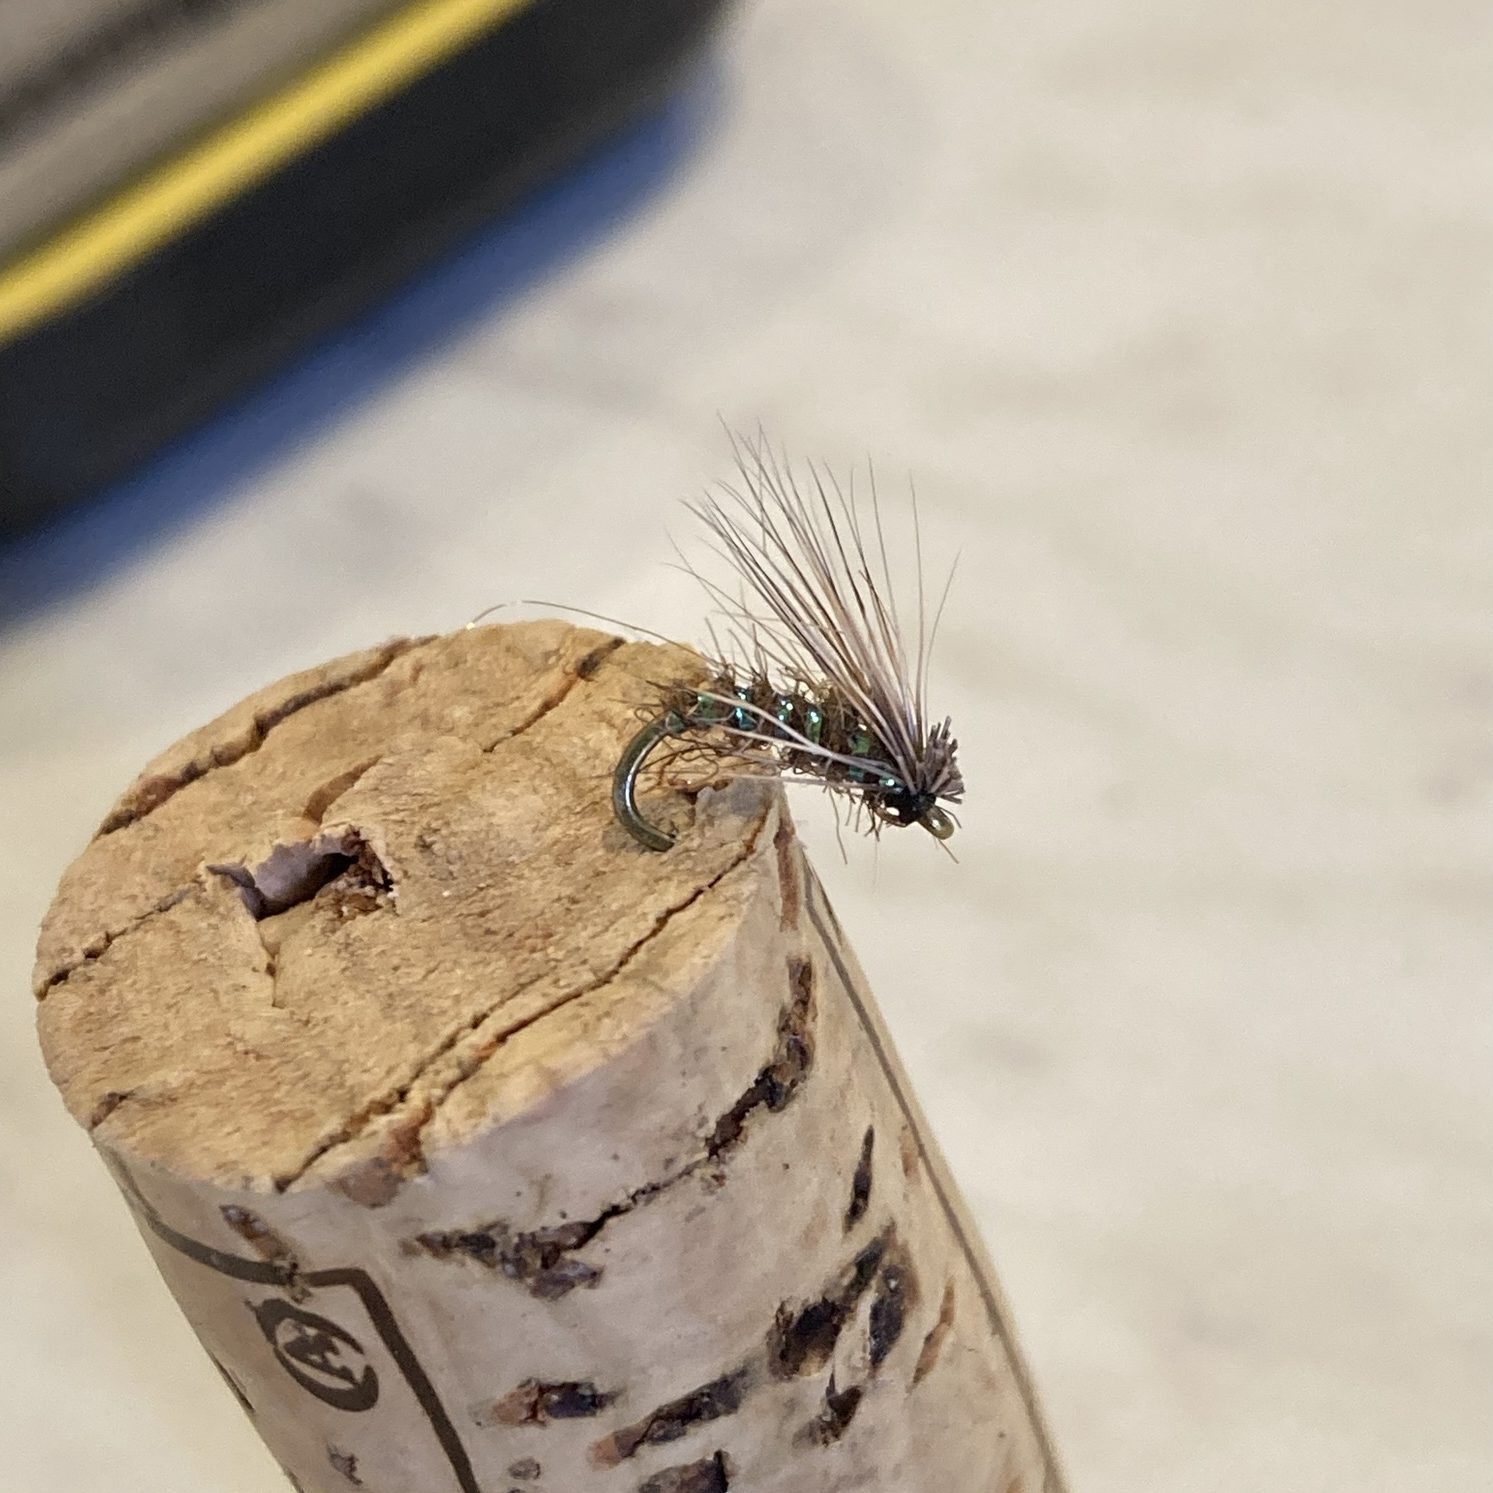
    I fished my new fiberglass rod and Hardy Ultralight reel with a Rosenhopper and an olive-thread Frenchie at the end of my tippet. However, I probably could’ve done without the nymph since the fish were so surface-oriented. This setup got the job done, and the only time I swapped out the Frenchie was to fish an evening caddis emergence with a sparsely tied deer hair wet fly. My streamer rod rocked a white and olive sparkle minnow, but it didn’t see much action. I go to the Mac to fish dry flies, after all…

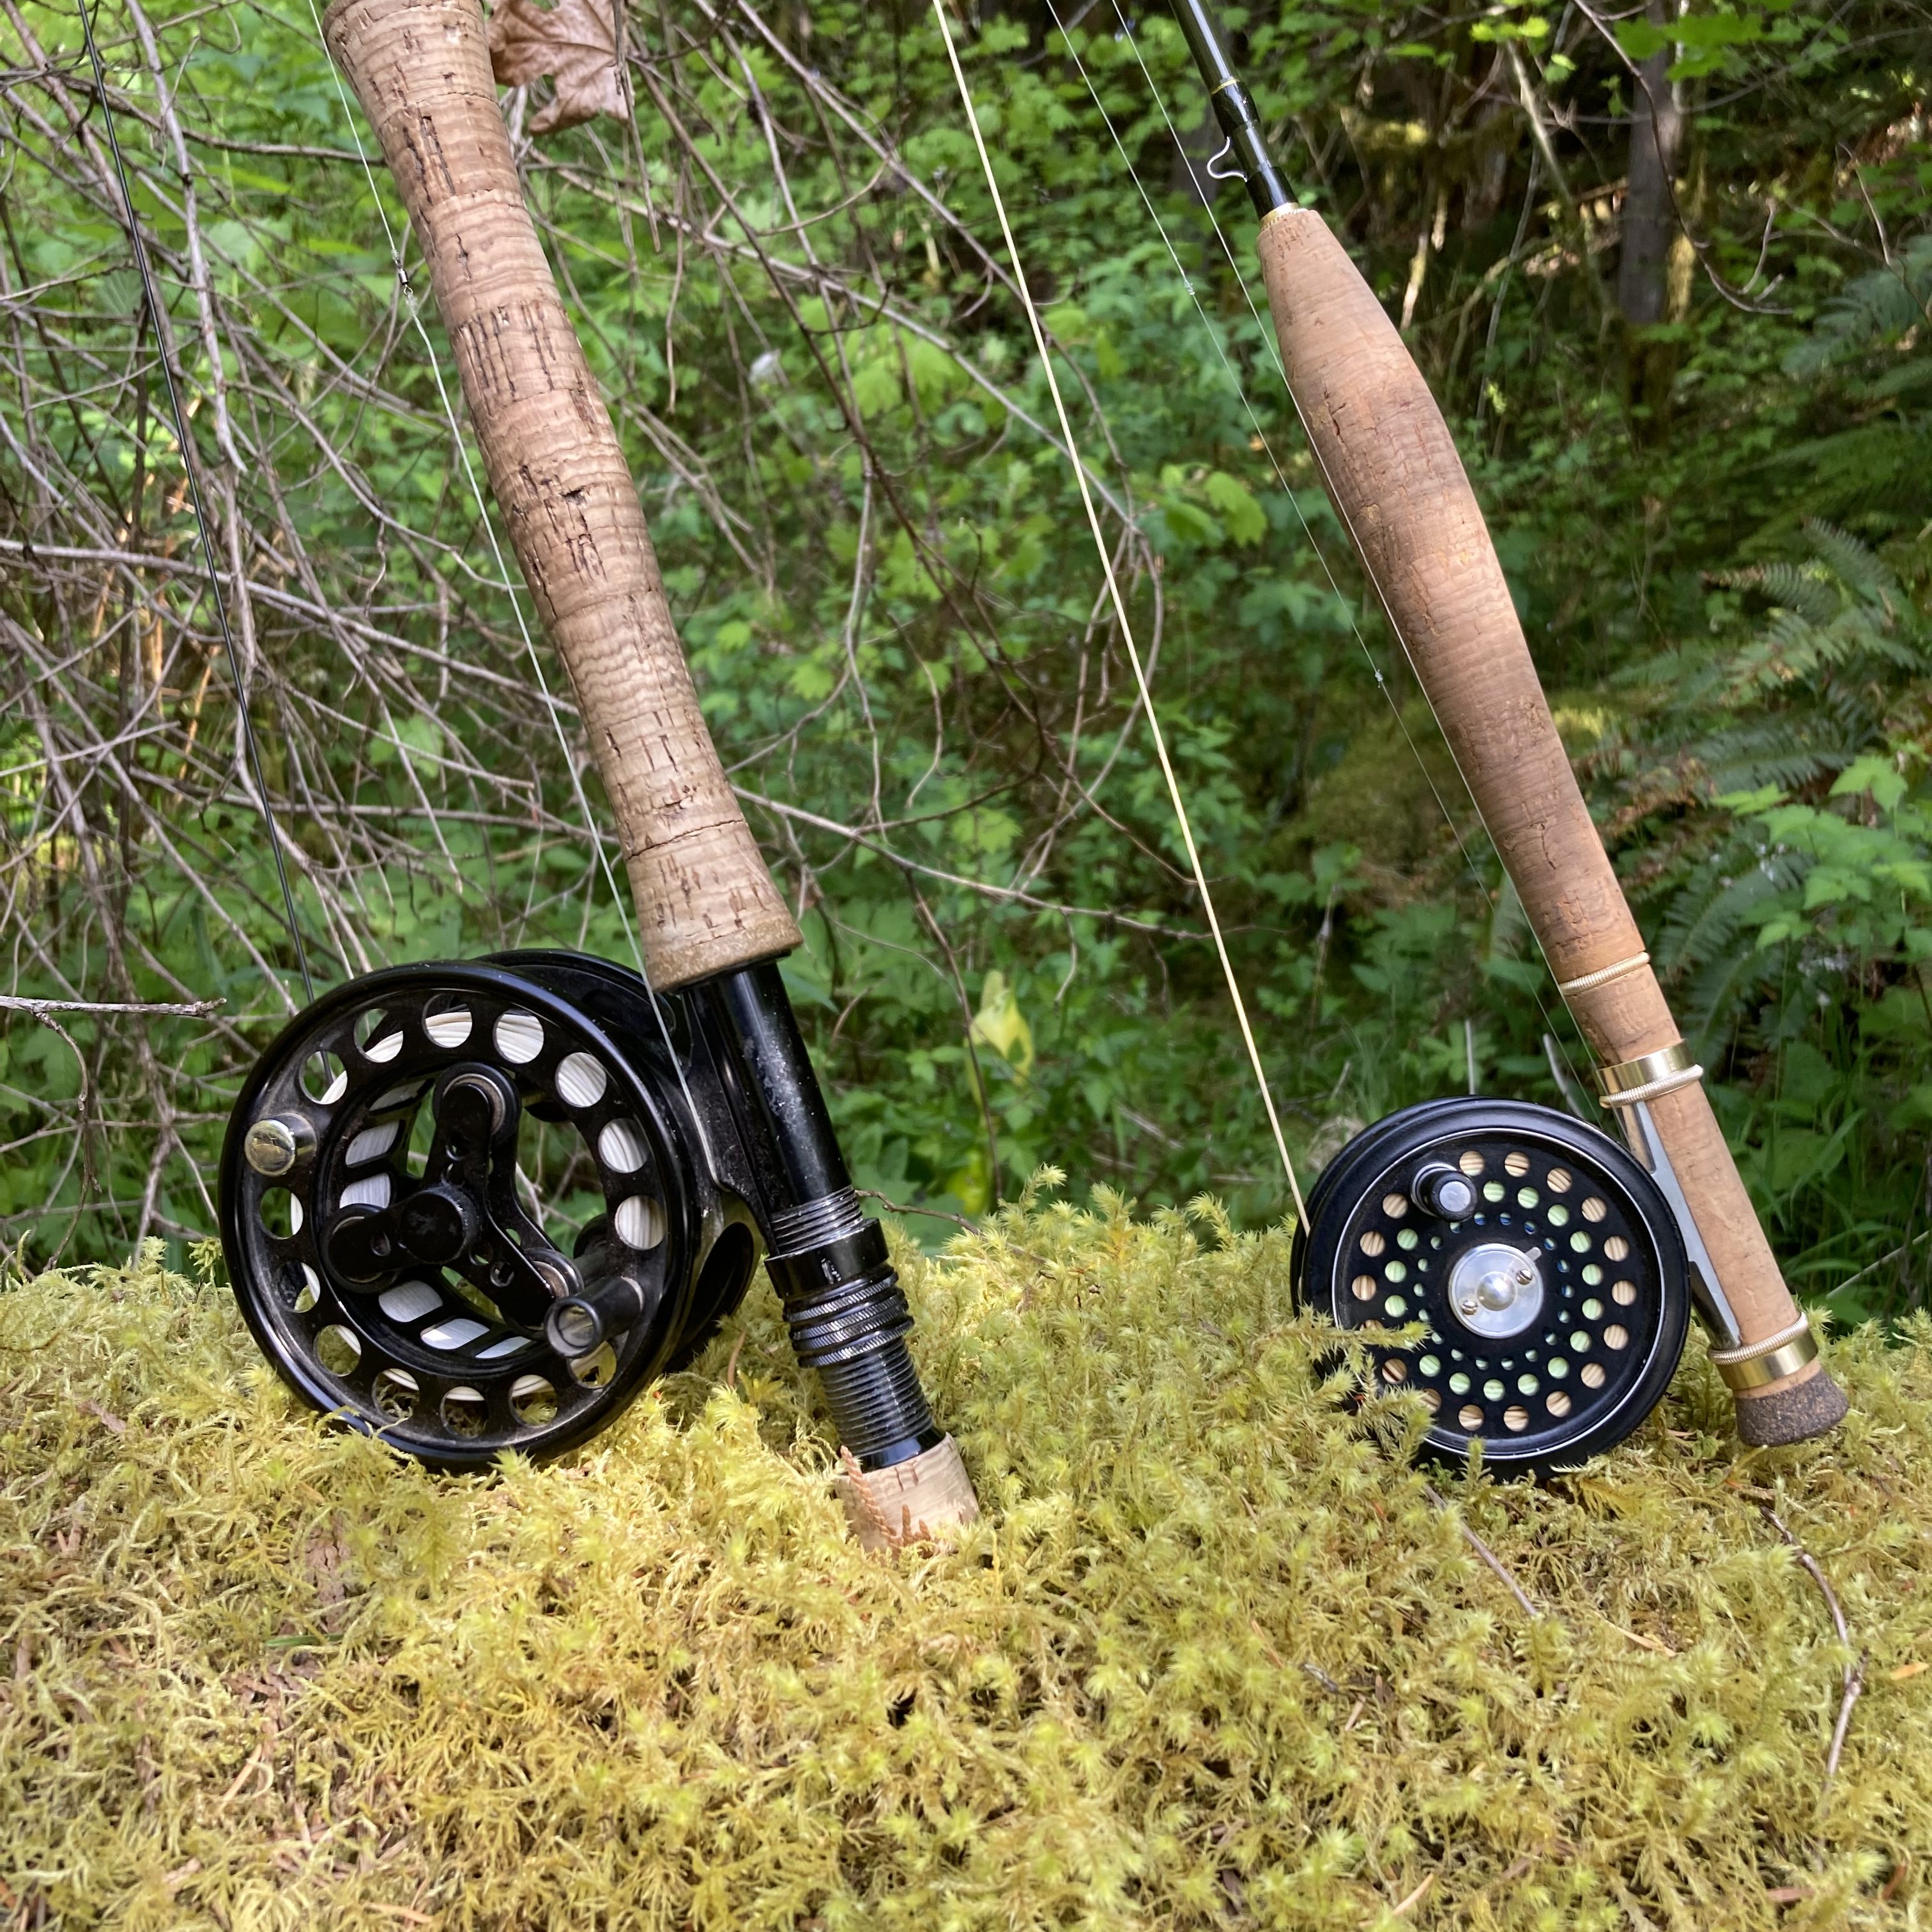
    Tools of the trade. My 9′ 8wt Echo Ion-XL paired with a Danielsson 2W (left), and my 5’9″ 3wt White River CGR fiberglass rod paired with a Hardy 2/3/4 Ultralight Disc (right).

    The River Itself

    The McKenzie is a notoriously difficult river to wade. Dense forest comes right up to the water, making backcasting a distant wish. The river bottom is cobbled with stones ranging from small to massive, and you will trip over all of them. The rocks are also moss-covered and slick. The clear water makes depth perception challenging, and you will quickly find yourself wading deeper than expected. Oh, and the water is wicked cold.

    Most of the time I wader up, but I ALWAYS wear my studded wading boots. Chacos are not appropriate footwear for the McKenzie and will most certainly result in premature death. Wade with caution.

    The Mac is best fished from a boat manned by a skilled oarsman. Dry-droppering from the boat is about as good as it gets on this river. A well-placed Chubby or X-Caddis under overhanging branches inevitably results in explosive takes and tight lines. The float itself is a blast as the oarsman stays focused, dodging minefields of boulders and cascading down quick chutes. Even if you don’t fish, it’s worth getting out on this river for a day of rafting.

    The McKenzie is also home to a diverse range of fish species. The upper reaches hold native cutthroat, rainbows, and even a few bull trout (though I have yet to see one in the flesh). The middle and lower sections contain both native and stocked rainbows. Below Leaburg Dam, you’ll find the big boys — Chinook and steelhead.

    I haven’t fished the steelhead run here personally, but it is supposedly quite productive between the dam and the confluence with the Willamette River. Fly water is harder to come by in the lower section, but it’s there. Todd Hirano has a great page about fishing for these fantastic beasts on a dry line, and the Mac is his home water. Give his site a read.

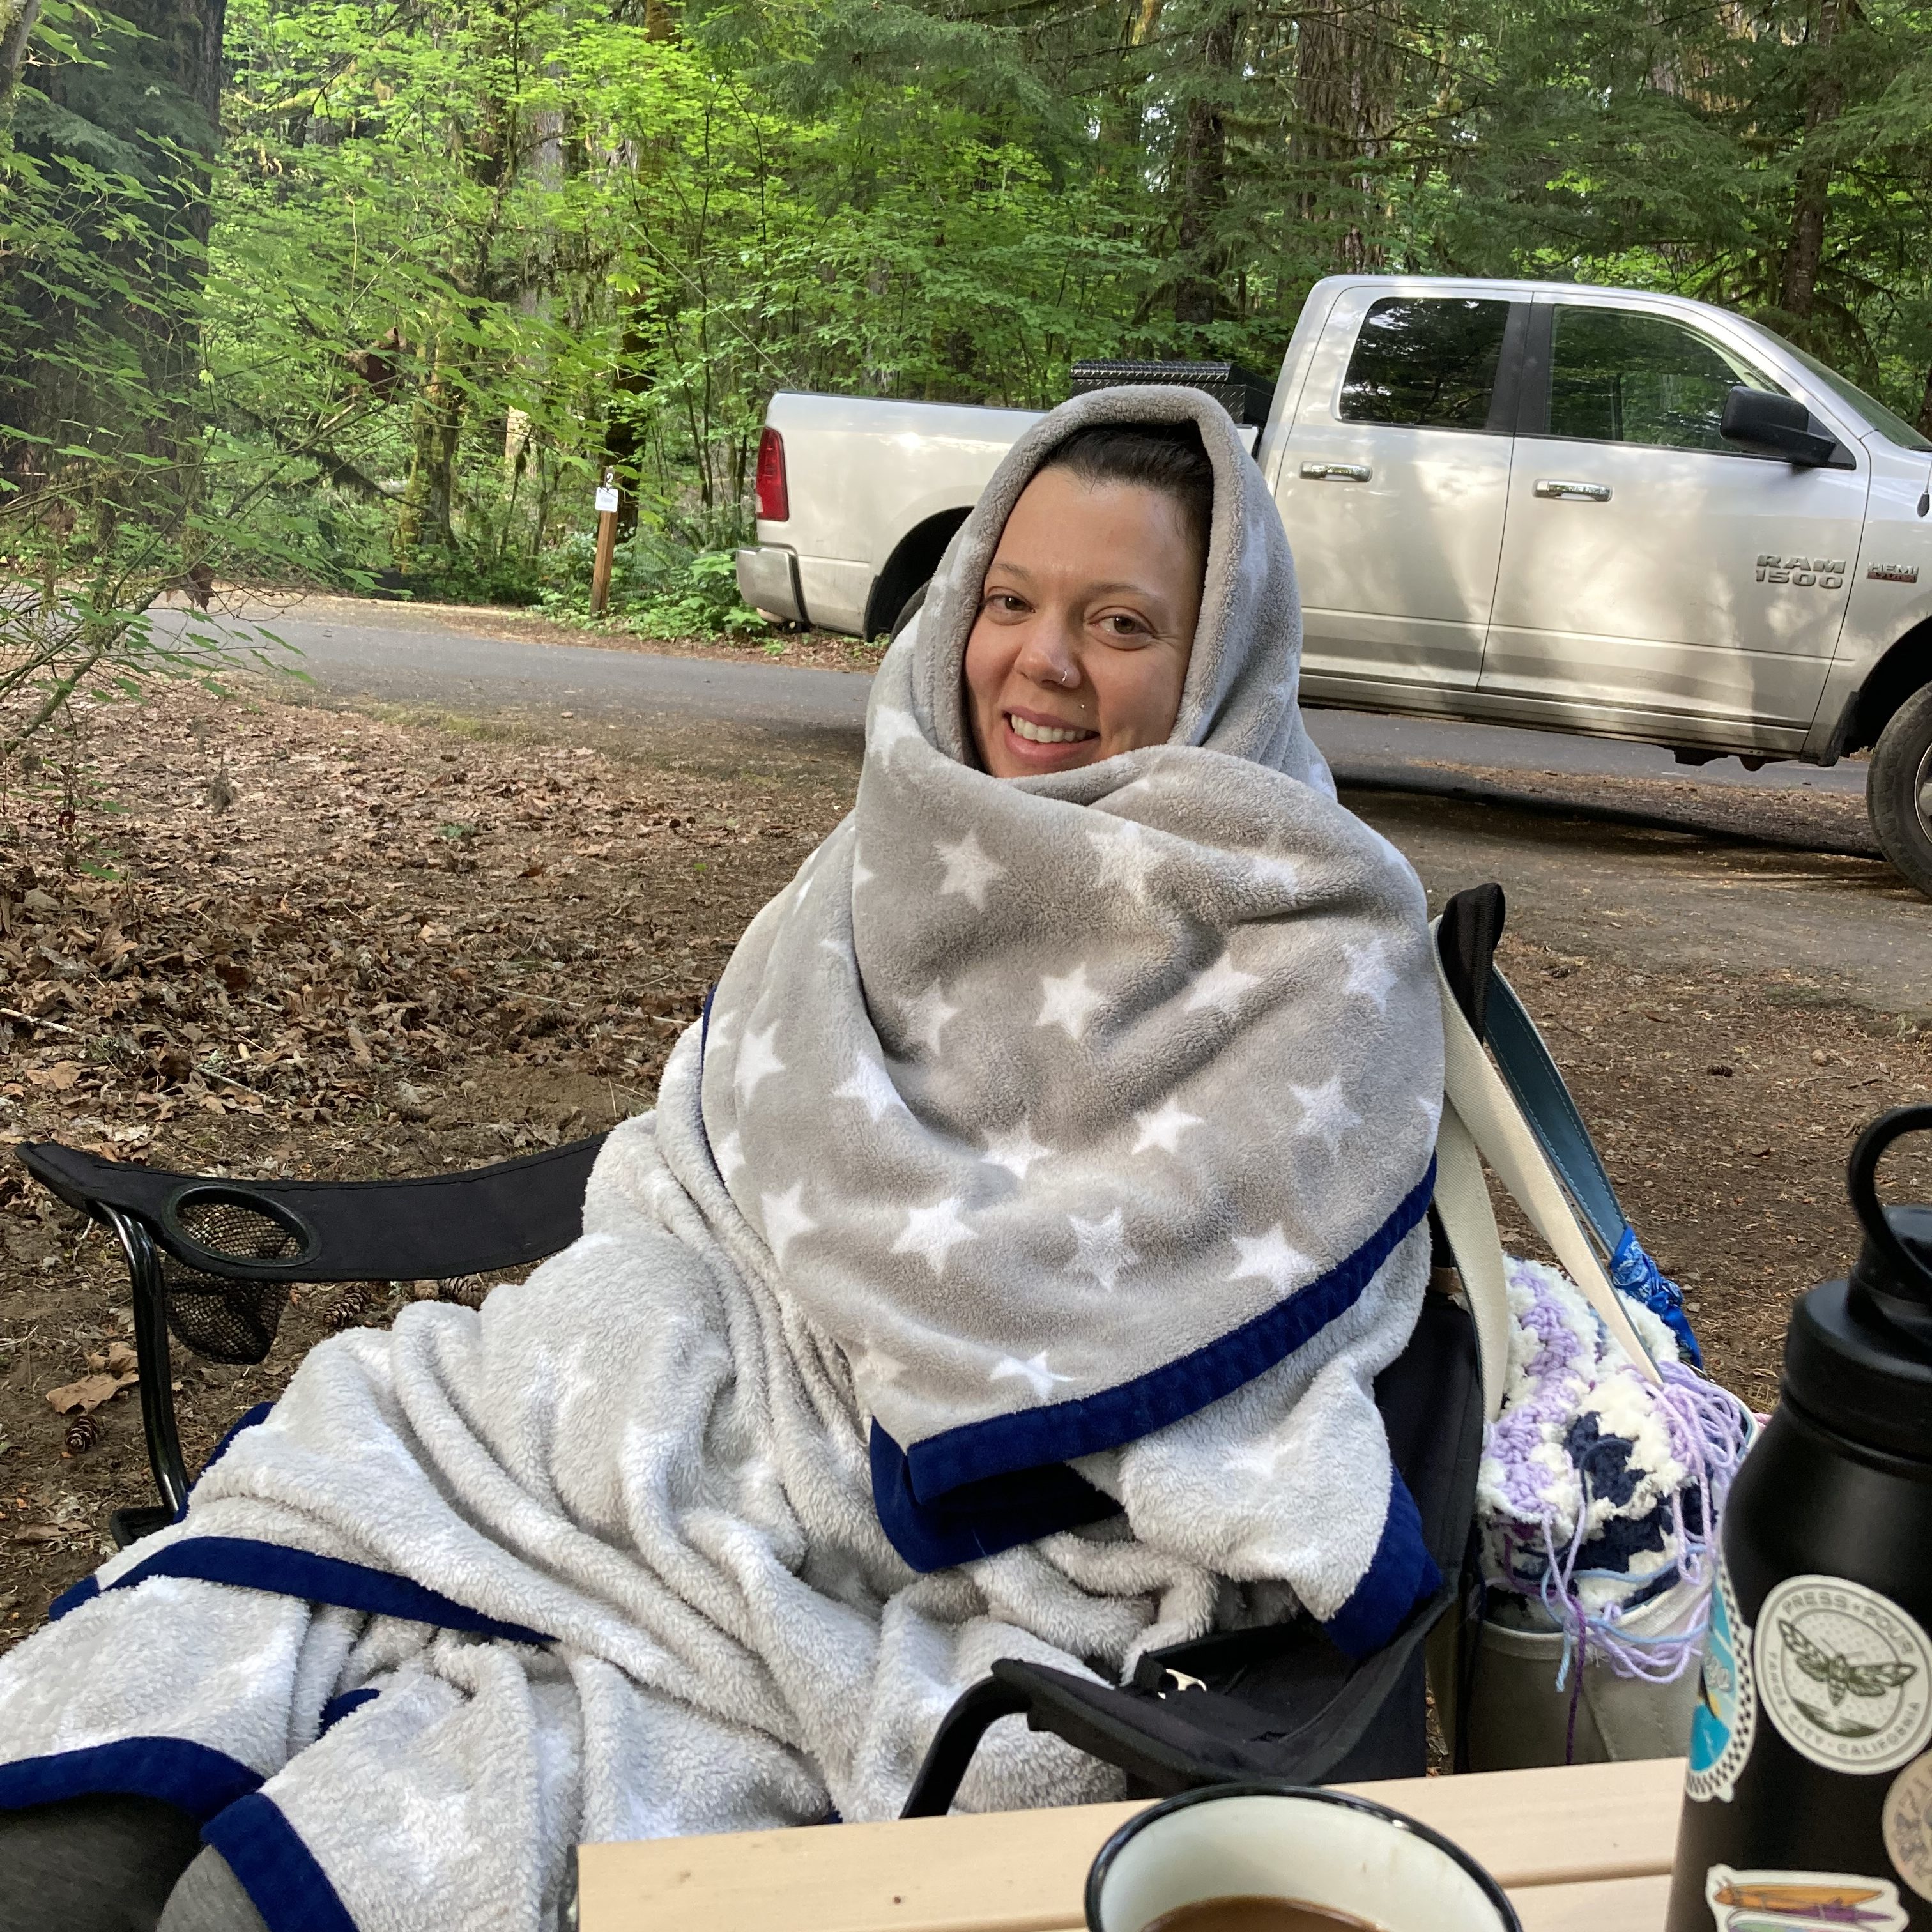
    Time spent with loved ones in camp is a treasure. Kate warms up with her morning coffee and a fuzzy blanket.

    How to Spend Your Time in Paradise

    Besides the fishing, the cooking, and the fireside lounging, I highly recommend strapping on your finest boots — or Chacos — and taking a hike down the McKenzie River Trail. A walk down the trail could lead you to famous spots like Tamolitch Blue Pool, Sahalie and Koosah Falls, or Clear Lake.

    It’s also worth taking a detour down the Highway 242 Scenic Byway and hitting the Proxy Falls hike or Dee Wright Observatory, which is about a 30–40 minute drive down the narrow, winding two-lane highway. Our favorite pastime, however, is the hot springs.

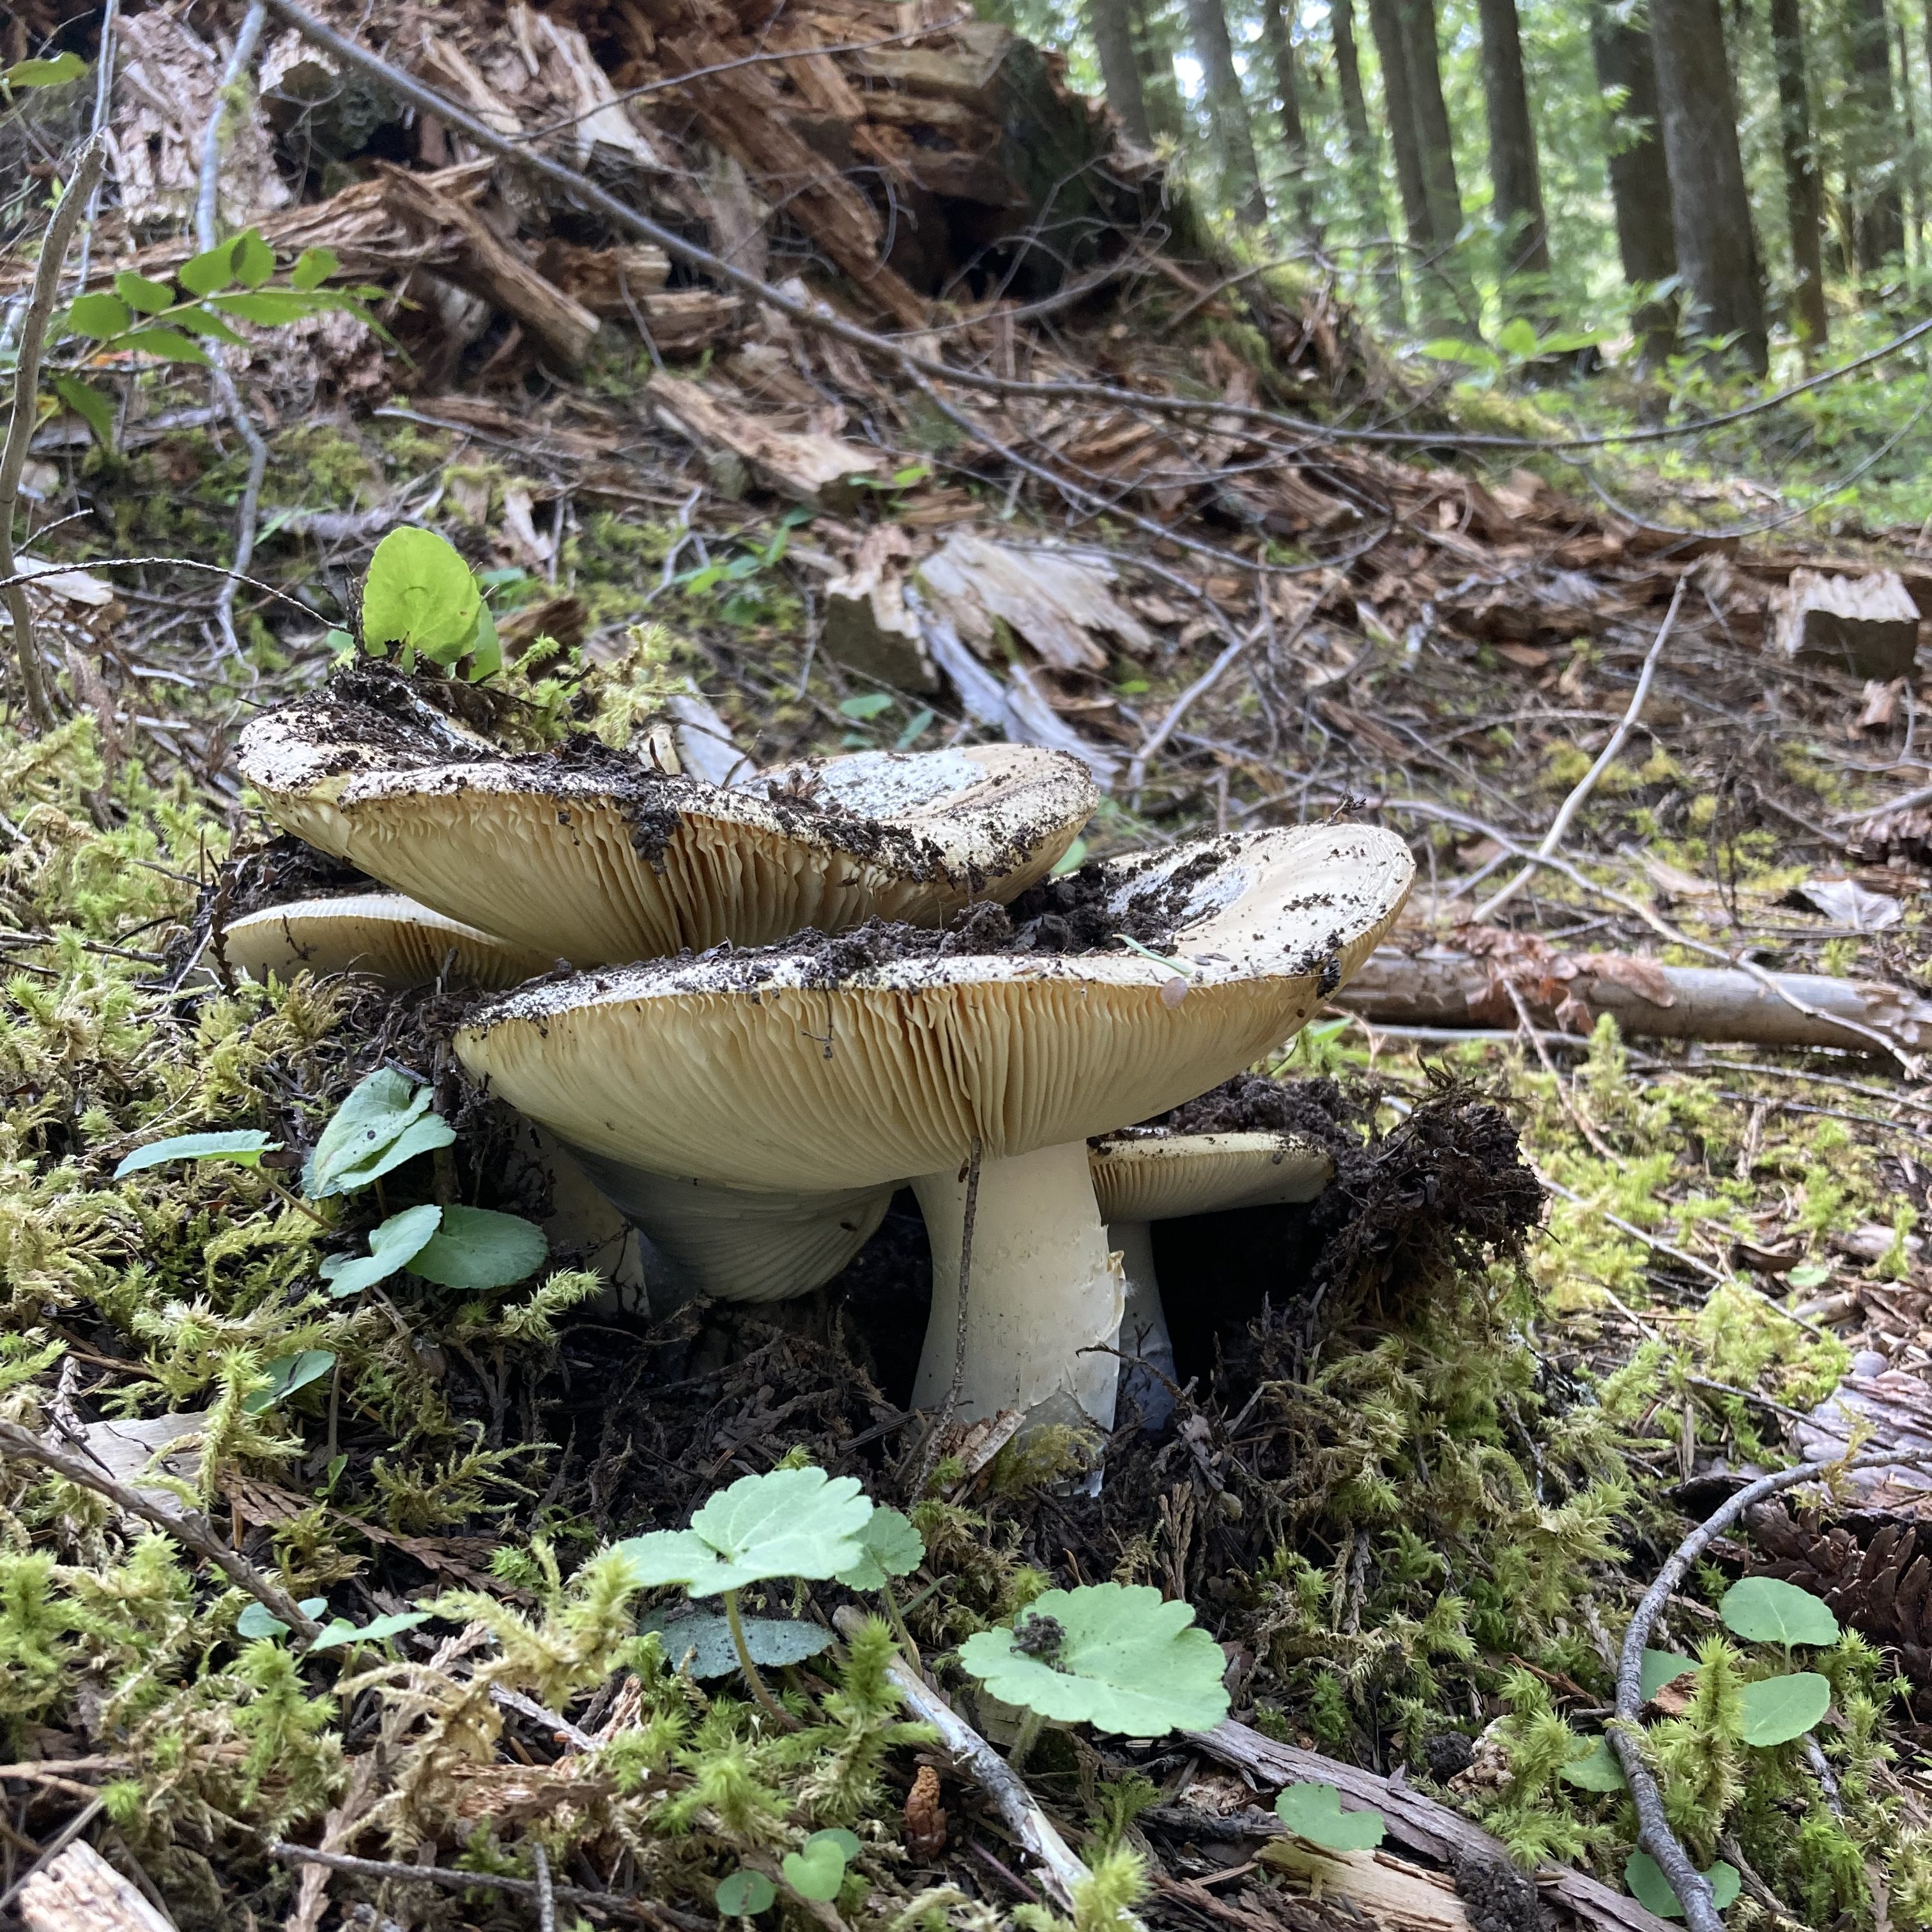
    Looks like a Russula, but most likely an edible Amanita Vernicoccora. I’m not accomplished enough as a mycologist to confirm that theory. Found just off the McKenzie River Trail!

    Paradise Campground is situated about two or three miles downstream from Belknap Hot Springs. If you stay close to the springs, you should consider paying the 12 bucks to soak for an hour and walk around the gardens. You won’t regret it.

    But if you plan on soaking frequently, it makes sense to stay onsite at Belknap or at their sister property, Camp Yale. Tent and RV sites range from $40–50 per night, while lodge rooms and cabins start at $140 per night. Amenities include a guest-only soaking pool, RV hookups and a dump station, laundry facilities, a small café, and beautiful gardens throughout the property. There’s even a secret garden across the footbridge if you take the time to explore the back reaches of the property.

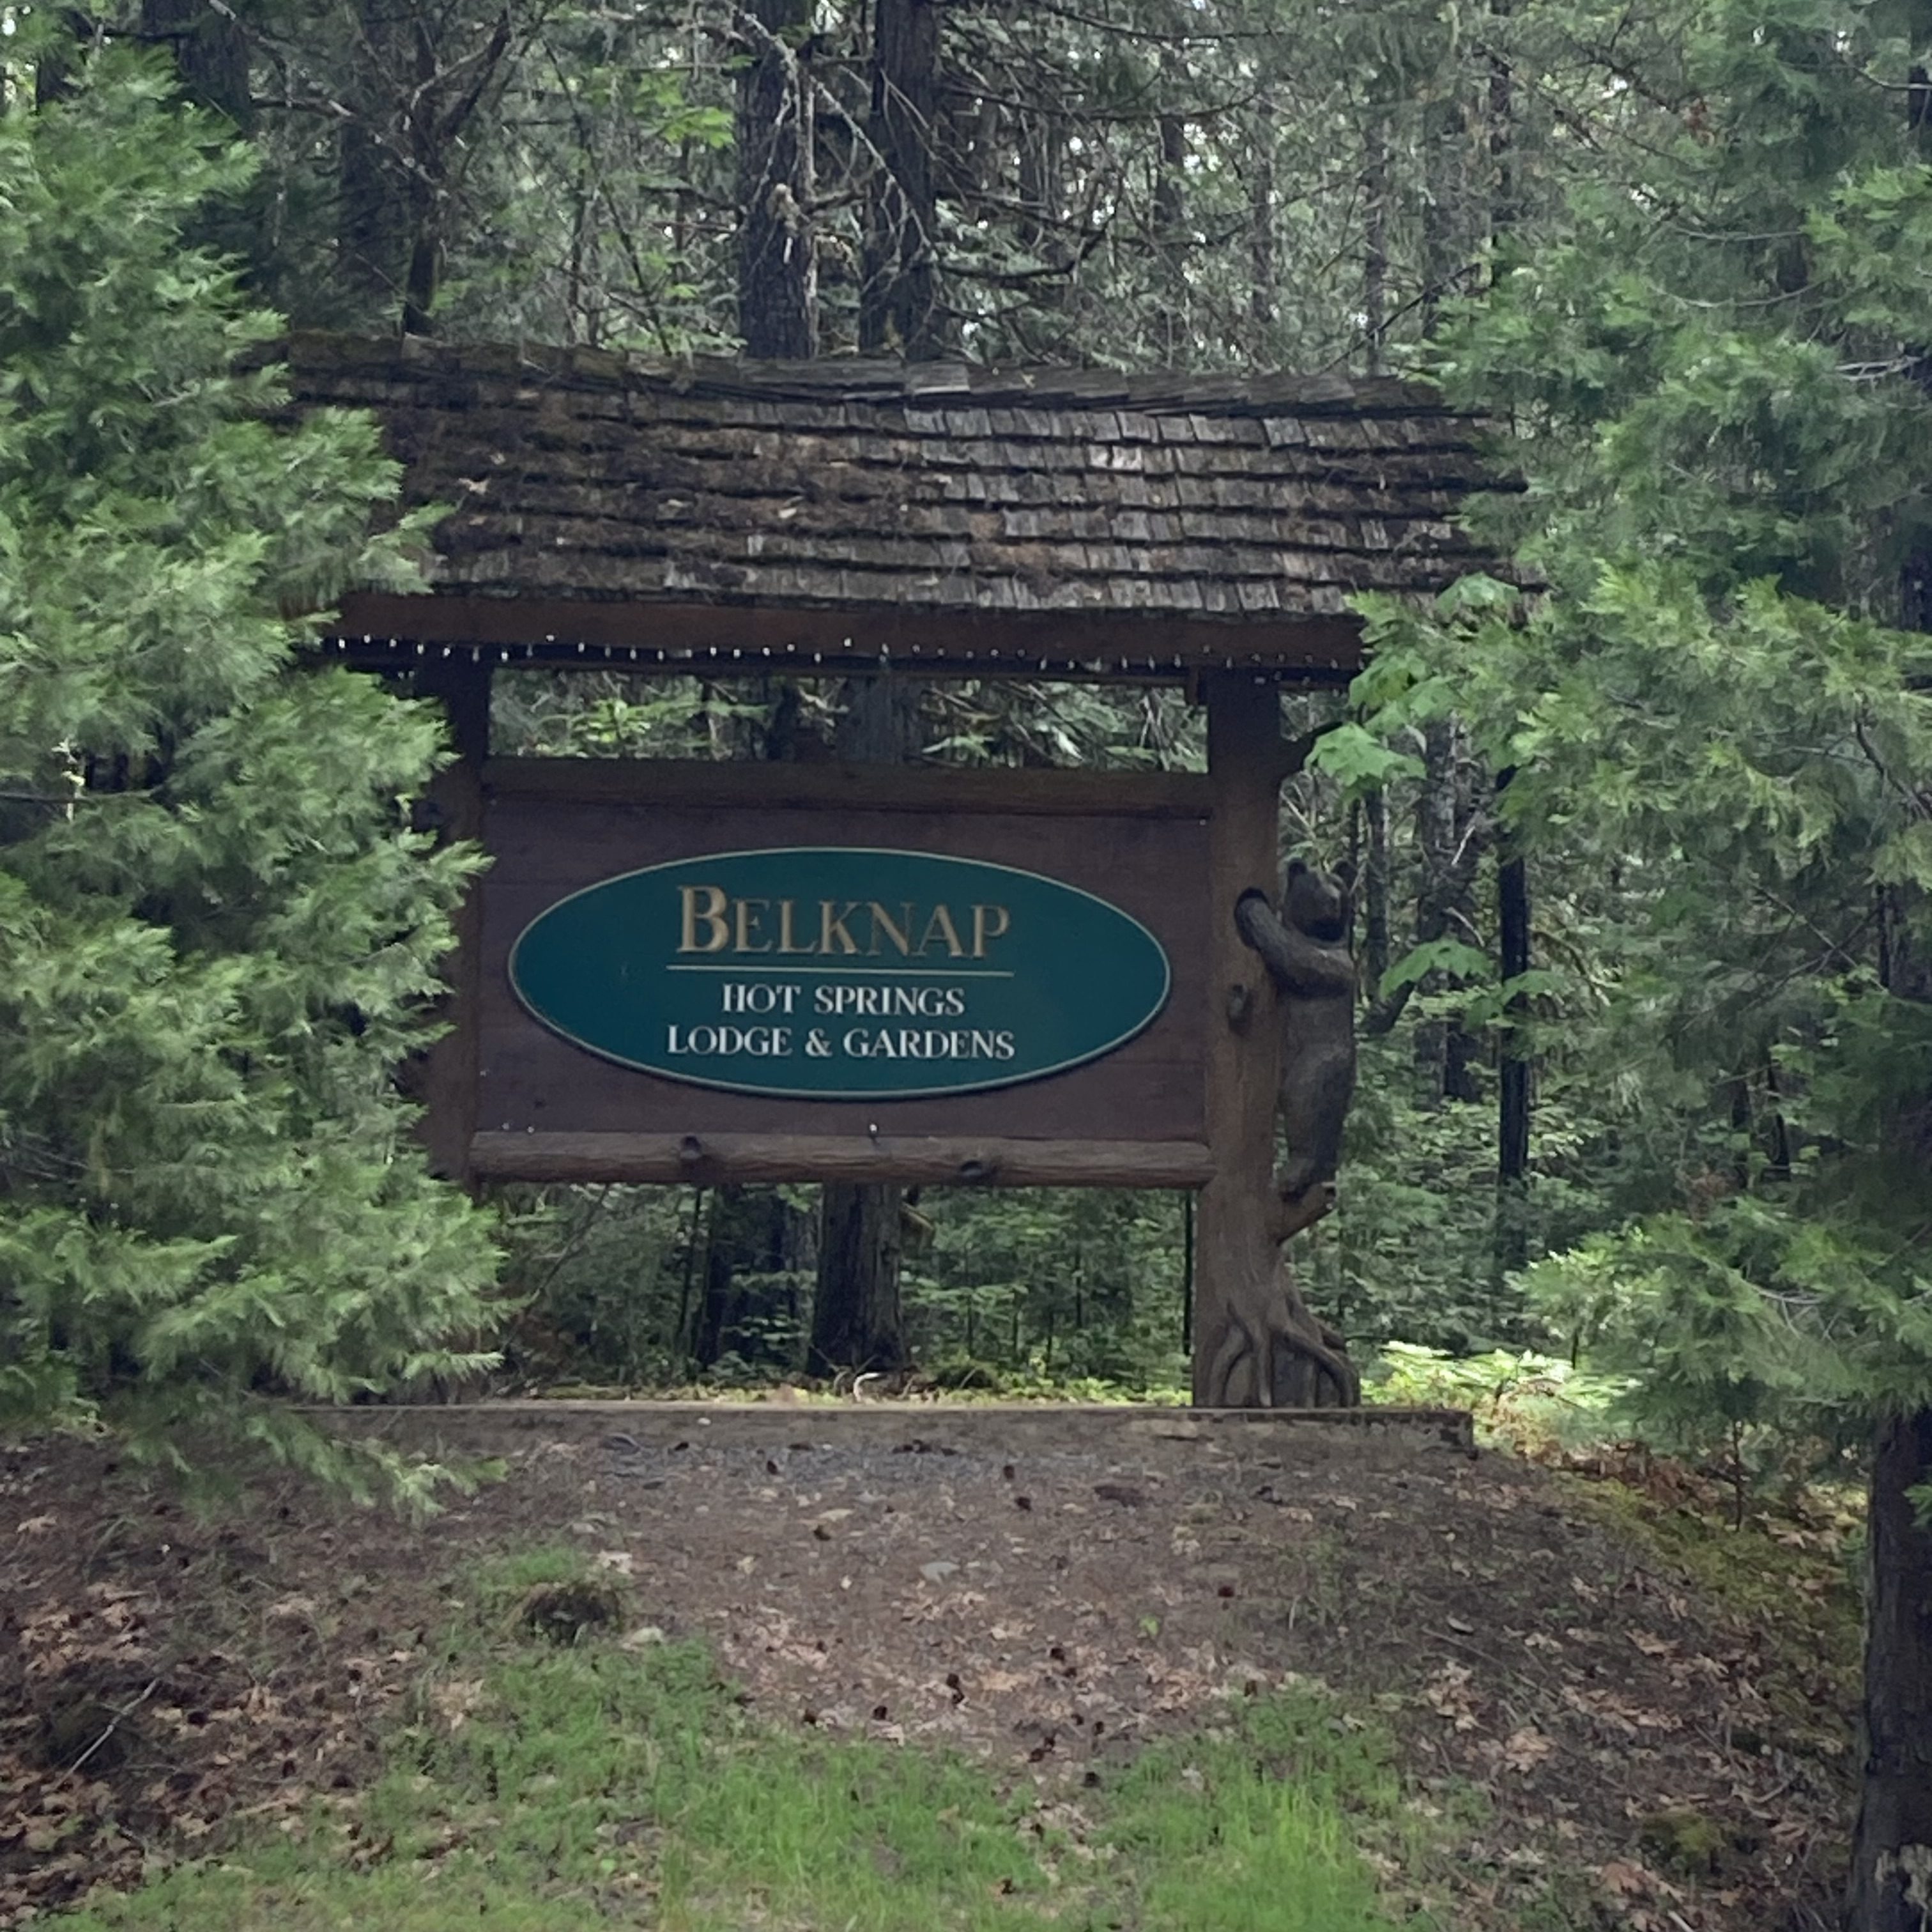
    The entrance to Belknap Hot Springs.

    Riverside Nights on the McKenzie

    The Mac really is one of my favorite destinations in all of Oregon, and not just because of its proximity to home. The scenery is gorgeous, the fishing is great, the rafting is an absolute blast, and there are countless non-fishing activities along the entirety of the river corridor.

    I just hope the area continues to stay beautiful as water levels drop due to low average snowpack and increasingly frequent drought years. Even when the McKenzie is swept by wildfire, its resilience continues to impress, and the river endures so long as the flowing water gives it a chance to recover each time.

  • Spring Fly Fishing in Central Oregon: 4 Confidence Flies for After-Work Sessions

    It’s hopper-dropper season! This Rosenhopper is a fun twist on the Chubby that’s just as effective — maybe more?

    It’s springtime! About damn time, if you ask me. I’m having visions of wet-wading, big bugs crawling up my arms, swarms of evening caddis, and rattlesnakes along the bank. Besides the danger ropes threatening to poison me, it’s a pretty swell time of year.

    Luckily, for the casual angler, springtime offers boundless opportunity as the lakes begin to ice off and the rivers come alive. Here in Central Oregon, the irrigation canals open and the town sections of river come back into fishable shape. What does that mean for me? Well—after-work fishing on the Middle Deschutes, of course!

    When I’m fishing after work, I don’t want to be bothered with a boat box, three different hatch boxes, and the odd fly box of nymphs that I never fish. Rather, I want to pack a select batch of confidence flies to make my evening excursion efficient and action-packed. Here are a few flies that stay in my truck—and in my fly box—when spring decides to spring in Central Oregon.

    1. The Jig Streamer
    I actually wrote an entire post about the merits of the jig streamer and why it should live in your fly box year-round. When springtime hits, however, I like to whip out the rust and tan versions. A size 8-12 jig streamer is a great representation of juvenile crawdads as they molt their way toward adulthood. It can also pass for a stonefly, a minnow or sculpin, or even a leech depending on how hard you squint. Whatever the case, trout love them. Stick them in your fly box.

    2. The Rosenhopper
    It’s basically just a Chubby with a couple of fancy details. I want to feature the Rosenhopper because everyone writes about the Chubby in these kinds of posts, and that’s kind of a cop-out. It’s indisputable that the Chubby works and should be a staple in everyone’s fly box once spring hits. However, I think the Rosenhopper is a slightly more realistic fly that stays relevant as spring turns into summer and summer fades into fall.

    The fly looks great as a large stonefly in May and then makes for an even better hopper pattern once summer rolls around. The knot in the back legs especially sells the hopper profile. The deer hair in the back is more realistic than the large white wing, but it’s still buoyant enough to support a decently heavy dropper. The best part about the Rosenhopper, though, is that it’s more fun to tie than a Chubby.

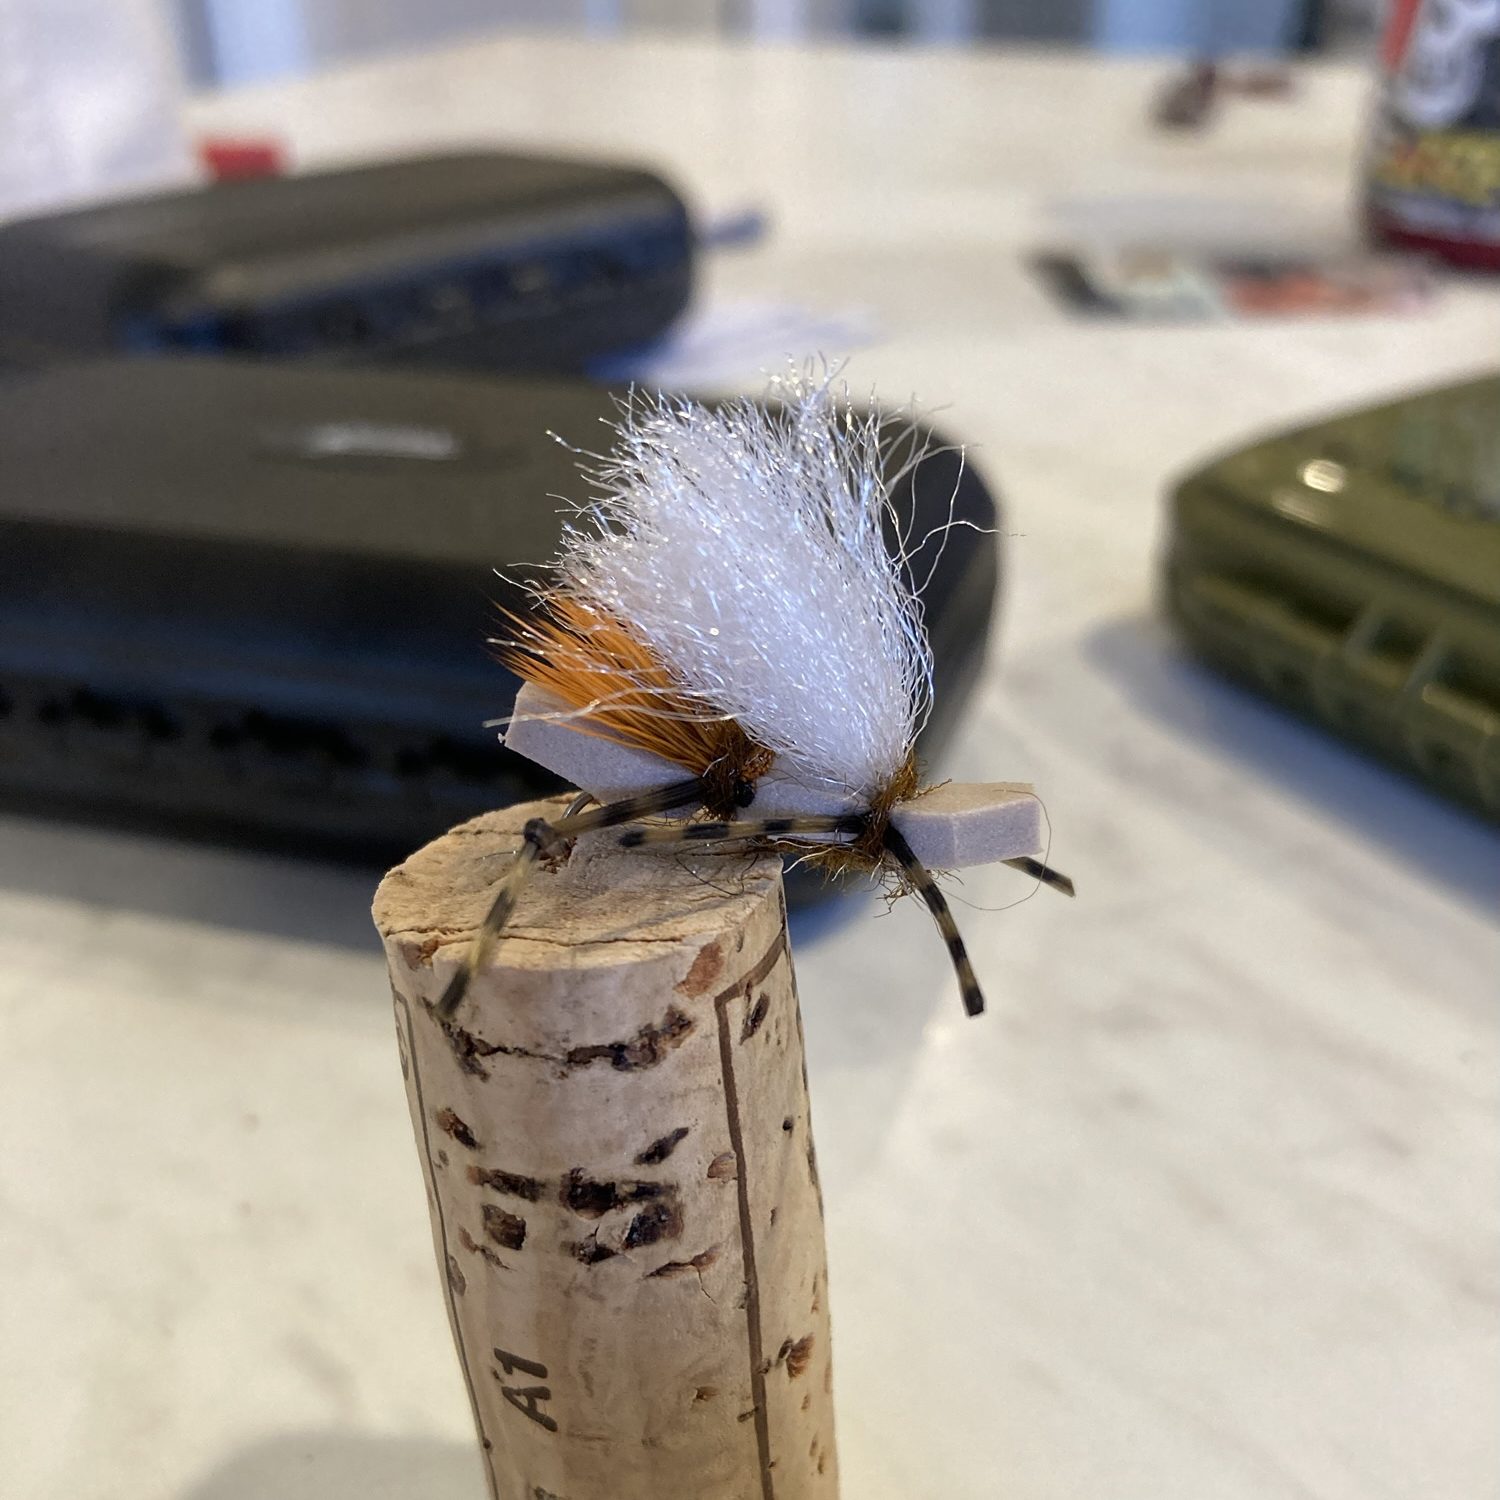
    The X-Caddis is one of my ultimate confidence dries. This one is tied with a blend of hare’s mask dubbing and grey superfine dub.

    3. The X-Caddis
    Simply put, it’s the most effective caddis imitation out there. Period.

    The fly is meant to be an easy tie that mimics an emerging caddisfly. The shuck dips into the film, and the deer hair wing keeps the fly buoyant for easy tracking. My favorite part about this fly is the sheer versatility. Tie in a fatter clump of deer hair—almost like a muddler—to help it sit higher. Tie the wing sparser to get lower in the film and entice spooky trout. Take it a step further and tie it small, sparse, and olive to imitate an emerging mayfly.

    It’s the caddis imitation that transcends caddis hatches, and that’s a great reason to keep it in your hat.

    4. Egan’s Frenchie
    What a great nymph. This one works every time.

    I use it as a dropper very consistently during the spring because it’s fairly light and quite buggy, if I daresay. At its core, it’s a jazzed-up Pheasant Tail. The pheasant tail fibers are swapped for Coq de Leon, which is a bit more subtle. And, of course, there’s the unmistakable flashy collar.

    I tend to tie this fly in sizes 16 and 18 on a jig hook with a shrimp-colored dubbing, but you can mix up the hotspot collar to suit your own waters. One big piece of advice: apply superglue before wrapping your pheasant tail body. Pheasant tail fibers are notoriously fragile and love to break when the first fish bites—even with wire ribbing.

    How I Like to Fish This Time of Year
    Like I said, springtime is when I start fishing after work quite a bit. It’s just a matter of daylight—there’s more of it. Fishing becomes a matter of efficiency since I’m hitting the water for maybe two hours… maybe 30 minutes… who knows.

    I target areas without huge variations in depth so I can keep my rigs fairly static without constant fly swapping. Specifically, I look for water where I can fish tandem dries or hopper-dropper setups.

    The hopper-dropper tends to be the winner—and it isn’t always a nymph trailing off my Chubby or Rosenhopper. While a nymph is the best choice if I just want to catch fish, a trailing dry is often the most fun and effective way to fish through a hatch as the light fades.

    I’ll tie a small X-Caddis—maybe a size 18—off a 3–4 foot length of tippet attached to my hopper. The large foam fly gives me something to track when I inevitably lose sight of the tiny dry, and nothing beats watching a Rosenhopper get crushed by a six-inch fish.

    Tying a small dry off that 3–4 foot tag also gives me flexibility. If I want to switch to subsurface, I can cut the X-Caddis and swap in Egan’s Frenchie to target fish in shallow runs and pocket water. Again, versatility is the name of the game.

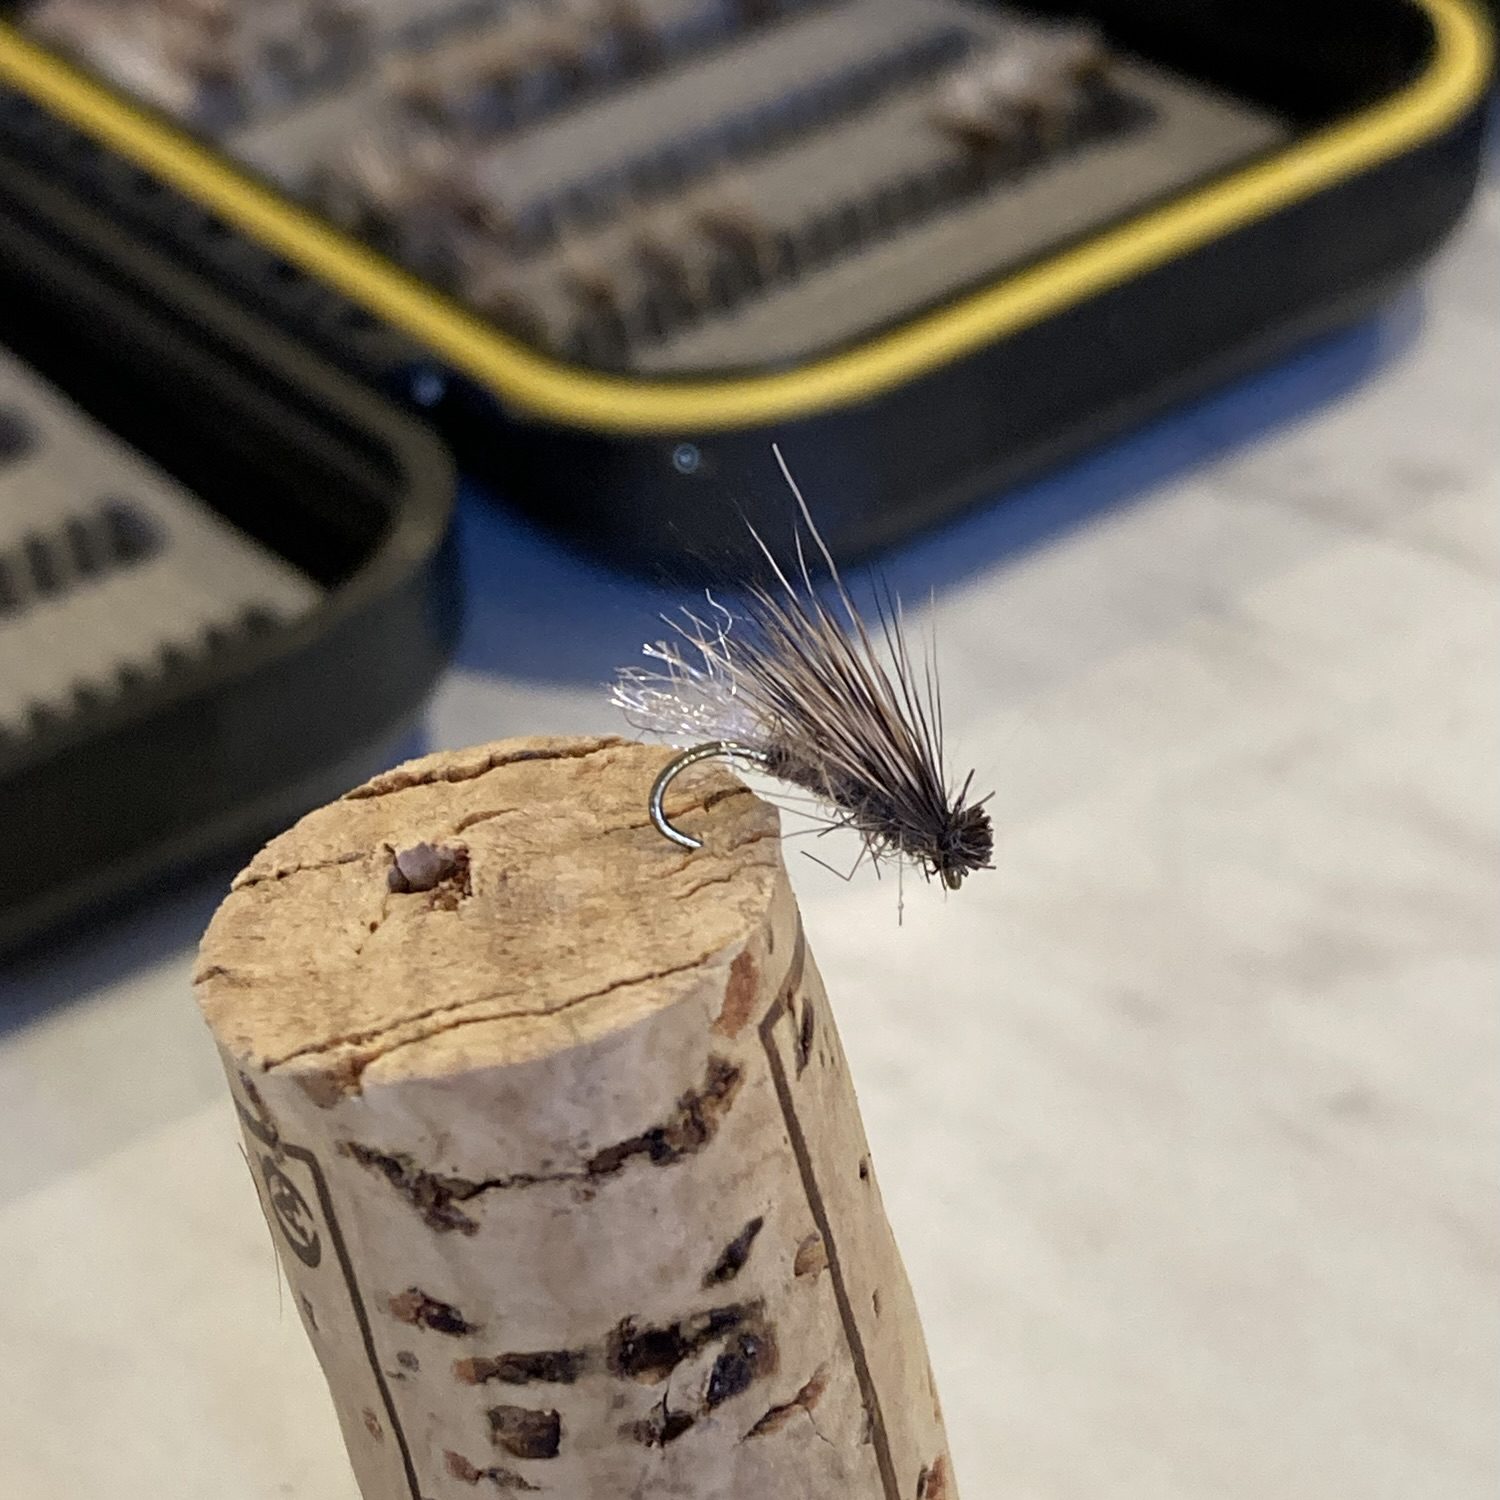
    Bonus fly! I like to fish this caddis wet fly tied on a heavier hook with a sparse deer hair wing. It hangs out in the top foot of the water column and looks like a caddis coming up to the surface.

    Fish With Confidence
    While it’s fun to experiment with new patterns, there are plenty of moments that call for confidence flies. Some days, you just want to catch a few fish—and most anglers would agree.

    When you’re fishing on a tight schedule, it pays to have a handful of flies you trust. It pays even more to fish a rig that keeps you fishing instead of tying knots.

    So this one goes out to my fellow weekend warriors. See you out there.

    —T

  • I Finally Tried a Fiberglass Fly Rod—And Now I Get the Hype

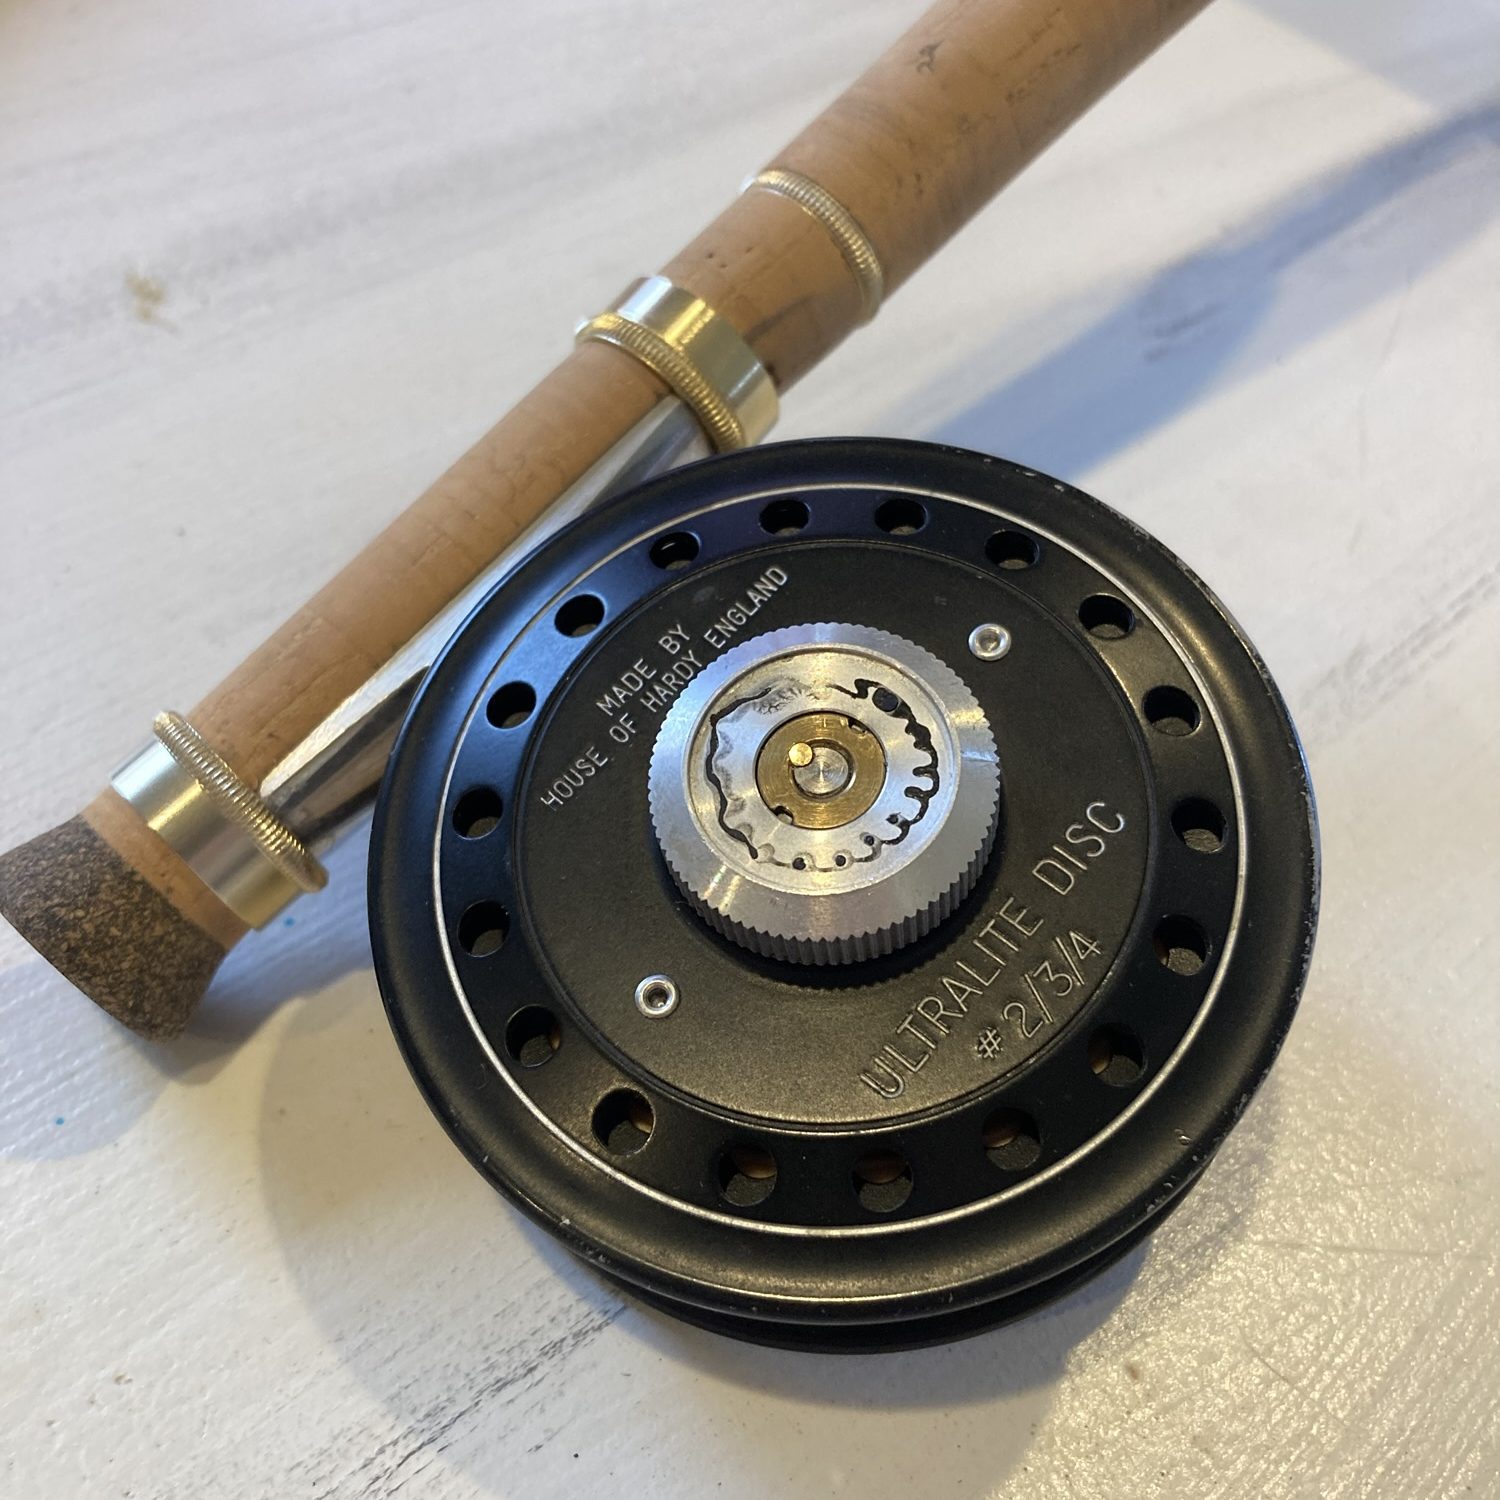
    The Hardy Ultralite Disc 2/3/4 is the perfect little small creek reel. It’s compact and sings when the bite is on!

    Over the years, I’ve walked past plenty of old fiberglass rods sitting at garage sales and antique stores—missing guides, degraded corks, and the like. The picture painted confirmed the stereotype: glass rods are outdated and belong in the past. It wasn’t until I started reading about fiberglass rods through sources like The Fiberglass Manifesto that I began to give them an honest look. It took some time, but I finally forked over the cash and bought one. And guess what? I just might be the newest “glass geek” on the river.

    The Rod Material Evolution

    Modern fly rods came to be in the 17th and 18th centuries, when rod makers made the leap to splicing and joining pieces of wood to create tapers. Rods were made from a variety of wood species until the 19th century, when bamboo began to set the standard as the most pliable material for crafting finely tapered rods. Bamboo remained the medium of choice until the early 20th century, when composites entered the market and quickly became the state-of-the-art material.

    The war economy of the early to mid-20th century brought with it fiberglass and resins. Shakespeare commercialized the fiberglass rod around 1946 and popularized the process. Wrapped fiberglass cloth soaked in resin became the standard until 1973, when graphite came onto the scene. The new material was faster, more refined, and lighter than fiberglass. The result was a smoother-casting, more accurate fly rod. The only material that has come close to dethroning graphite is boron, but for now, graphite remains the industry standard.

    Why I Bought a Fiberglass Rod

    Fiberglass boasts a few key features that caught my eye. I was looking for a rod that was cheap, compact, and durable for fishing small streams. I wanted solid tippet protection since I’d likely be fishing dry flies on 5–7x tippet, which is easy to break with a fast graphite rod. I also wanted something with a slower action to round out the versatility of my rod quiver. Luckily, fiberglass fits the bill:

    • They’re cheap: A decent fiberglass rod can be purchased for less than $250, and the Scott F-Series rounds out the top end of the market at around $695.
    • They’re compact: Most fiberglass rods are produced in lighter weights and shorter lengths—all the way down to the 5-foot class. They’re easy to pack in your luggage or on a backpacking trip.
    • They’re slow: The slower action protects light tippet and promotes soft dry-fly presentations.
    • They’re durable: Fiberglass rods don’t shatter. In fact, you can bend some rod tips almost to the cork. Don’t worry about bushwhacking with these things.
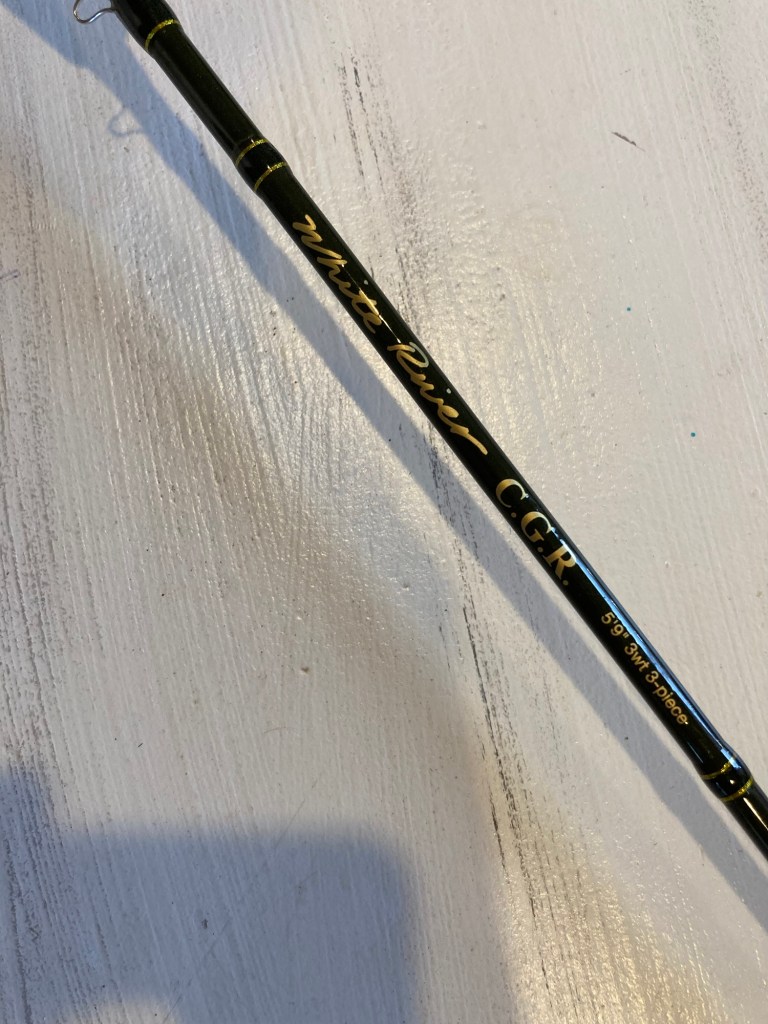
    My first fiberglass rod — a White River CGR 5’9″ 3wt.

    What’d I Buy?

    My first foray into fiberglass is a 5’9” 3wt White River CGR, formerly known as the Cabela’s CGR. I picked the rod up for $90, and I’d happily pay that price again. There was no way I was going to invest a ton of cash into a pack rod—especially with the intention of experimenting with a new material.

    First and foremost, don’t expect high-end performance out of this rod. It is not refined, and the ferrules are on the loose side. I need to check that they’re snug about every 15 casts. The cork is also cheap and loaded with filler, and it’s an odd shape.

    But…

    Holy shit, is this thing fun to fish.

    The rod loads deep into the cork and unfurls like one of those paper noisemakers you find at a birthday party. It’s slow—ultra slow. Like casting overcooked spaghetti slow. Presentations are unintentionally gentle, letting the fly softly settle into the surface film.

    When a fish finally eats, the rod absorbs much of your power on the trout set, making hooksets more difficult. But that extra delay gives fish a split second longer to commit, so maybe that’s a tradeoff. And if you hook a little 4-inch dink, it’ll bend your rod like a steelhead on a 5wt—just with a deeper, more satisfying arc. You really feel the give-and-take when fighting fish.

    I paired the rod with a Hardy Ultralite Disc reel—one of the older models (not to be confused with the highly collectible click-pawl JLH). It has a basic disc drag on its compact 2 ¾” frame. The click is immensely satisfying—that’s why I bought it. It’s designed for 2–4wt rods, and to be honest, it feels like I’m driving a 1998 Accord with chrome Cadillac rims. The reel is too nice for the rod, but it’s a sweet little combo. Maybe I’ll start a collection and become a classic reel historian—who knows?

    Fiberglass Captures the Essence of Fly Fishing

    Feeling the bend, experiencing the load, and watching it all happen in real time. If you haven’t experienced the joy of fishing fiberglass, you’re missing out.

    This cheap little rod just might turn me into a full-blown glass geek. It’s proof that a great time can be had on inexpensive gear—and that fly fishing doesn’t need to cost a fortune.

    Meet me in the Cascades on some seriously small streams. I’ll be the guy with a huge smile on his face.

    —T

  • Welcome to Camping Season!

    It’s no secret that the American West has experienced one of the warmest winters on record. Minimal snowfall, a nonexistent snowpack, and 70-degree weeks in March might be great for your neighborhood shorts-and-puffy-vest guy, but things are trending in a direction that doesn’t bode well for fish. Regardless, we decided to take advantage of the unseasonably warm weather and head to the campground for a little overnight excursion.

    We ended up at Lower Bridge Campground on the Metolius River. It’s a solid spot with productive camp water, proximity to the Wizard Falls Hatchery, and easy access to hiking trails. Best of all, the sites were large enough to test out our new toy.

    Why We Bought Our Trailer

    You heard me right—Kate and I used this weekend trip as an excuse to test out our new 2025 Keystone Bullet. It crams a lot of features into its 20-foot footprint:

    • Dual batteries and solar array
    • Bathroom with a shower
    • 15K BTU A/C
    • Instant hot water heater
    • Slide-out couch/dinette
    • Years of priceless memories

    We’re getting married in June 2026 and are planning a spectacular road trip the following September. We wanted a home away from home while we stop in Glacier National Park, Waterton Lakes, Banff, and Jasper in Canada. It’s bound to be a trip for the books, with opportunities to cast for cutthroat, bull trout, Dolly Varden, and (hopefully) steelhead. Stay tuned for details as we finalize the itinerary.

    Beyond that trip, we also wanted a home base to extend our camping season. Kate works remotely, and we needed somewhere warm and dry to serve as her mobile office while we adventure. The goal is to camp more often—even posting up at local rivers during the week while I commute to work from our little trailer. We’re incredibly excited to welcome this addition to our family.

    The Metolius River

    I consider the Met to be one of my home waters, and it’s my favorite fishery from winter through early spring. This gin-clear, spring-fed gem originates near Camp Sherman and winds through the forest before reaching Lake Billy Chinook.

    The Metolius is diverse, boasting populations of native redband trout, bull trout, brown trout, mountain whitefish, and kokanee. The landscape varies from meadow-lined banks to deep gorges, long riffles, churning rapids, and mellow pools. Thanks to its clean, cold water, the Metolius supports some of the most prolific bug life in Central Oregon—though its fish are famously selective when it comes to dry flies.

    I fish the Metolius with several different rods:

    • My 9’ 5wt St. Croix Imperial is a great all-around rod and excels at casting dries.
    • My 10’10” 4wt Diamondback Ideal Nymph is perfect for working pocket water, getting deep in channels, and making precise casts between logjams with a jig streamer.
    • My 9’ 8wt Echo Ion XL is reserved for throwing streamers at bull trout on a sinking line.
    • My 11’1” 7wt Fenwick Aetos switch rod is a versatile tool for swinging streamers and casting heavy indicator rigs without backcasting.

    Wrapping This One Up

    It’s been a whirlwind couple of months, and my time on the water has suffered because of it. My writing schedule has taken a hit as well—apologies for the lack of regular content.

    I’m excited for that to change with the addition of our new trailer. We’re planning more impromptu adventures and midweek camping trips close to home. It doesn’t hurt that I can commute from the river—we’re lucky to have so many great fisheries within shouting distance of town.

    Cheers to a year of outdoor adventure.

    —T

  • Fly Tying Materials Explained: Choosing the Right Feathers for Your Flies

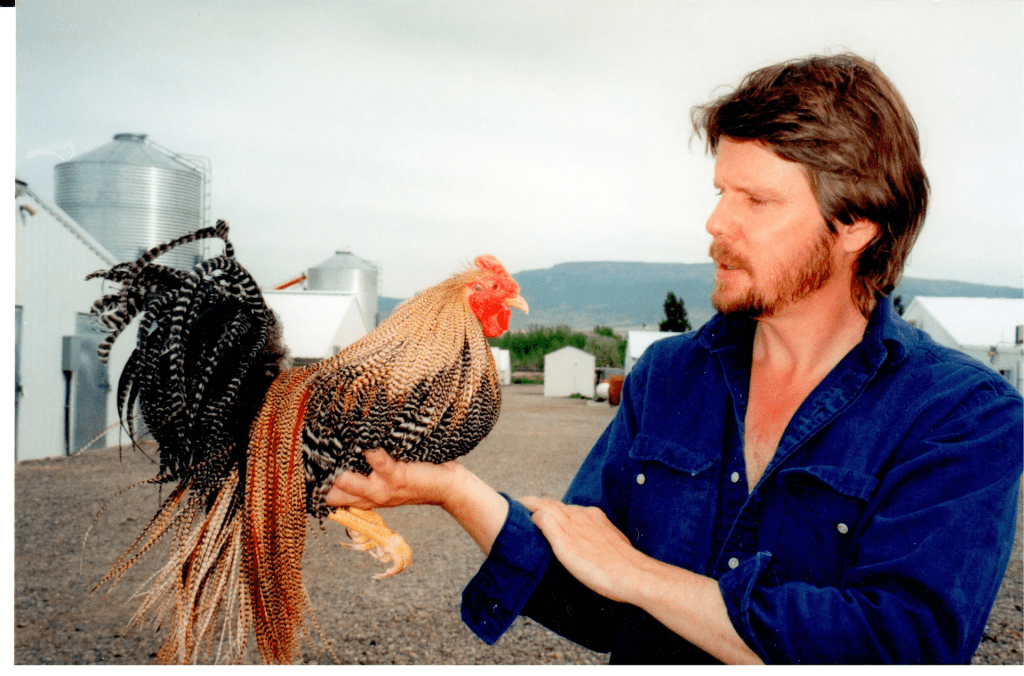
    Tom Whiting posing with one of his prized birds bred for fly tying feathers. Notice the cape around the neck and the copper-colored saddle.

    Genetic hackle breeding by Whiting, Metz, Keough, and their predecessors has given fly tyers the gift of perfect feathers—albeit at a steep price. There is no doubt that you get what you pay for when you pick that $100 rooster saddle off the rack at the local fly shop. However, we are definitely spoiled for choice when it comes to feather selection, often at the cost of our sanity. There are too many options on the shelves, and it’s easy to get lost in the noise. I know I do. Hopefully, I can lend some insight into the purpose each category of pelt serves.

    Please note that I am only covering chicken pelts. The list of gamebirds and waterfowl available to fly tyers is exhaustive and would involve writing a book on genetic feather breeding—an ordeal I am not willing to undertake. Enjoy this simple guide written by a simple guy.

    A Word on Semantics

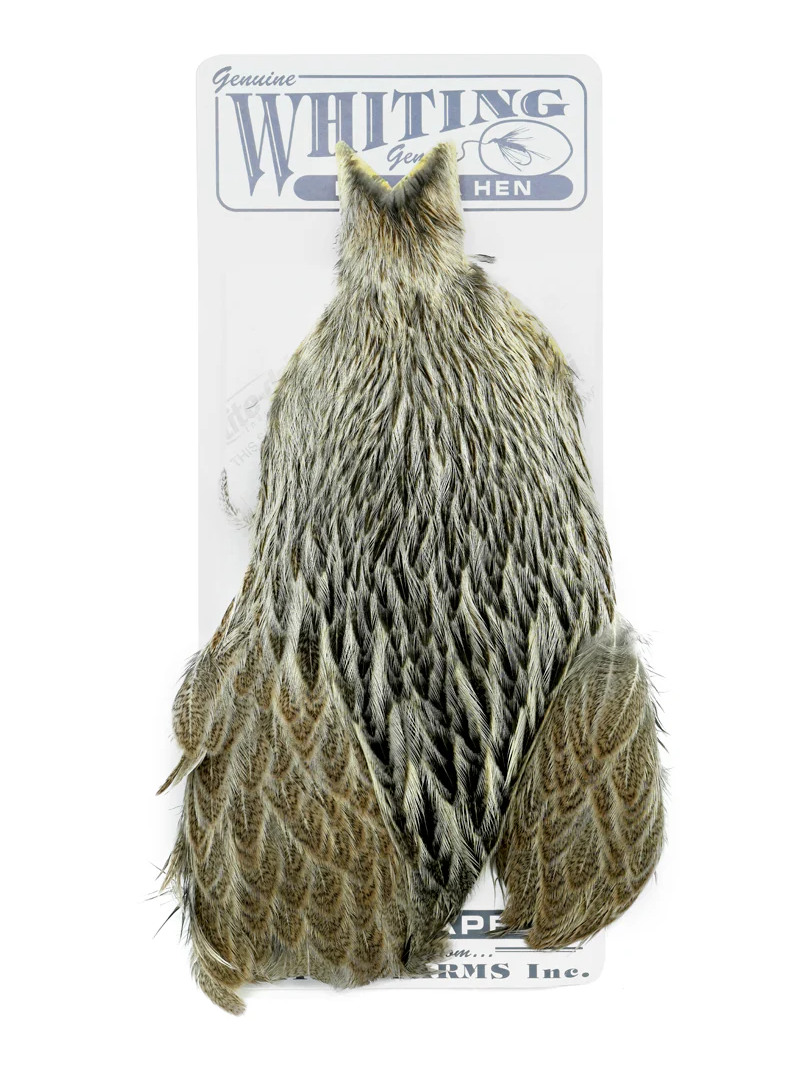
    Capes come from the bird’s neck and are often referred to as necks, depending on the manufacturer. Saddles come from the portion of the back closest to the tail. If you visualize where a saddle is placed on a horse, you’re on the right track. Spey hackle comes from the rearmost portion of the saddle, where it joins the tail. Spade hackle comes from where the neck meets the saddle.

    Rooster Saddles

    Rooster saddles have long been prized for their use in dry flies. Selective breeding over many decades has yielded long, narrow feathers suitable for even the smallest dry flies, depending on the grade. Higher grades are longer, more uniform, and tend to have narrow tapers. Rooster saddles bred for dry flies also feature dense barbs to increase fiber density per wrap.

    When buying saddles, note that the feathers tend to be fairly uniform in size, usually spanning only three sizes of dry fly. You’ll need to be certain of the size you’re purchasing and plan on tying hundreds of the same size flies for years to come. For many, this isn’t an issue. For the economical tyer, I’d generally steer clear. Non-commercial tyers are often better served buying saddles by the half-saddle.

    Rooster Capes/Necks

    Rooster capes are very versatile for the budget tyer. One cape can yield hundreds of feathers suitable for dry flies ranging from sizes 6–22 while also providing excellent material for streamer patterns. In fact, the more rounded profile of cape feathers has proven its worth as a premier choice for streamer tyers in both fresh and saltwater. The stems are strong and less likely to break when chomped by a big, toothy fish.

    Rooster capes have stiffer fibers than hen capes. They work great when palmered on flies intended for bigger, pushier water. The spade hackle at the bottom of the cape especially resists current that would collapse fibers on most flies. They also do a decent job propping up softer materials such as ostrich or marabou.

    Hen Saddles

    Hen saddles feature long, large feathers with rounded tips. These feathers are much softer than rooster saddle hackle and give flies a full, lifelike appearance. Because of their size and flowy texture, they make excellent collars for steelhead and salmon wet flies. However, like rooster saddles, they have limited size variation, so choose a saddle that fits most of the flies you plan to tie. I’ve noticed that these feathers can be on the webby side depending on their location on the saddle.

    Hen Capes/Necks

    Hen capes offer long, narrow, soft feathers with a wide range of sizes, making them extremely versatile. Smaller feathers work well for hackled collars on small wet flies and nymphs. The soft tips of the narrowest feathers are ideal for feather-winged dry flies. Longer feathers are well suited for streamers with flowing freshwater tails. This may be the best choice for the budget tyer looking to maximize value from their first full skin.

    Hen cape fibers are soft and supple, making them best suited for slower water. Fast, pushy Western rivers will collapse the fibers along the body of the fly, so fish them in softer seams and slower runs to maximize their pulsating effect.

    Whiting Rooster Soft Hackle with Chickabou

    Deciphering the Patterns

    Let’s keep this simple:

    • Barring = black stripes on the feather
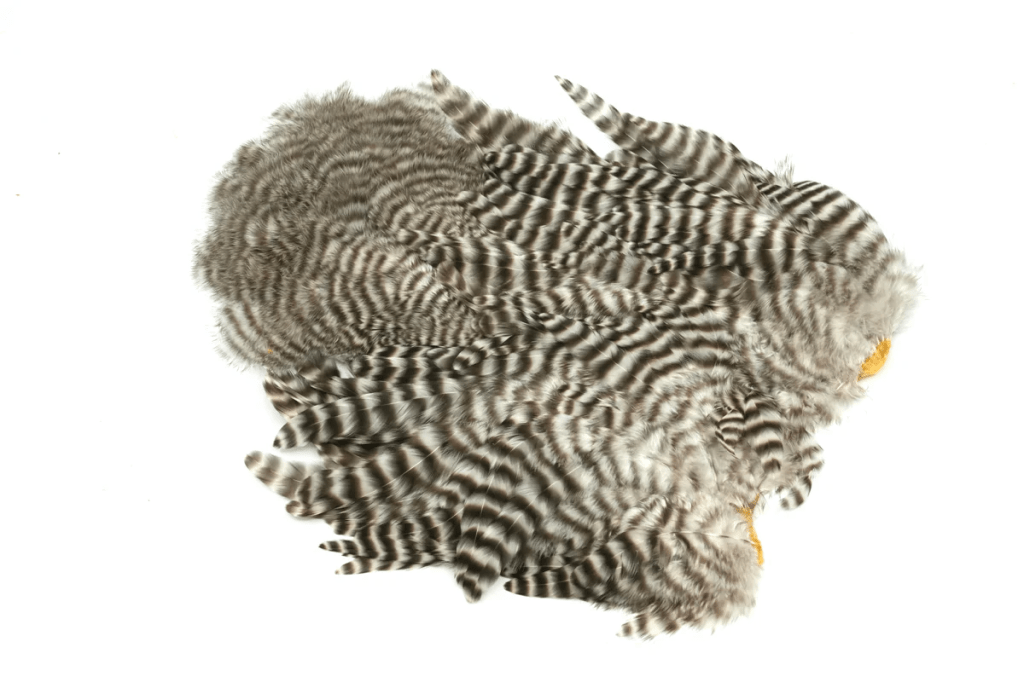
    • Grizzly = barred black and white (often dyed various colors, such as chartreuse)
    • Speckling/Mottling = fine dark markings distributed throughout the feather
    • Badger = a dark line running the length of the feather
    • Variant = colors and patterns vary throughout the pelt
    Whiting Brahma Hen Cape in Badger. Cream colored.

    A Couple of Lingering Feather Types

    You may also find a few specialty feathers on a pelt:

    • Marabou = fluffy, flowing feathers with a relatively thick stem; commonly used for tails and full collars
    • Chickabou = smaller, finer, more delicate marabou
    • Schlappen = very webby hackle whose fibers tend to clump rather than distribute evenly when palmered

    So, What Should I Buy?

    The average tyer should invest in high-quality rooster and hen capes. Saddles tend to serve more specific purposes and sizes, so I’d avoid them if versatility is your goal. A well-rounded collection might include several cape colors in a variety of patterns.

    Buying white pelts in different patterns allows you to dye your own feathers and save money. I haven’t tried it myself yet, but it sounds like a fun future article. At the end of the day, your pelt collection should reflect your tying style and the flies you enjoy most. If you tie size 18 PMDs all day, then get the rooster saddle that fits the job. For the rest of us, start collecting capes.That’s all for now.
    – T

  • 5 Tips: How To Tie Better Wet Flies for Steelhead

    Flies like this sparse Charlie Muddler I tied up demonstrate solid proportion, except for the slightly elongated underwings. But the fish shouldn’t care.

    It’s my favorite fly to tie—by a long shot. From the sweeping hackles and layered wings of an old-school Dee fly to a bushy muddler head, there is something enchanting about the simplicity of the classic steelhead wet fly. But the simplicity of the recipe demands superior technique to ensure the fly retains proper proportions. There is a profound difference between a tail that is too long and one that seems intentionally oversized. In this post, I’ll lay out the process behind my lifetime pursuit of excellence in tying wet flies for steelhead.

    A History Primer

    If you’re a fly fishing history nerd like me, then you need a copy of Spey Flies: Their History and Construction by John Shewey. The book describes the rich and storied history of swinging flies for steelhead and Atlantic salmon and does a better job outlining proper wet fly tying technique than any book I’ve ever read. Start here if you want to go deep.

    At a high level, these flies were developed during the Victorian era by fishermen using long rods—sometimes 15 feet or greater—when fishing for Atlantic salmon on the River Spey in Scotland. A sport for the affluent and influential, these flies featured feathers and furs harvested from animals found on hunting estates. The flies were characterized by long-shanked hooks, flowing hackles, and low-set wings of mallard flank.

    As the empire expanded, so did the breadth of tying materials. Dee flies were popularized on a river called the Royal Dee and highlighted the use of exotic materials such as jungle cock and flowing heron hackles. When one pictures the gaudy salmon flies of old, it is these ornate Dee flies that come to mind.

    Modern tyers such as Brian Silvey built on the history of these classic flies and brought them into the contemporary style many of us tie today. Hairwings and wing sets made from hackles are truly modern inventions that diverge from the classic style while staying true to the roots of the craft. Now, “Spey flies” and “wet flies” are generalized terms that describe any fly designed to swing for salmon or steelhead and tied on an upturned-eye hook.

    What Makes for Great Proportion?

    Excellent proportions are developed by regularly tying these masterpieces. Over time, you’ll develop an intuition for balance through rigorous practice. These bullet points are a jumping-off point and work for a variety of materials. For example, when I tie a muddler, I size my elk or deer hair to be no more than an entire hook length. If I want to feature an underwing material, I’ll downsize my deer or elk hair slightly to let the underwing shine.

    I’ll spare you the long explanation and give you some simple bullet points instead:

    • Tail = ½ to ⅓ hook shank length
    • Body = to the hook point
    • Rib = 4–5 turns
    • Wing = to the end of the hook or slightly past, no wider than ¾ of the hook gap
    • Hackle/Throat = long enough to reach the hook point
    This photo is taken from my copy of John Shewey’s Spey Flies: Their History and Construction. Notice how the ribbing is tied in stations around the hook bend and flows neatly up the shank towards the eye.

    Tips for Achieving Excellent Proportions

    Number One: Slow down.
    Rushing through your fly results in uneven thread wraps, unwanted bumps, and materials that are just slightly off in length. Slowing down and letting every thread wrap count is the best thing you can do to enhance the quality of your wet flies. Simple ties demand greater precision.

    Number Two: Select and measure your materials before you begin tying.
    I like to sort and select my materials and lay them out on the bench. With the bare hook in the vise, I measure out my wing length, select my flanks, and measure my throat hackle while there isn’t any clutter on the hook to confuse me. This method is especially helpful if you’re tying a large batch of a particular pattern.

    Number Three: Stay organized on the hook—specifically at the back.
    Many Spey flies employ two or three different ribs in addition to a hackle feather. Since it can get crowded at the back of the hook, I like to tie in stations around the hook. For example, if I have three different ribs and a hackle feather, I’ll divide the hook into quarters at the rear. One material on top, two on opposite sides, and the final one at the bottom. Adjust the method to suit how many materials you’re adding. To check your technique, simply look down the back of the hook toward the eye: your materials should create a neat spiral rather than appearing lumped and stacked on top of each other.

    Number Four: Create an even body.
    It’s easy to accidentally create a bump in the body of the fly, especially if your body is floss. Besides a keen eye, it helps to spin your bobbin every few wraps to let the thread flatten out. After I tie in my materials and advance my thread toward the eye, I go one step further and burnish the thread wraps before adding floss, dubbing, or ribbing. Simply take a smooth, rounded tool—like the handle of your whip finisher—and rub back and forth along your thread wraps. Do this around the entire body of the fly. The result is a smooth, flat body with any tiny imperfections evened out.

    Number Five: Don’t crowd the eye.
    I am especially guilty of this cardinal wet fly sin. When you crowd the eye of the hook, you make it incredibly difficult to finish the fly with a small, tight, intentional head. Staying just a hair farther back—usually about an eye length—gives you sufficient space to cover minor errors and build a clean, whip-finished base that absorbs a perfect bead of head cement. You’ve put in tons of effort to get to this point—don’t blow it in the final stage.

    Wrapping Up

    Spey and Dee flies are simple at their core and leave every thread wrap exposed. As tiers, we need to be extra disciplined to ensure our proportions turn out properly once the final whip finish is laid down. A few simple adjustments—slowing down, staying organized on the hook, and using proper technique to create a smooth body—make all the difference.

    With these tips in hand, get creative and tie in whatever materials your heart desires. As long as the proportions come out right, your fly will look like a million bucks. It might not impress a waiting steelhead—but it will definitely impress your friends.Keep those wraps tight.
    – T

  • Call Me Crawdaddy: The Case for Crayfish Flies for Trout

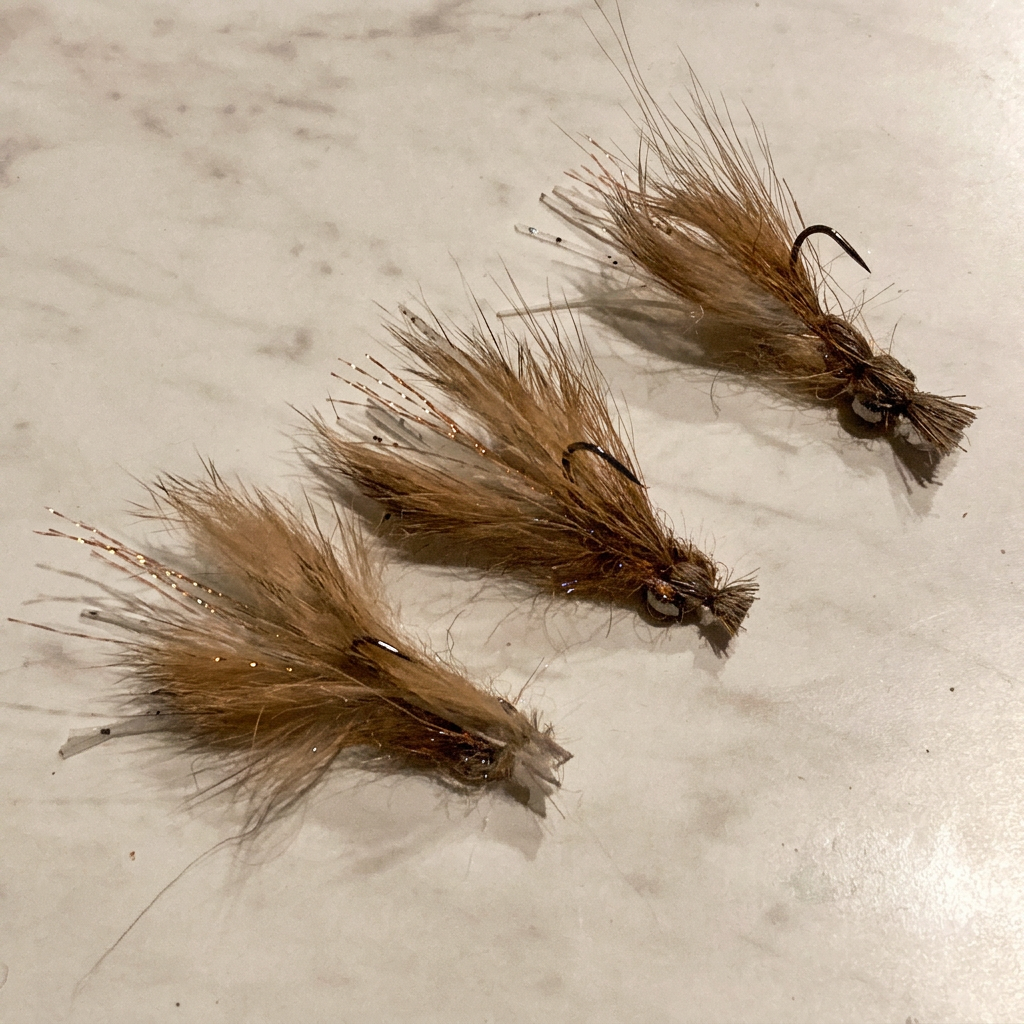
    Three different versions of crayfish flies that I will test out this spring. Hopefully a clear winner emerges!

    I’ve been in a fly-tying mood lately. Since it’s still dark when I get home from work, it’s about the only thing I can do besides cook a delicious meal and binge Stranger Things. The tying state of mind gets me thinking about what flies I could be using this coming season that I just haven’t given enough love to in the past—or maybe new ones that could become fly box staples. Whatever the case, it’s exciting to get wound up in a fresh pattern and all of its iterations. This was exactly my experience with crayfish patterns the other night.

    An Ode to the Crayfish

    Crayfish, crawdad, mudbug—whatever you call them—it’s the freshwater crustacean that doesn’t get anywhere near enough love in our fly boxes. Mine included. They start out small in the spring and, through a series of molts, grow to full size with a tough exterior carapace. They take about three to four months to reach adult size and then remain adults for the next several years.

    I have a theory that trout tend to key in on these lobster-like creatures just after they molt—specifically during the three to four months it takes them to reach adulthood. The hard shell is shed and, for a brief window, the crayfish is soft and edible. They aren’t as large of a meal, but they’re vulnerable targets. The smaller crayfish also lack the big, angry claws that the adults have.

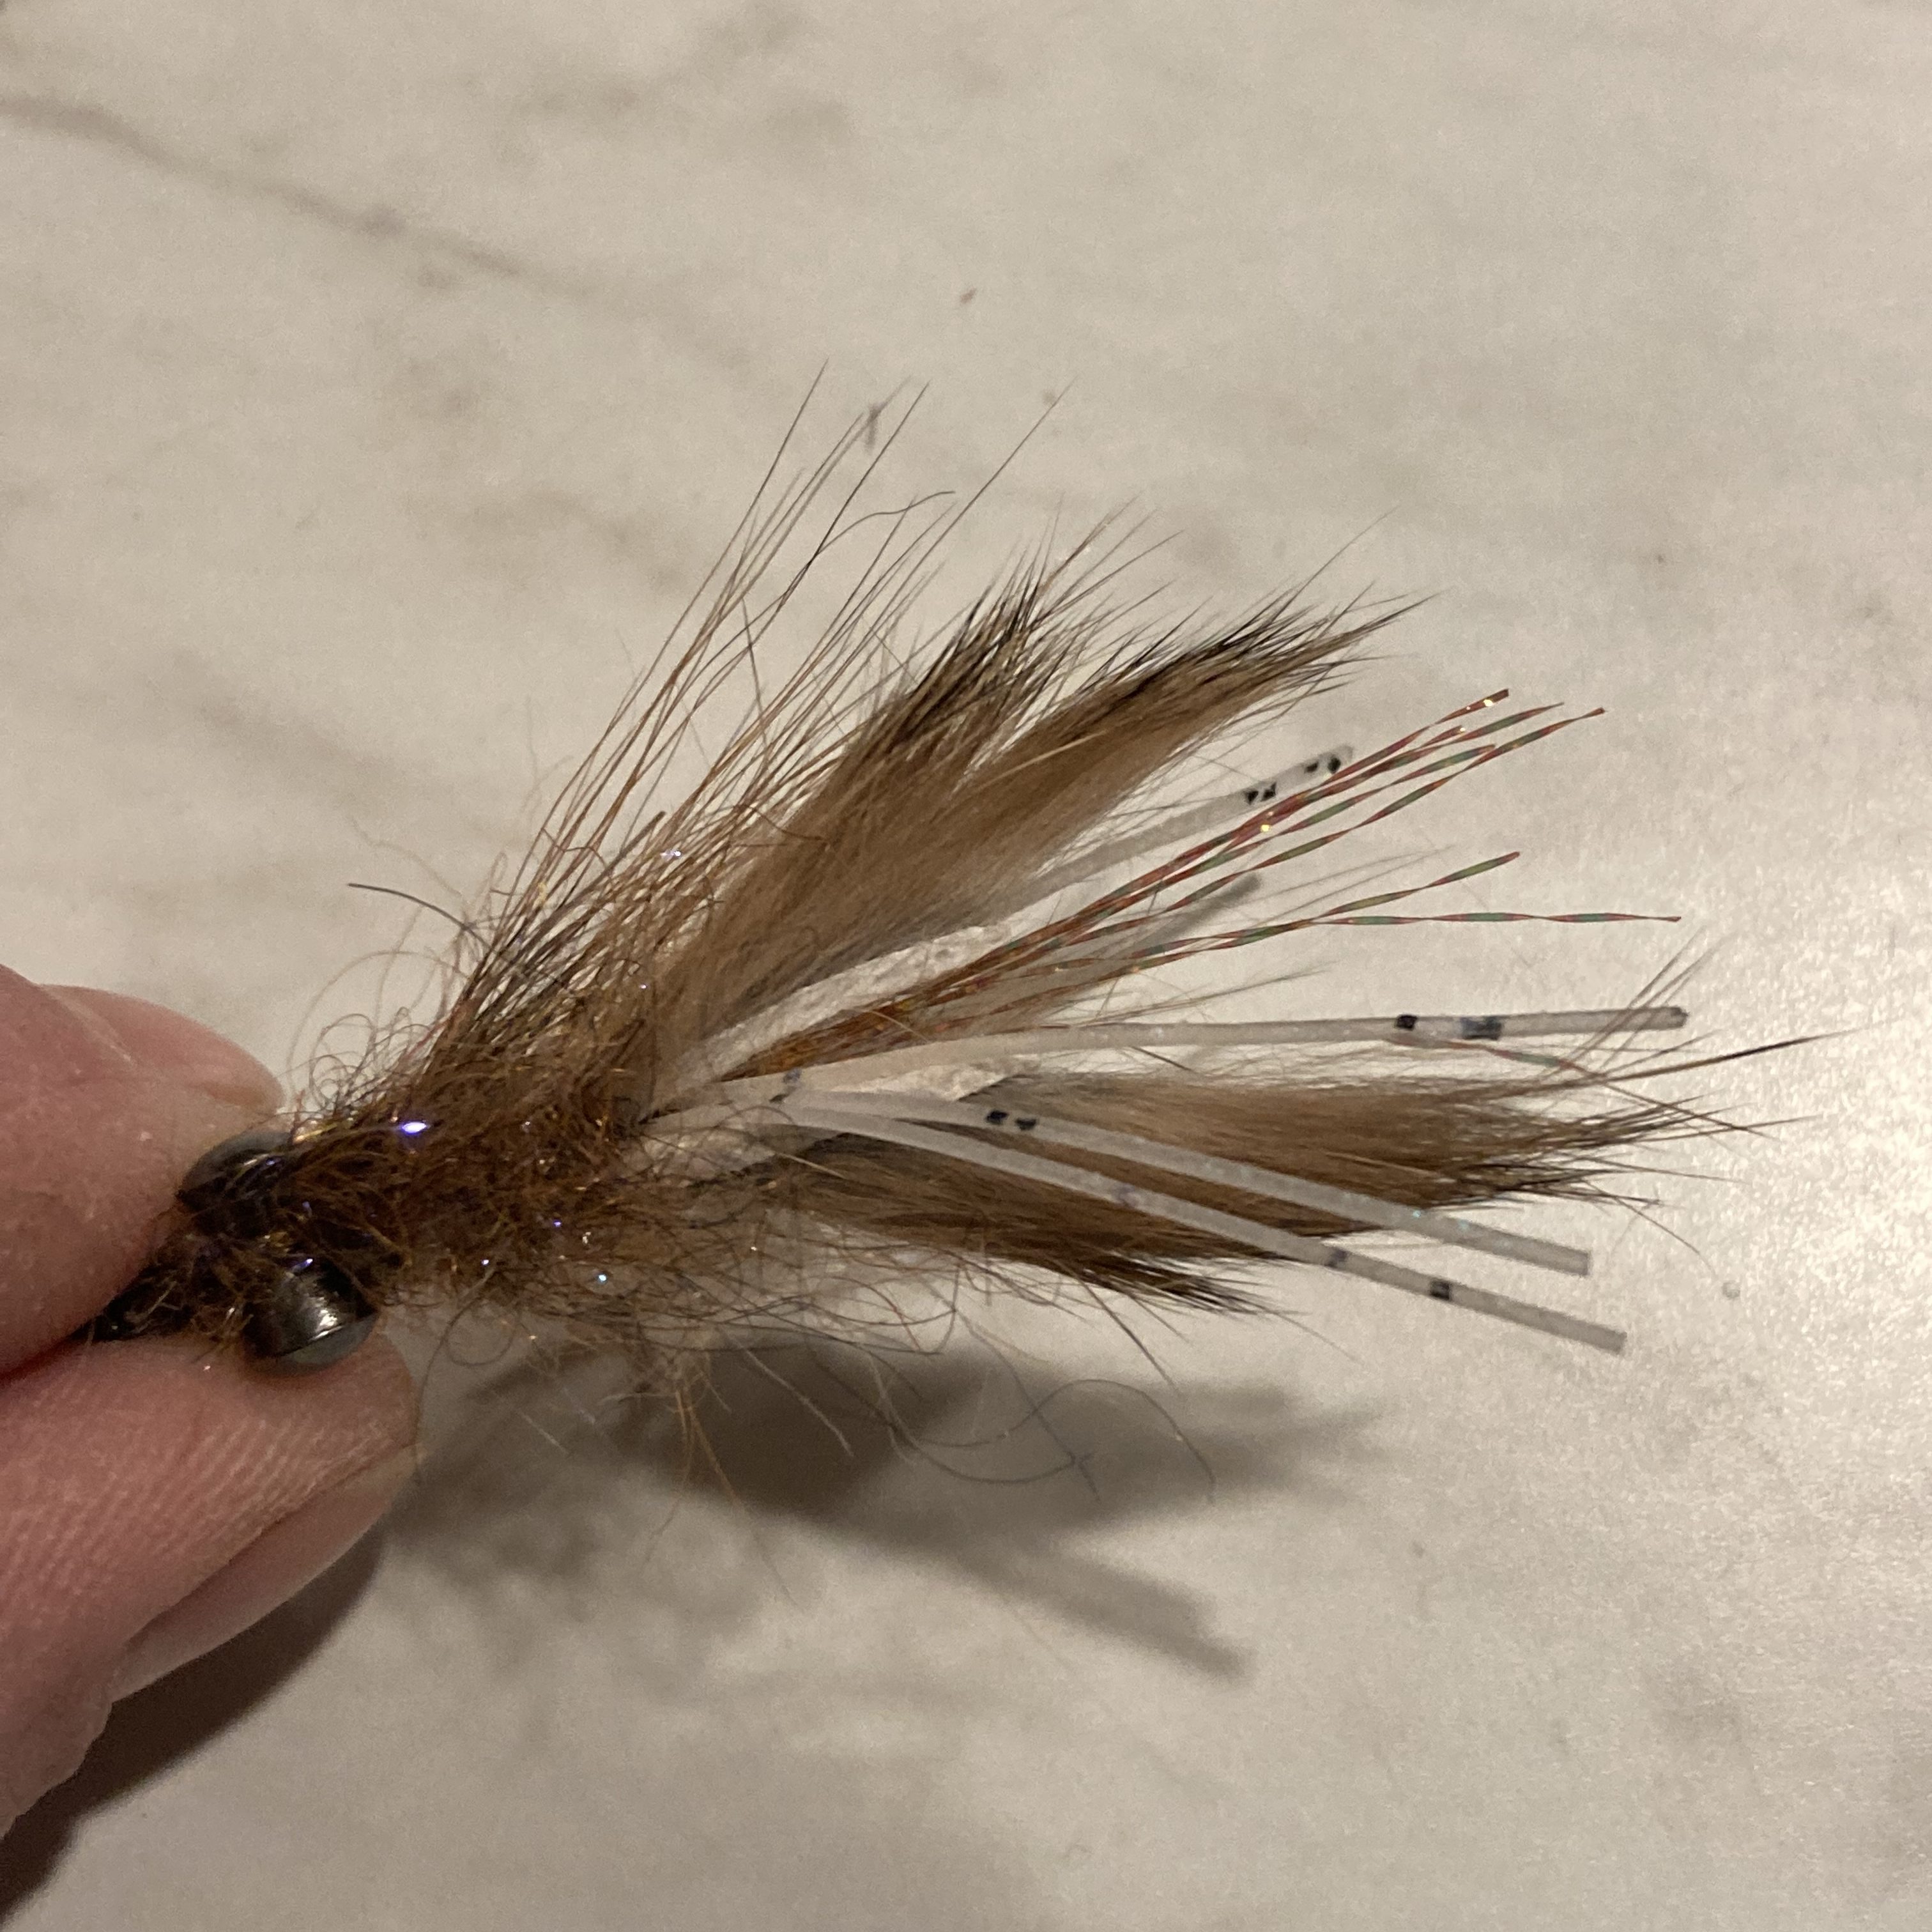
    It’s a pretty easy tie: some flash, a few rubber legs, a couple rabbit strip claws, and a simi-seal dubbing loop body. Tack on some dumbbell eyes and your carapace of choice (deer hair, pieces of plastic, or strips of fur are all good candidates).

    How to Mimic Them

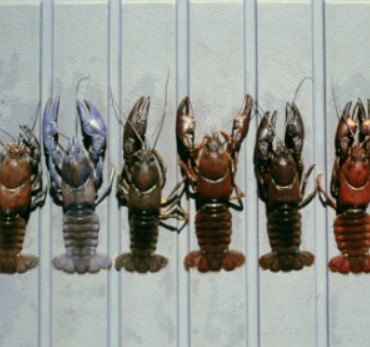
    There are over 600 different species of crayfish, ranging in size from just under an inch to full-on lobster size, so it’s important to know what’s living in your home waters. Colors range from olive to red, orange, blue, and brown.

    That means your patterns should be tailored to the local species. One thing you can be fairly confident in is that molting crayfish are lighter in color after shedding their shell, which is why I’m keying in on tan flies. I don’t know this for certain, but I believe they’ll stand out a bit more as vulnerable bugs hanging out close to the weed beds.

    Tie these flies on jig hooks with fairly heavy weight. Keep them on the smaller side of your full-sized local crayfish species and stick to lighter colors. The key detail that sells the pattern is the claws. Many tiers will tie up big, gaudy, beautiful claws that are likely to give a hungry trout second thoughts. I personally wouldn’t want to eat something with massive claws waiting to pinch my nose. Tie them smaller than you’d expect and facing toward the rear of the hook. I also like to add rubber legs, long pieces of flash, and fuzzy dubbing to give the appearance of legs and antennae.

    How to Fish Them

    These bugs are best fished near weed beds, drop-offs, shelves, and other major structure. Since crayfish are most likely hiding in the shallower parts of the river, it pays to focus your efforts there.

    Cast the fly, let it sink, then jig your rod tip in an up-and-down motion using a slow, gentle cadence. The objective is to mimic a bug fleeing in small, subtle bursts with an undulating motion. A properly weighted jig-style fly should help achieve this retrieve.

    The many iterations of the Signal Crayfish. This species is commonly found in the Deschutes River and Lake Billy Chinook. Note the sheer color variety.

    Give Them a Shot

    Join me in making 2026 the year of the crawdad. It’s an underused and underloved fly that deserves more attention—myself included. They don’t need to be super difficult or painstaking to tie in order to be effective. Just wrap up the bug, tie it onto your leader, and give it a try. It’s the only way to know for sure if it works in your home waters. Just be sure to do your homework on the species that live there.

    Get after it.
    —T

  • How to Read Steelhead Holding Water: A Simple Guide for Swinging Success

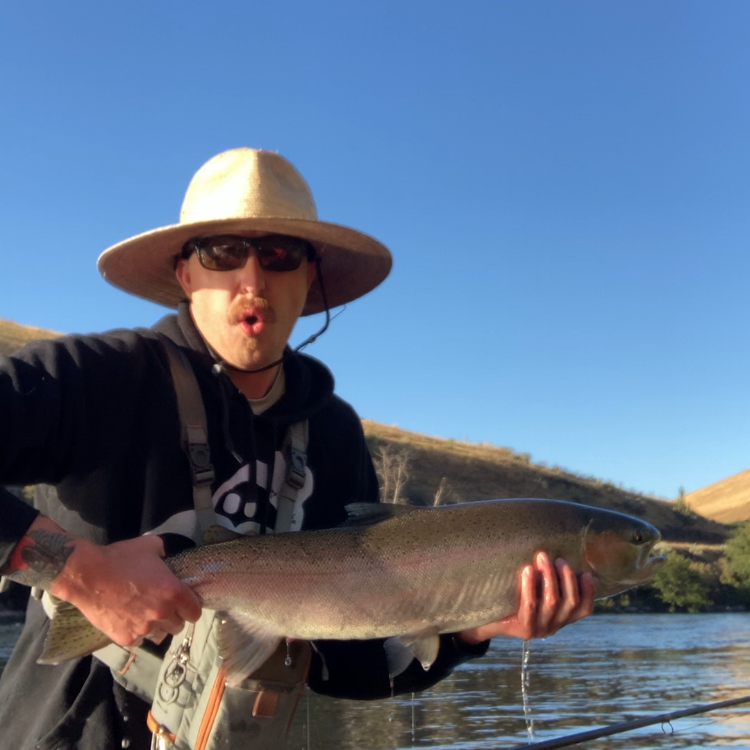
    This wild hen was hiding in a depression on a mixed-substrate run. The washboard effect on the water’s surface gave away the structure.

    It’s easy for a steelhead angler to get caught up in the buzz: Which fly do I use? Is pink hotter than purple today? Do I need to slow down the lift before sweeping into my cast? Maybe it’s just the barometric pressure. We’re all tangled between fly selection and dialing in the perfect cast — but there’s more to it.

    The greatest steelhead anglers recognize that the ability to read water is what sets them apart from 95% of fly fishers. The simplest explanation for why the rest of us don’t catch fish is pretty straightforward: we aren’t casting where the fish are. And while steelhead are technically trout, their behavior is anything but trouty. If we want to shake hands with one, we need to get inside their heads and think a little differently.


    Steelhead Are Built Different

    Though they spend their first couple of years living like resident trout, those trouty habits fade quickly. After growing up in their home streams, steelhead make the long journey to the ocean, where they fatten up while dodging constant pressure from big, bad predators. Only a small percentage—around 5–10% of smolts—survive long enough to return. Those that do are battle-hardened and much smarter than your average trout.

    Once they migrate back to freshwater, their behavior changes dramatically. For one, they have very few threats as the biggest fish in the river, aside from a prowling grizzly or a lowlife poacher. Running chinook salmon will put steelhead off the bite but still, they’re cautious. Beyond the occasional exuberant surface breach, they move like ghosts — conditioned to self-preserve after thousands of years of evolution.

    Steelhead also aren’t in the river to eat. Their sole mission is to get upstream as quickly as possible, spawn, and return to the salt. They enter freshwater as heavyweights and slowly slim down the longer they’re in the system. Because they’re not feeding, they stick to dedicated travel lanes — underwater highways — and stop only when they need to rest in holding water. They must conserve energy to complete the journey to their spawning tributaries.

    Travel lanes and holding spots become obvious the more time you spend staring at the river. I like to ask myself: What route would I take if I were swimming upstream? Suddenly, pockets of slack water, even current, and tighter bank seams start to reveal themselves. It pays to focus your casts on pockets that sit along or adjacent to these travel lanes.


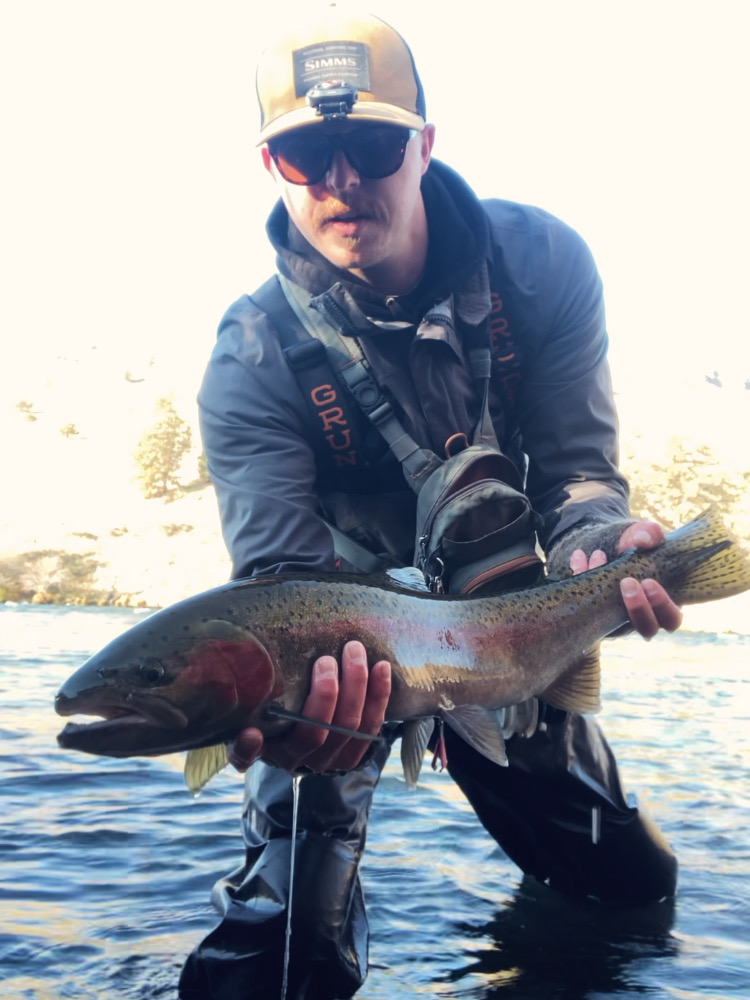
    This wild buck was hiding on a shelf just before a long gravel bar and 40 feet below a rapid. The rapid plunges into a bucket with plenty of structure. I’ve found fish nosed into the rapid before.

    So, Where Are They Hiding?

    It’s a cop-out answer, but…it depends.

    The type of water we want is soft, but still moving at about a walking pace. It should be even, not churning. And while the surface gives clues about current speed, what’s happening beneath can be slightly different. Since steelhead generally prefer 4–6 feet of holding depth, you can assume underwater structure — boulders, shelves, drop-offs — is slowing the current below. That alone narrows the search considerably.

    Mornings and evenings often offer the best chance at a handshake. Since steelhead tend to travel under cover of darkness, we target them most effectively when they’re still active at the end of a night of moving. Tailouts and the heads of rapids are consistent producers.

    Tailouts are ideal because the river shelves upward before dumping into a rapid. It’s the first slow water a steelhead encounters after charging through whitewater, and it’s easy for an angler to identify. Fish may rest there for hours before continuing upriver. Tailouts are also a pleasure to fish — perfect for dries, muddlers, and skaters. Look for slow water in the tailout that creates a gentle, washboard-like texture on the surface. That’s a dead giveaway for holding structure.

    Rapid heads are trickier. Fish might be nosed right into the pocket at the lip of the rapid, and the only way to reach them is to sink your fly quickly and keep it in the zone long enough for them to notice. A better bet, in my opinion, is to target the first major piece of structure below the rapid — the spot where current begins to even out. I’ll fish the rapid head carefully with a bigger fly, then work diligently in front of and behind the big boulder or shelf 30 feet below. You’ll see it by watching for subtle surface disturbances: a slight bulge, a slowdown, or a subtle v-wake.

    Many anglers picture long, classic runs when talking about steelhead water. Those do hold fish, but they’re a bit more complicated. Long runs are rest stops — like pulling into a gas station on a road trip. Choose runs with structure: shelves, drop-offs, color changes, boulders, or depth variation. Because long runs don’t have much happening on the surface to camouflage fish, steelhead rely more on structure itself to feel safe. Luckily, the long runs are a great way to get into a casting rhythm and enjoy the process, but with a couple key pointers: Slim down your offering, step carefully, and minimize mends. I also stay tight to the bank; alders shading water as shallow as knee-deep offer enough security for a resting fish.


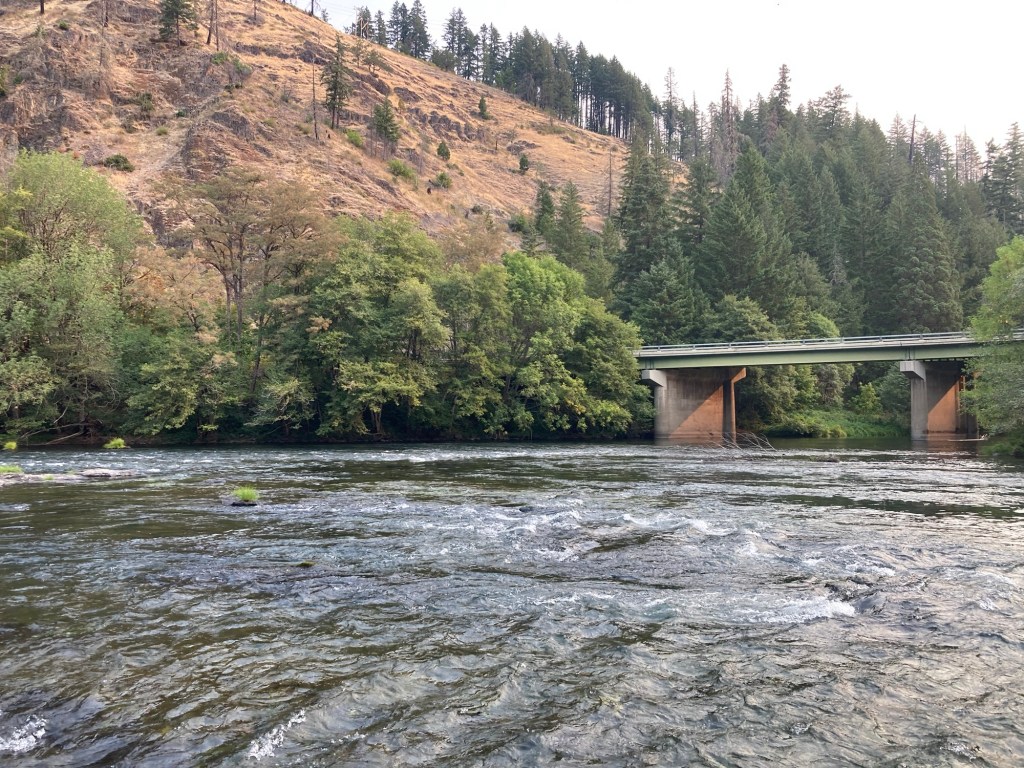
    This is classic holding water on the North Umpqua. Fish can be found in soft pockets along spines of bedrock in chutes of quick-flowing water. The North Umpqua is notorious for small buckets that may hold a single fish.

    A Couple of Rules to Live By

    Here are a few key points I keep in mind when I’m swinging flies for steelhead:

    • Steelhead tend to hold in the same spots. If you get a grab behind a boulder today, odds are you’ll find action around that same boulder tomorrow. Keep a log of encounters and revisit those spots at the same time year after year. Note the date, place, conditions, time of day, and fly. Steelhead are creatures of habit.
    • Steelhead are smart but lazy. These fish are big because they were the smartest in their brood. But none of them want to sit in churning, fast, difficult water. Think about where you would rest if you were a lazy fish.
    • There is no such thing as a desperate steelhead. If the fish wanted your fly, it would have eaten it. Don’t overwork the same water or get frustrated when you don’t find a willing participant. Steelhead are challenging because they’re patient — use that as a chance to work on your own patience. Just be sure to fish each run and bucket with integrity.

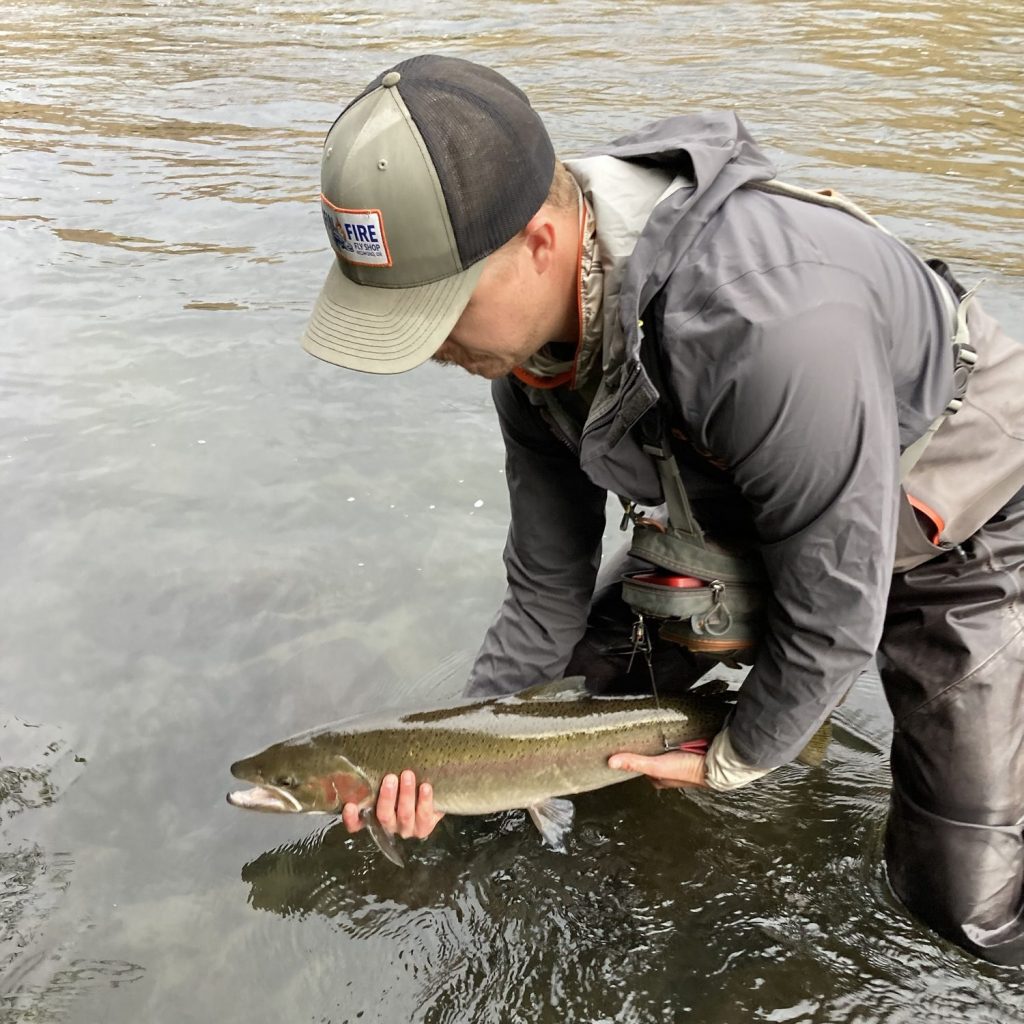
    This wild buck took my fly on a long, calm run with tall alders shading the bank. The water is about two to four feet deep for about 50 yards with plenty of medium-sized boulders.

    This Is Not a Comprehensive Guide

    It takes a lifetime on the water to truly understand steelhead holding water, and I’m lightyears away from becoming a master myself. Reading water is so nuanced that one blog post could never cover the entire topic. I may break down different types of holding water in a future series, but for now, here are a few of my favorite in-depth resources:

    • Steelhead Fly Fishing — by Trey Combs
    • A Steelheader’s Way — by Lani Waller
    • The Complete Steelheader — by John Larison

    These books have shaved years off my learning curve. But as powerful as they are, there’s no substitute for time on the water.

    Catch me there, my friends.

    —T